This article presents how to let Rescuezilla clone to smaller disk with step-by-step guides. Also, an alternative way is introduced for larger disk to smaller disk cloning with easier and error-free process.

Rescuezilla is an open-source and easy-to-use disk imaging and cloning solution that is compatible with Windows, Mac, or Linux. Its disk imaging makes a backup of your computer's hard drive which is managed as files stored on an external hard drive. It allows you to perform backup, restore, and recovery actions, even if you aren't able to boot into your regular operating system.
If you are looking forward to cloning larger drive to smaller drive (HDD or SSD), you may wonder: can you clone to a smaller drive using Rescuezilla? Please read on.
Actually, Rescuezilla cloning to smaller disk is not inherently supported. This tool requires the destination drive to possess equal or larger storage capacity than the source drive. In this case, you may need to invest some additional effort or explore an alternative tool for a more direct resolution.

It is easy to let Rescuezilla clone to larger drive, but to clone to a smaller drive, it would be a little tricky. As this tool lacks automatic partition shrinking capabilities. Consequently, if you intend to clone to a destination disk smaller than the original, it needs you to utilize the GParted Partition Editor to carefully shrink the final partition on the source disk.
You can follow the guidelines below to Rescuezilla clone disk to a smaller drive now:
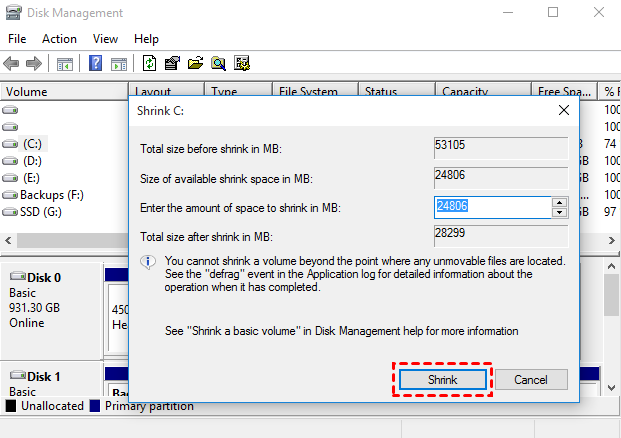
Step 1. Open Disk Management in Windows by pressing Windows Key + R, and typing diskmgmt.msc.
Step 2. Right-click the source partition, click Shrink Volume and then click Shrink to shrink the partition.
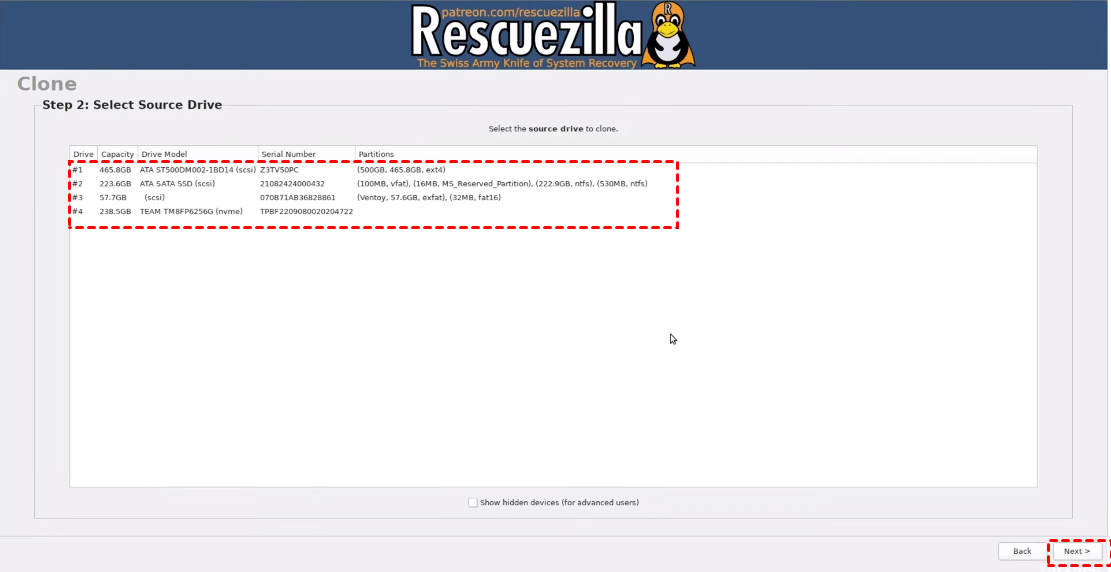
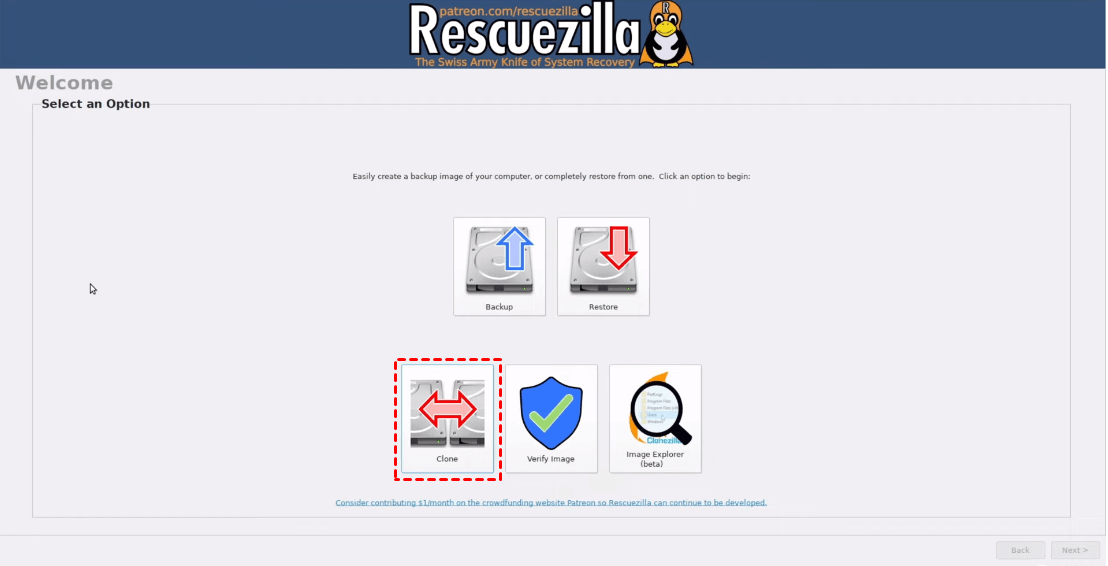
Step 3. After that, launch Rescuezilla on your computer.
Step 4. Select the Clone option to clone the newly shrunken disk as your source drive and choose your destination drive.
Notes:
🔹This will overwrite all data on the destination drive. If you have important files on it, please create file backup first.
🔹You can also utilize the Backup feature of this software, and let Rescuezilla restore to smaller disk.
Step 5. When you are asked to select partitions to clone, you can leave it alone in case you don’t want to make modifications, and click Next. Then, confirm your cloning configuration, and begin the cloning process.
If you are unlucky and encounter Rescuezilla failed cloning to smaller/larger drive, there is another way that can help you clone to larger or smaller disk error-free. That is to rely on AOMEI Backupper, professional and reliable disk cloning software.

It offers Partition Clone and Disk Clone to help you clone entire disk or selected partitions, and System Clone for cloning only OS.
It runs intelligent clone by default, which allows you to clone larger hard drive to smaller disk easily.
You can use its sector by sector clone to clone to a larger drive with all used/unused sectors copied.
Free download AOMEI Backupper and learn how to clone to a smaller drive using this tool now!
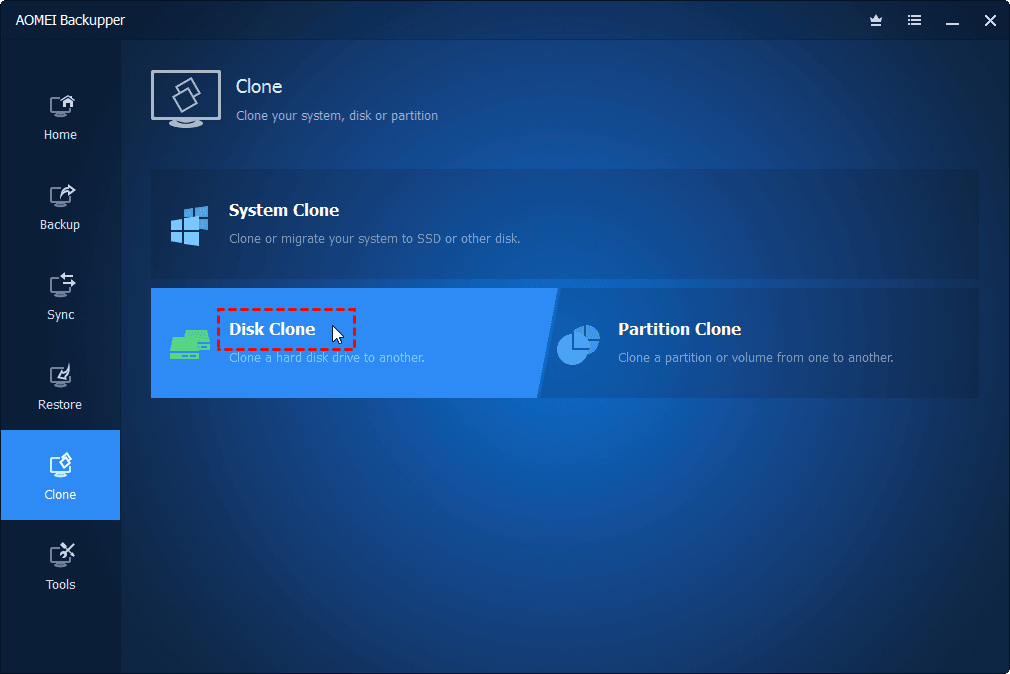
Step 1. Launch AOMEI Backupper. Click Clone > Disk Clone.
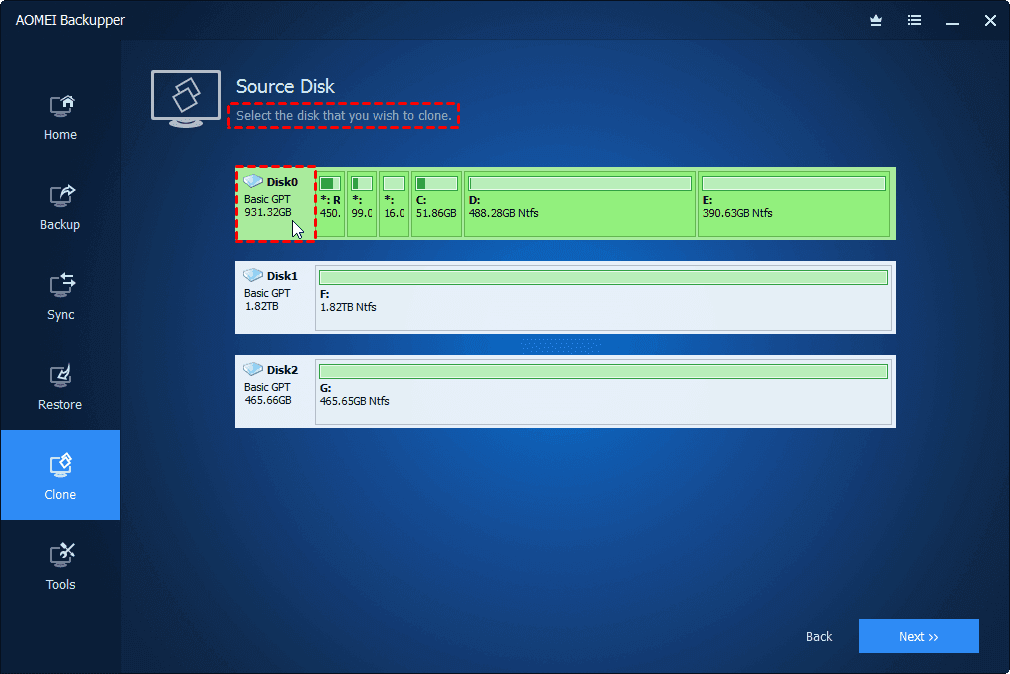
Step 2. Specify your larger disk as the source disk, and click Next to proceed.
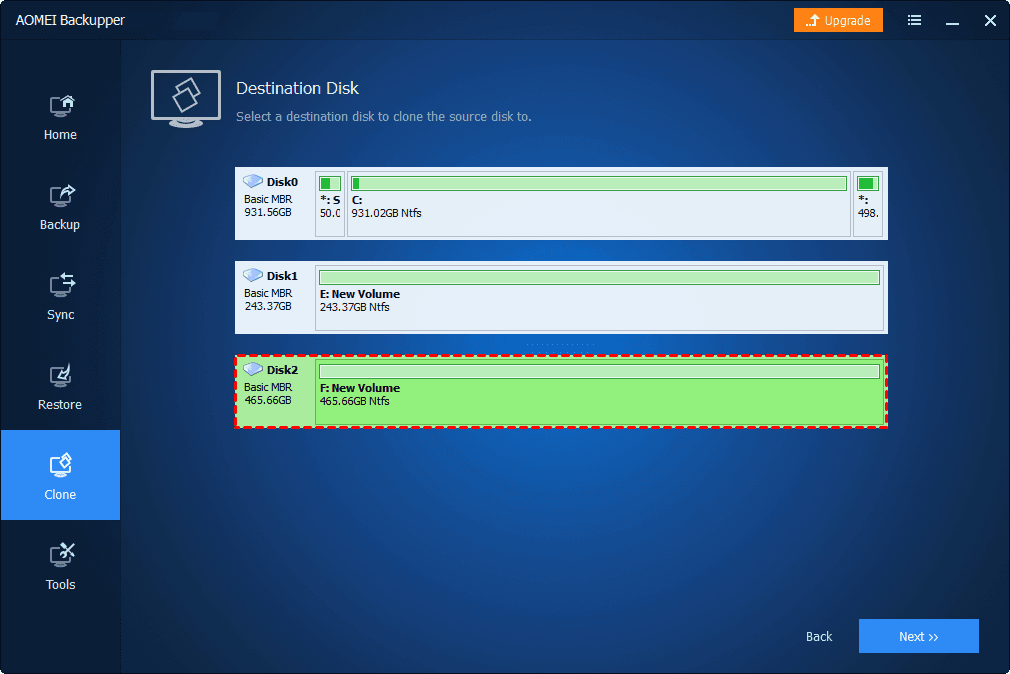
Step 3. Select your smaller new hard drive as the destination for cloning the source drive. Click Next to continue.
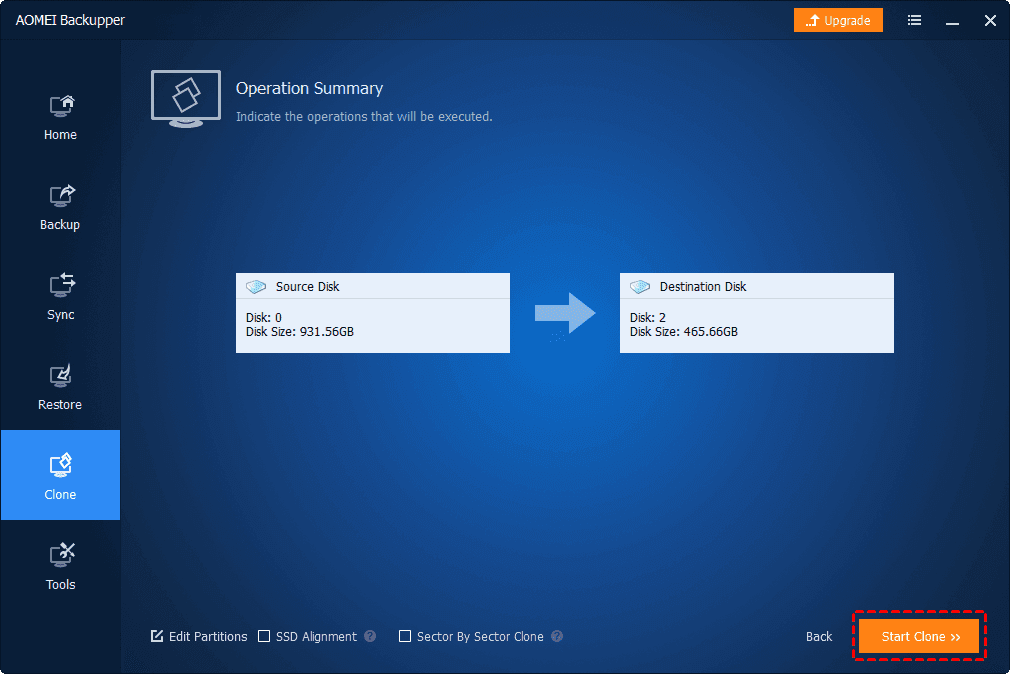
Step 4. Review the operation summary and click Start Clone.
To let Rescuezilla clone to smaller disk, you need to shrink the source partition manually first to fit the destination partition before cloning. Alternatively, you can streamline this process without intricate operations by opting for AOMEI Backupper. It is capable of all kinds of cloning, like cloning large HDD to smaller SSD, cloning OS to M.2, cloning NVMe SSD, etc.
You will discover more practical features in AOMEI Backupper, such as creating backups for Windows system, hard drive, files, and folders on PC, syncing files/folders between computers, etc. All in all, it's worth trying the software for disk cloning or data protection!