Ultimate Guide: Fixing Windows Stop Code Memory Management BSOD
This article provides a thorough guide on resolving the Windows Stop Code Memory Management BSOD. It covers various methods to diagnose and fix the issue, ensuring users can effectively troubleshoot their PCs.
By Lori / Updated on February 26, 2024
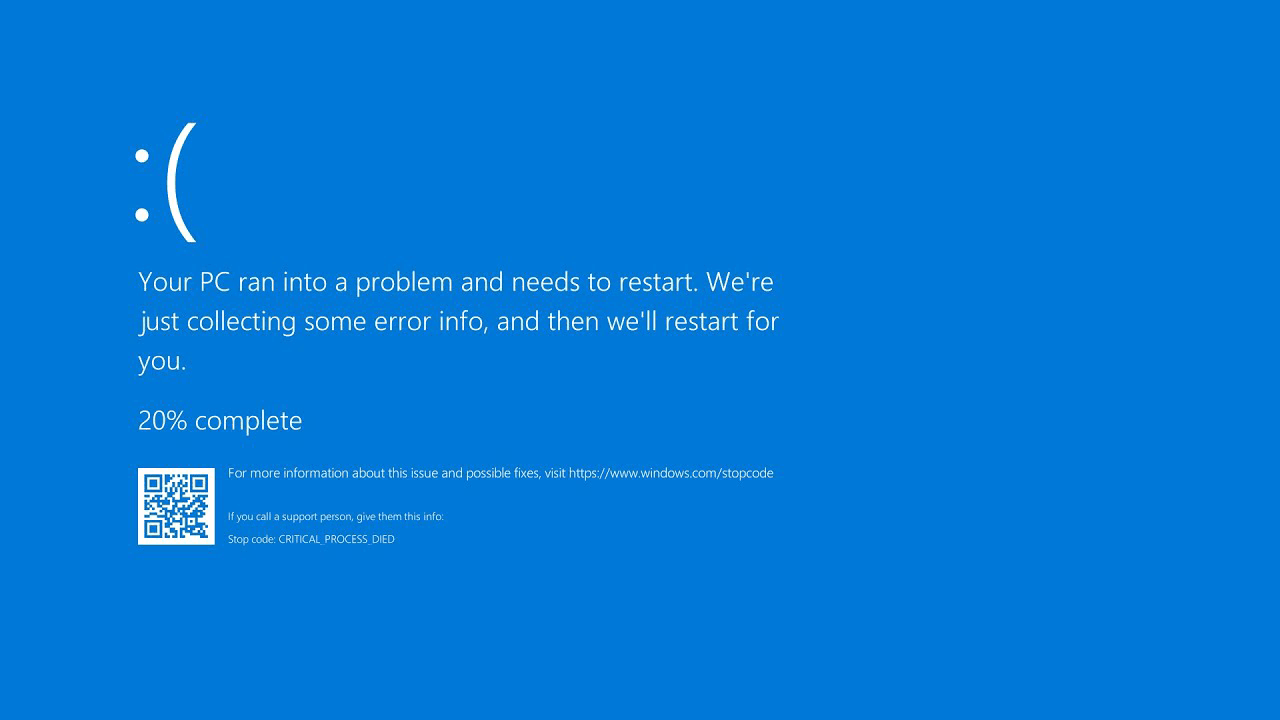
Ah, the dreaded Blue Screen of Death (BSOD), with its cryptic messages and panic-inducing presence. Have you ever been right in the middle of something important, only for your screen to suddenly flash blue with the message "MEMORY MANAGEMENT"? You're not alone.
This error, known as the Windows Stop Code Memory Management BSOD, is a common headache for many users. But fear not! You're about to embark on a journey to not only understand this pesky problem but also learn how to fix it. Let's dive in, shall we?
What Causes Windows Stop Code Memory Management BSOD?
Before we jump into fixing the issue, let's get a bit of background. The Memory Management BSOD is essentially Windows telling you there's a problem with your system's memory management.
This could be due to several reasons – from faulty hardware (like your RAM sticks going on a vacation without your permission) to software issues (such as drivers waving red flags). Identifying the cause is the first step in our troubleshooting adventure.
How to Fix the Windows Stop Code Memory Management BSOD
Method 1: Run Windows Memory Diagnostic Tool
Windows comes with its own set of diagnostic tools, and the Windows Memory Diagnostic Tool is your first line of defense against memory-related issues.
Step 1: Press Windows Key + S and enter "Windows Memory Diagnostic" in the search bar. Click on the app to open it.
Step 2: You'll be presented with two options. Select "Restart now and check for problems." Make sure to save any open files since your PC will reboot immediately.
Step 3: Your PC will restart and the Windows Memory Diagnostic Tool will start checking for memory problems. This process can take several minutes. Keep an eye on the screen for the results, or check them in the Event Viewer under Windows Logs > System, filtering the current log for "MemoryDiagnostic" events.
Method 2: Update Your Drivers
Outdated or corrupt drivers often lead to BSODs. Ensuring all your drivers are up to date is like giving your PC a health check.
Step 1: Right-click on the Start button and select Device Manager.
Step 2: Scan through the list for any devices marked with a yellow exclamation mark. These are the ones that have driver issues.
Step 3: Right-click on the problematic device and choose "Update driver." Then, select "Search automatically for updated driver software." Follow the prompts and repeat for any other devices with issues.
Method 3: Check for Windows Updates
Keeping Windows up to date is crucial for the health of your PC. Updates often contain fixes for common BSOD errors.
Step 1: Click the Start button and go to Settings > Update & Security > Windows Update.
Step 2: Click "Check for updates." If updates are found, click "Install now."
Step 3: Follow the on-screen instructions to complete the update process. You may need to restart your computer.
Method 4: Run the Check Disk Utility
The Check Disk Utility (chkdsk) is a powerful tool for finding and fixing hard drive errors.
Step 1: Open Command Prompt as an administrator by right-clicking the Start button, selecting "Command Prompt (Admin)" or "Windows PowerShell (Admin)."
Step 2: Type chkdsk C: /f /r and hit Enter. Replace "C" with the letter of your Windows drive if different.
Step 3: If prompted to schedule a scan for the next restart, type Y and restart your computer. The tool will check and fix errors on your hard drive.
Method 5: Perform a Clean Boot
Performing a clean boot starts Windows with a minimal set of drivers and startup programs. This can help identify if background programs are causing the BSOD.
Step 1: Press Windows Key + R, type msconfig, and press Enter to open the System Configuration utility.
Step 2: In the System Configuration, go to the "Services" tab, check "Hide all Microsoft services," and then click "Disable all."
Step 3: Go to the "Startup" tab and click "Open Task Manager." In the Task Manager's Startup tab, disable all items.
Step 4: Close the Task Manager and click "OK" in the System Configuration window. Restart your computer.
Method 6: About MyRecover
In the unfortunate event that you lose data due to a BSOD, MyRecover is your beacon of hope. This tool is designed with simplicity and efficiency in mind, ensuring that you can recover your precious files without needing a PhD in computer science.
Features of MyRecover:
- Intuitive Interface: MyRecover boasts a user-friendly interface that simplifies the data recovery process.
- Versatile Recovery Options: From documents to videos, MyRecover supports a wide range of file types.
- Secure Recovery Process: Your privacy and data security are paramount, and MyRecover ensures your data recovery is conducted safely.
Recovery Steps with MyRecover:
- Download and Install MyRecover: Visit the MyRecover website, download the setup, and install the software on your PC.
- Launch MyRecover and Select the Target Drive: Open MyRecover and choose the drive where you lost your data.
- Scan for Recoverable Data: Initiate the scanning process. MyRecover will meticulously comb through the drive for recoverable files. This might take some time, depending on the size of the drive.
- Preview and Recover Files: After the scan, preview the recoverable files. Select the ones you wish to recover, choose a safe location to save them, and click "Recover."
Wrapping Up
Navigating through the maze of the Windows Stop Code Memory Management BSOD might seem daunting at first glance. However, equipped with the right knowledge and tools, you can conquer this challenge.
Remember, the key is to approach the problem methodically, using the steps outlined above. With patience and persistence, you'll not only fix the issue but also gain a deeper understanding of your PC's workings. Happy troubleshooting!
Given the space constraints, I've provided a more detailed approach up to the limit allowed. Remember, troubleshooting is as much about patience and persistence as it is about knowledge. Keep at it, and you'll find your way through the maze of technical challenges.
FAQs
1. Can the Memory Management BSOD be a sign of a failing hardware component?
Absolutely! It's often a hint that your RAM might be saying goodbye, or there could be issues with your hard drive.
2. How often should I check for Windows and driver updates to prevent BSODs?
Making a habit of checking for updates monthly can keep your system running smoothly and minimize the risk of BSODs.
3. Is it safe to use MyRecover for data recovery?
Yes, MyRecover is designed with your data's safety in mind, ensuring secure recovery without risking further data loss.
4. Can installing new software cause Memory Management BSODs?
Indeed, if software conflicts with your system's memory management, it can trigger a BSOD. Always ensure compatibility before installation.
5. How do I know if my Memory Management issue is resolved?
If your PC runs without showing the BSOD for a significant period after applying these fixes, you're likely in the clear. However, keep an eye out for any future signs.