
How to Recover Data after Windows 10/11 Crashed [Easy]
After reading this tutorial, you can learn how to recover data after Windows 10 crashed. If you are troubled with such an issue, this post can help you a lot.
By Zoey / Updated on April 2, 2024
Experiencing a Windows 10/11 crash is an unfortunate ordeal that many users encounter, marked by disruptive issues like the blue or black screen of death, or the failure of the operating system to initiate.
Restoring the system to a stable condition becomes the primary concern, a task seemingly insurmountable for the average Windows user unfamiliar with OS repairs. Amidst this chaos, the question arises: what about the crucial data residing on the now dysfunctional computer?
Do not worry too much. A systematic approach can aid in this predicament:
Employ powerful data recovery software to solve how to recover data after Windows 10 crashed.
Protect both the operating system and data to preemptively ward off future crashes.
Part 1: Data Retrieval Following a Windows 10/11 Crash
When a Windows 10 system crashes, recovering deleted data becomes a straightforward process if you have a backup. With a backup in place, the restoration of your data is seamless.
However, in the absence of a backup, assistance is at hand with MyRecover, a reliable solution for navigating the complexities of data recovery from a crashed Windows 10 system that refuses to boot correctly.
Follow these steps meticulously for a successful data recovery from a Windows 10 crash:
Creating a Bootable Disk Using MyRecover
Step 1: Downloading and Installing MyRecover
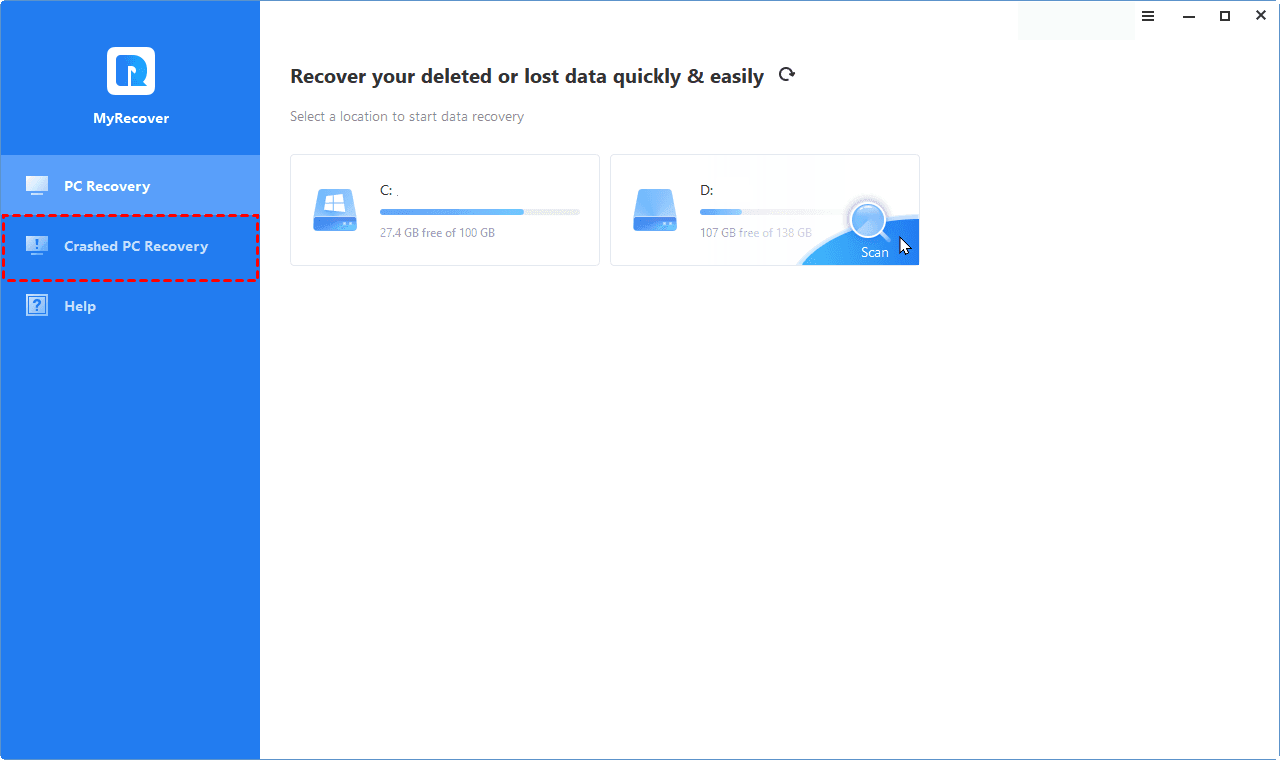
Begin by downloading and installing MyRecover on your computer. Run MyRecover, and choose “Crashed PC Recovery” first.
Step 2: Initiating Bootable Disk Creation
Select your preferred method for crafting the bootable disk and click "Execute" to initiate the process.

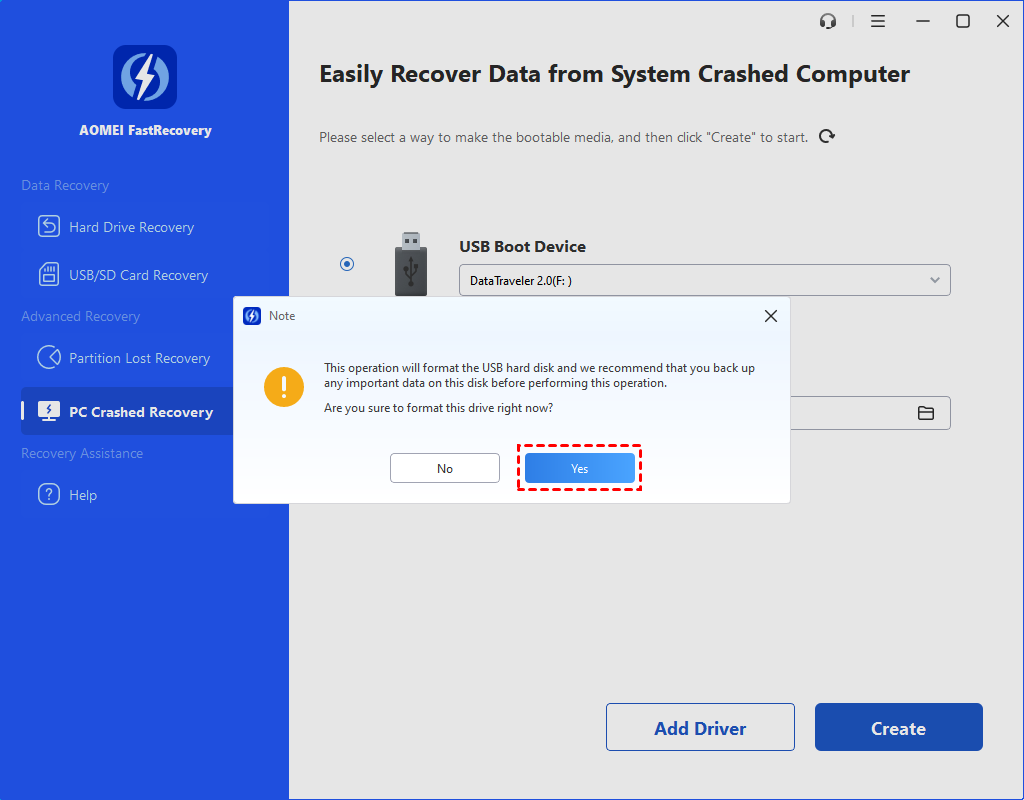
Step 3: USB Flash Drive Formatting
Upon method selection, an information window will prompt you to format the USB flash drive. It's crucial to note that this action results in the loss of all data on the drive. If important data resides on the USB flash drive, conduct a file backup before proceeding. Once prepared, click "Yes" to proceed.
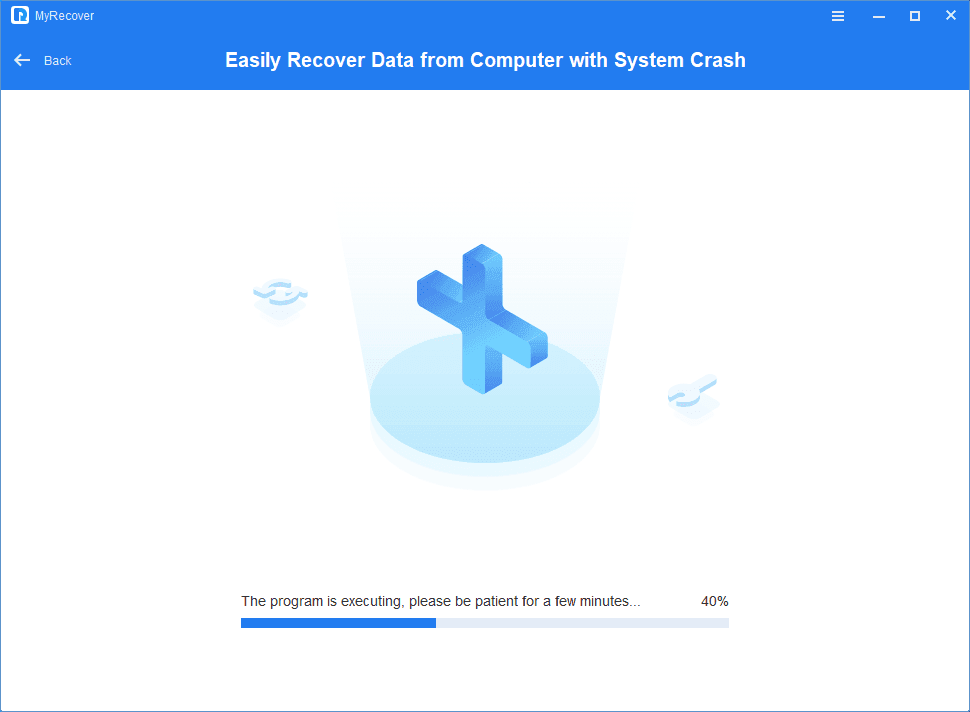
Step 4: Creation Operation in Progress
The operation will last for a few minutes.
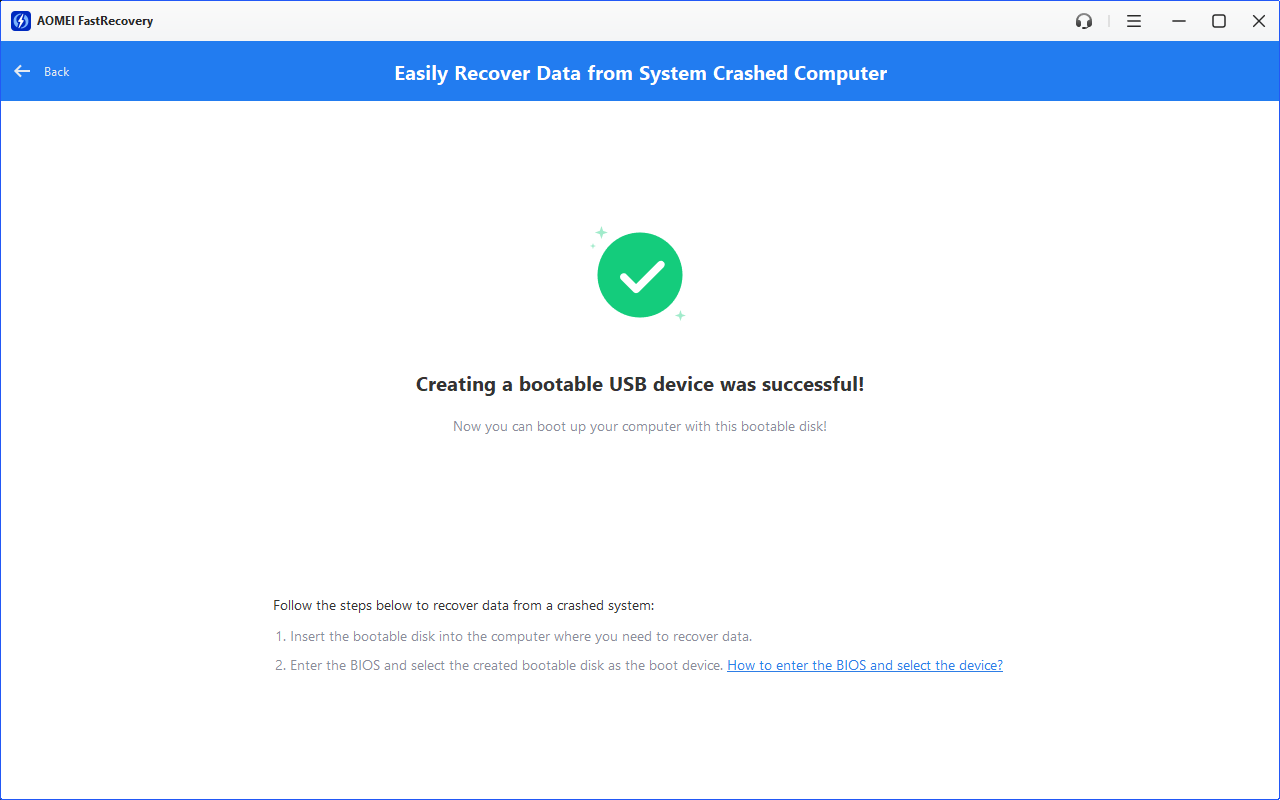
Step 5: Confirmation of Successful Creation
Upon successful finalization, a confirmation message will appear on your screen, validating the successful creation of the bootable disk.
Booting from Your Bootable USB
With your bootable USB flash drive or CD/DVD drive crafted using MyRecover, proceed with the following steps to initiate data recovery from a corrupted Windows OS.
1. Insert the bootable USB flash drive into the corrupted computer.
2. Restart the computer, and during the startup process, consistently press F2 or Delete to access the BIOS.
3. In the BIOS settings, you can put "removable device" (the bootable USB disk) over the hard drive.
4. Confirm the modifications by pressing "F10" and exit the BIOS. Your computer will now initiate the boot sequence from the designated removable device, seamlessly initiating the data recovery process.
Data Recovery from Bootable Disk
Effortlessly initiate the data recovery journey from your unbootable hard disk using MyRecover. Follow these steps for a seamless retrieval process:
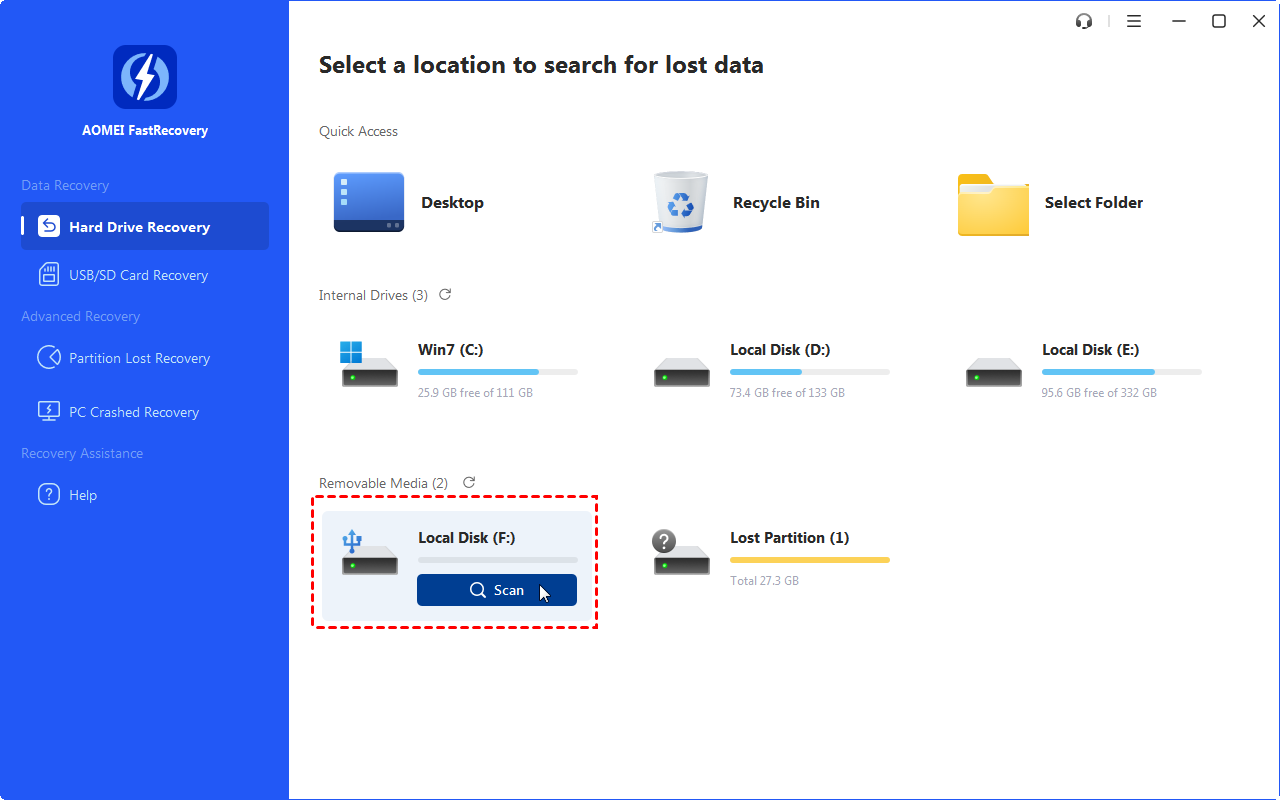
Step 1: Launch MyRecover
Open MyRecover and select "PC Recovery." Hover the mouse over the drive saved deleted files before, and click Scan.
Step 2: Deep Scan and Identify Data
MyRecover automatically conducts a thorough scan, meticulously identifying all recoverable data. Accelerate the location of specific data using the Search Box or the Filter feature.
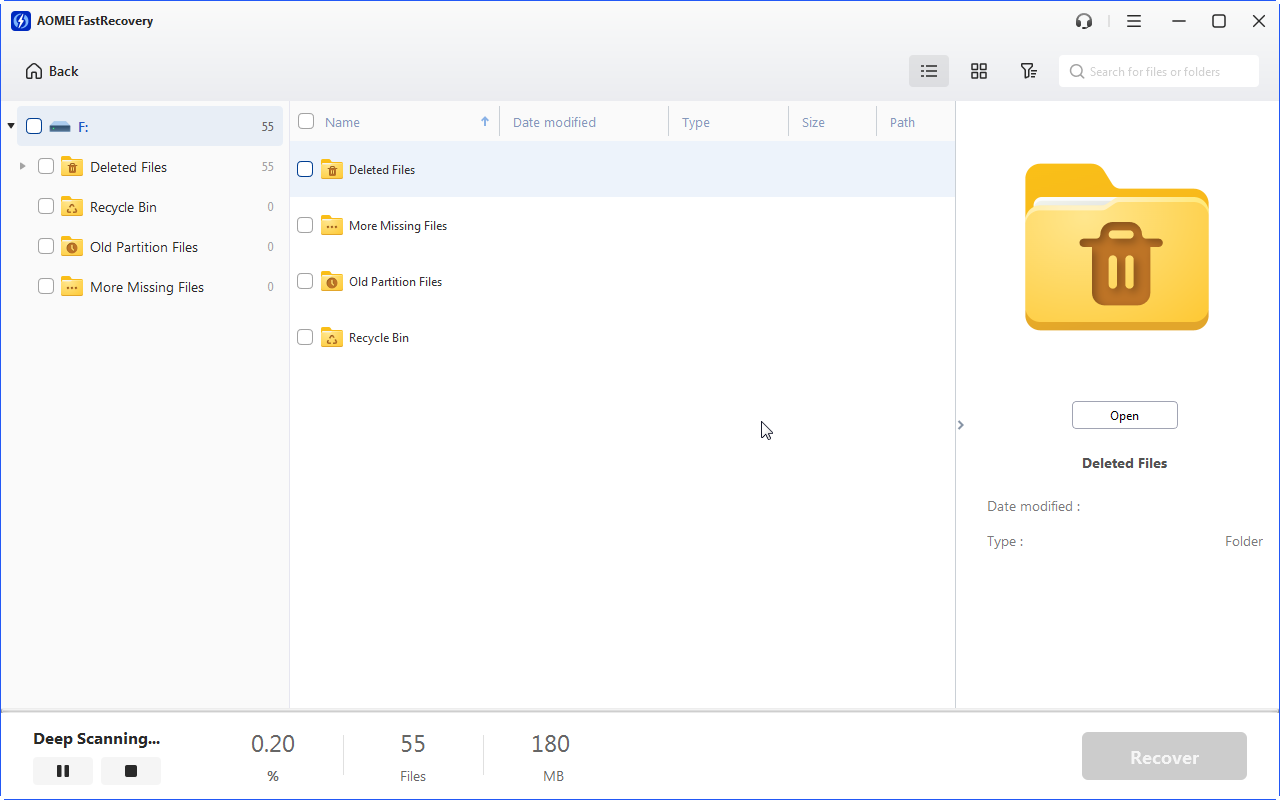
Step 3: Select Files and Initiate Recovery
Review the scan results and cherry-pick the files for recovery. Then click on the Recover x files button to recover data from crashed Windows 10.

By adhering to these steps, MyRecover ensures a user-friendly and efficient process, enabling you to seamlessly recover data from unbootable Windows 10.
MyRecover: Specifically designed for scenarios involving system crashes or startup complications, MyRecover excels in the retrieval of lost data amidst a spectrum of booting issues, including crashes, freezes, and persistent reboots. Notably, it showcases efficiency even in the recovery of data from a crashed hard drive. MyRecover stands as a reliable ally, adept at navigating the challenges presented by critical system malfunctions, ensuring the seamless restoration of valuable data.

- Versatile File Format Recovery: MyRecover excels in recovering over 200 file formats, encompassing essential documents such as Microsoft Word, Excel, PPT, PDF, PPTX, ODP, CSV, WPS files, and more.
- Efficient Data Location: Swiftly locate drive data using MyRecover's intuitive features. Filter files by type, date, or size to precisely pinpoint the files you need, streamlining the recovery process.
- Broad Device Compatibility: MyRecover goes beyond conventional recovery by supporting formatted hard drives, SSDs, USB drives, SD cards, and more. Its versatility extends across various storage media, ensuring a comprehensive data recovery experience.
Part 2: Safeguarding OS and Data Against Crashes
Understanding how to recover data from a crashed Windows OS or a non-responsive computer is only part of a comprehensive strategy.
The optimal approach involves maintaining a full backup of both your Windows 10 operating system and critical data. This preemptive measure serves as a robust defense against unforeseen system crashes or errors. Two viable options for creating backups include utilizing File History or employing dedicated backup software.
In this context, we introduce an automated method for backing up Windows 10 and data, leveraging AOMEI Backupper Standard:
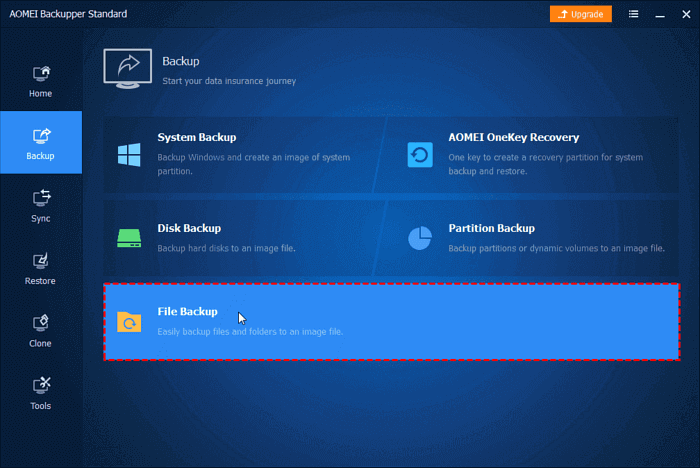
Step 1: Download and Launch AOMEI Backupper
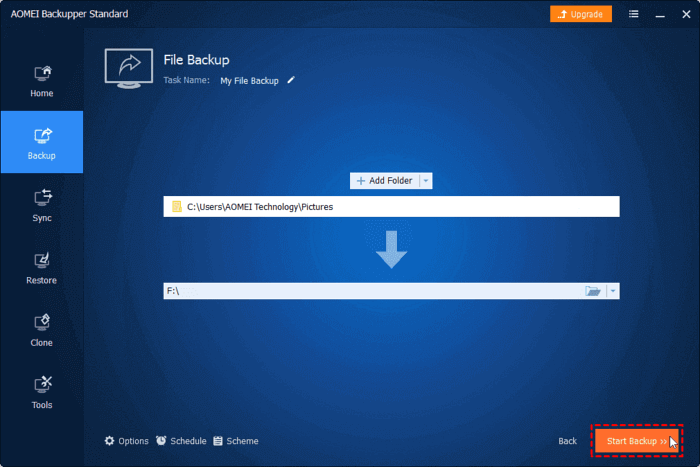
Commence by downloading and running AOMEI Backupper. Navigate to the "Backup" option in the toolbar and select "File Backup."
Step 2: Add Files/Folders for Backup
Click "Add Folder/Add File" or simply drag the necessary files to the panel. You have the flexibility to include multiple files or folders.
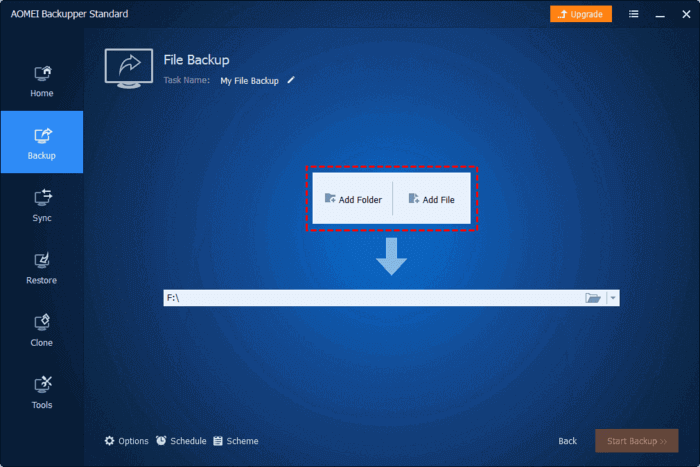
Step 3: Initiate the Backup Process
Click "Start Backup" to kickstart the backup process.
Bonus Tips: Avoid Windows 10 Crash
The occurrence of a Windows PC crash can be attributed to various factors. Identifying and addressing common reasons for this issue is crucial. Here are some insights and preventative measures:
- RAM issues.
- Issues with your Drivers.
- A failing hard drive.
- Malware or viruses.
- Overheating PCs.
To avoid data loss, there are some factors you can pay more attention to:
- Memory management
- Harddrive health
- Security vigilance
Final Thoughts
How to recover data after Windows 10 crashed? Now, you can use MyRecover, a powerful data recovery tool to get your data back. The user-friendly interface, advanced scanning methods, and high recovery speed of MyRecover can simplify the recovery process a lot.

