
Remove Write Protection on Micro SD card [Fast and Easy]
On this page, you will get to know how to remove write protection on micro SD card. At the same time, we will tell you how to recover data from a write protected SD card.
By Zoey / Updated on April 3, 2024
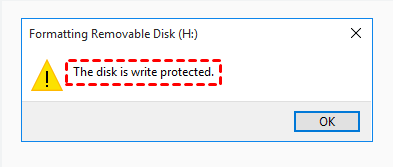
Struggling with the hindrance of “the disk is write protected” on a micro SD card during attempts to transfer files or media? Encountering a persistently pesky error message that declares your SD card as write-protected? Do not worry now! We're here to tell you how to remove write protection on micro SD cards by leveraging the power of your Windows PC.
About Write Protection on Micro SD Card
Ever wondered about the significance of write protection on a Micro SD card? This safeguarding mechanism empowers you to protect your cherished files from potential overwrites or deletions.
When write protection is in effect on your Micro SD card, perusal of data remains feasible, but attempts to copy or shift data from the SD card to your computer are not allowed. Put simply, the Micro SD card adopts a read-only mode, suspending any write operations.
However, how can we rid your micro SD card of this write protection, and why the disk is write-protected on SD card?
Write Protected Micro SD Card Data Recovery
Before plunging into the process of dismantling the shackles of write protection on your micro SD card and dissecting its genesis, it's wise to perform data recovery as a preliminary step.
Embarking on the journey to recover data ensnared within a write-protected micro SD card reveals a myriad of potential triggers for this predicament. Culpability could be attributed to a malicious viral intrusion, micro SD card not detected, physical harm inflicted upon the micro SD card itself, or a medley of other factors compelling the micro SD card to unilaterally engage the write-protection mode, guarding against eternal data loss.
Thus, our suggestion stands firm: before venturing into the realm of write protection removal, seize the opportunity to salvage and duplicate your invaluable data ensnared within the Micro SD card. Enter MyRecover, a premier Windows data recovery software endowed with an impressive success rate and rapid recovery pace, tailored to all types of data loss scenarios: virus attacks, malware infestations, formatting failures, or system crashes.
You can see many advantages of MyRecover:
- Operating on dual scanning methodologies, namely Quick Scan and Deep Scan, it performs a comprehensive scan of the corrupted micro SD card contents.
- Support spans a multitude of file types from Word documents, Excel spreadsheets, and PowerPoint presentations to images, videos, compressed files, and more.
- Preservation of original file names, formats, qualities, and pathways is a hallmark of MyRecover.
- Real-time file selection during the scanning process is facilitated through an intuitive filtering system.
- Compatible with an array of Windows versions, including 7, 8, 10, 11, and corresponding server editions.
To start your data rescue mission, download and set up the MyRecover Windows data recovery software. Concurrently, establish a connection between your write-protected micro SD card and the system.
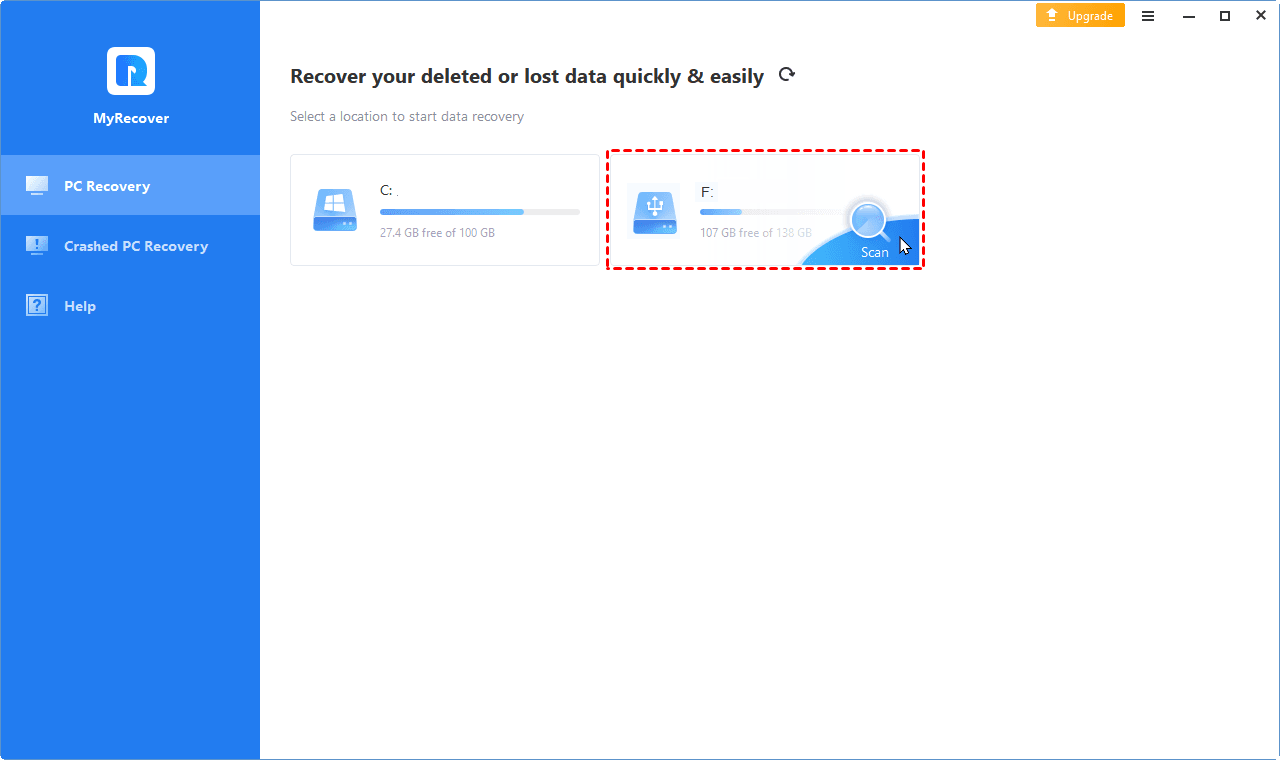
Step 1. Run the MyRecover software on your computer. Hover the mouse over the protected micro SD card and click Scan.
Step 2. The software will run Quick Scan & Deep Scan automatically and show you all deleted and missing data on your micro SD card. You can review and select the desired files.
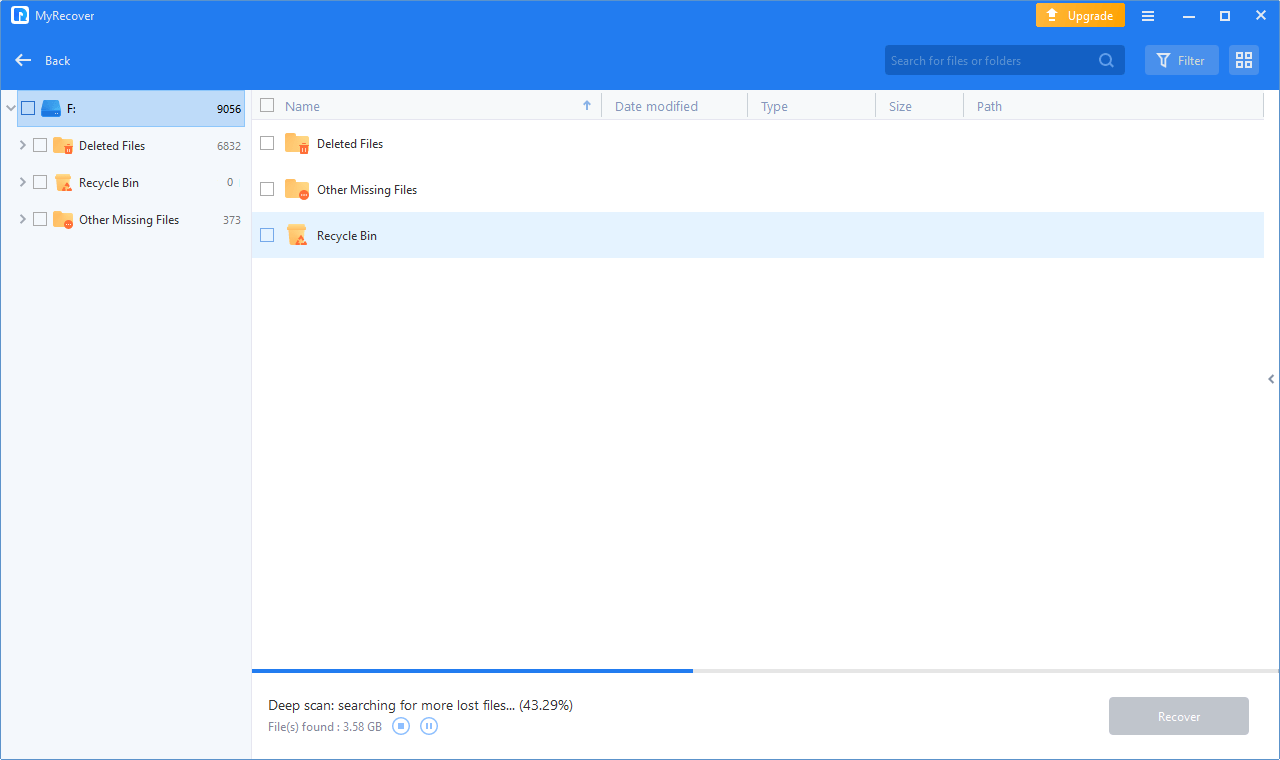
Step 3. After selecting the files you want to recover, click Recover X files to recover data from micro SD card. You can also wait for the final scanning result.

How to Remove Write Protection on Micro SD Card
To remove a write-protected SD card or micro SD card, please check the following useful methods here.
Method 1. Check the Lock Switch
Several micro SD card manufacturers incorporate a tactile write-protection switch within their designs. In the event of a writing error marring your PC endeavors, your foremost recourse is to delicately extract the SD card from its designated slot: be it an internal or external card reader. Undertake a visual audit to determine whether the lock switch is in the "on" position, thereby rendering the write feature inert.
If this switch languishes in the "off" configuration, exert gentle pressure to toggle it to the opposite state, deactivating the write protection layer. Reconnect the micro SD card to your PC, gauging whether the exorcism of this error is successful. If challenges persist, be prepared to explore alternative solutions.
Method 2. EmpowerThrough Diskpart
Harnessing the capabilities of the Diskpart utility unveils a path towards dismantling the shackles of write protection embroiling your Micro SD card. Pioneering this expedition mandates the enlistment of the Windows command prompt.
1. Commence by intertwining your Micro SD card with your computer's interface.
2. Evoke the initiation of the command prompt via the Start button or the Win + R shortcut, by typing "cmd" within the Run dialog. Upon pressing "OK," the command prompt materializes.
3. Within the command prompt's domain, invoke the "diskpart" command, serving as your gateway to the following operations.
Press "Enter" to execute each directive. These commands collectively constitute a write protection vanquishing incantation.
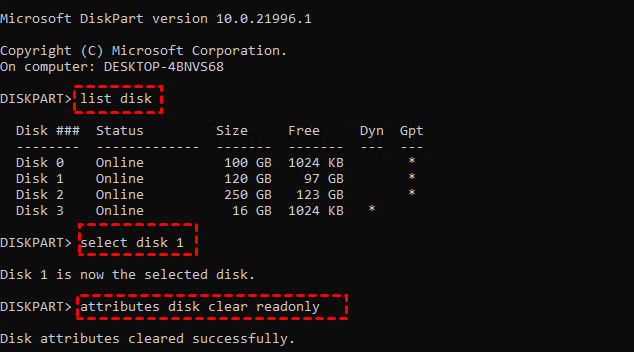
list disk
select disk # (Substitute "#" with the corresponding number attributed to your write-protected SD card, a figure typically resembling "disk 1.")
attributes disk clear readonly
Once finishes, issue the "exit" command, sealing the exit from the command prompt's realm. However, if your micro SD card problem still cannot be resolved, the final remedy is at hand, ready to complete the mission once and for all.
Method 3. Craft a Registry Edit
Before you begin, please proceed with caution and back up your registry. Such a contingency plan ensures rapid recovery of data from backup.
Follow the detailed guidance here:
1. Establish a connection between your micro SD card and your computer's interface.
2. Summons the Run dialog, employing the Win + R shortcut, and input "regedit." With a definitive click on "OK," the registry editor unfurls its vista.
3. Traverse the registry hierarchy by emulating the following path: HKEY_LOCAL_MACHINE\SYSTEM\CurrentControlSet\Control. Upon encounter, spotlight the StorageDevicePolicies folder.
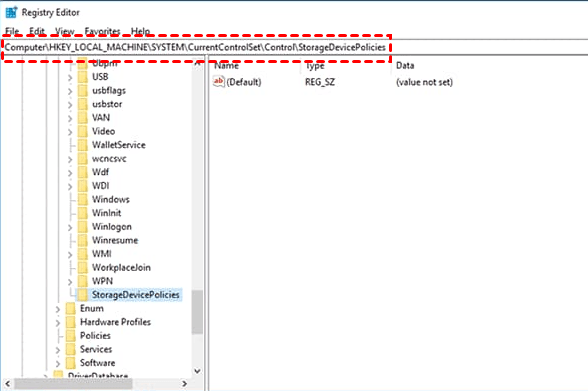
📌 Tip: If you cannot see this folder, manifest it by invoking a right-click within the "control" directory. Opt for the New > Key sequence, baptizing this nascent creation as "StorageDevicePolicies."
4. Embark on another right-click odyssey, this time enlisting "New">DWORD (32-bit) to christen the digital entity as "WriteProtect."
5. Grant a double-click audience to "WriteProtect," thereby beckoning the opportunity to adjust its value to "0." Concluding this endeavor necessitates a final click on "OK."
As the finishing touch, shutter the Registry Editor and reboot your computer. This resuscitation effectively makes your micro SD card get away from write protection's clutches.
To Sum up
That’s all about how to remove write protection on the micro SD card. Take effective actions to remove write protection on your micro SD card with the mentioned methods here. We also notify you that the necessity of micro SD card data security, and provide you with a professional SD card recovery tool MyRecover.

