Whether you're managing sensitive data, meeting regulatory standards, or just taking additional precautions, it's crucial to know whether your VMs are encrypted.

VM configuration files (like VMX files) and virtual disk files (VMDK) can hold information about the encryption status. VM Encryption helps safeguard data at rest, reducing the risk of data breaches or unauthorized data access.
Before diving into the process, make sure you have the following for encrypting VMware virtual machines:
Here are several methods to help you check if the VM is encrypted in VMware.
1. Open the vSphere Web Client from your browser and log in with your administrator credentials.
2. Once you're logged in, navigate to the VM you want to check. You can search for the VM by name or browse through your data center and clusters.
3. In the VM’s settings or summary tab, look for the “Encryption” section. If the VM is encrypted, it will show as "Encrypted." If not, the encryption status will be blank.

1. Launch the vSphere Client and log in to your vCenter server.
2. Browse the inventory to locate the VM in question
3. Select the VM, go to its “Summary” tab, and check for the encryption status. This should indicate whether the VM is encrypted or not.
1. In the vCenter Server, navigate to the VM and open its settings.
2. From the VM list view, select the ‘pick columns’ icon in the lower left near the export button in vCenter Server 8.
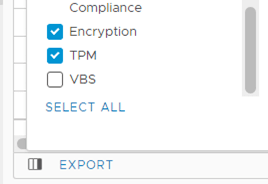
3. Select the checkbox for Encryption. You can check if the VM is encrypted.
4. However, upon closer inspection, we can see that some virtual machines only have the configuration file encrypted or only the configuration file and disk 1 encrypted, but disk 2 does not show "Encrypted" as shown below:
As can be seen, if you want to verify whether each VMD is encrypted one by one, it would be a very time-consuming task. Therefore, you can try using PowerCLI to easily check each VMDK of each virtual machine.
Use the following PowerCLI command to check the encryption status of a VM:
Get-VM | Select Name, @{Name="Encryption"; Expression={(Get-VMEncryption -VM $_).EncryptionStatus}}
To encrypt a virtual machine in VMware, you’ll need to configure your VM's storage and ensure the proper key management system is in place. Next, we will walk through how to encrypt VMware VMs step by step:
Step 1. Install KMS and set it up
> In the vSphere Web Client, go to the "Administration" tab. Under "Security", select "Key Management". Here, you can add and configure the KMS server details such as the server address, port, and authentication credentials.
Step 2: Encrypt the virtual machine
> Select the VM you want to encrypt. Right - click on it and select "Edit Settings".
> In the virtual machine settings window, look for the "Encryption" section. Check the box to enable encryption for the virtual machine.
> You'll need to choose an encryption key from the available keys provided by the KMS. Select an appropriate key and click "OK" to save the settings.
✍ (if necessary) In some cases, you may need to power off and then power on the virtual machine for the encryption to take effect fully.
While encryption is crucial, another aspect of VMware security that often goes overlooked is regular VM backups. After all, data security is only complete when it’s properly backed up and recoverable in case of disaster or failure.
AOMEI Cyber Backup offers an advanced, easy-to-use VMware backup solution that allows businesses to quickly protect and recover their virtual machines. It supports VMware vSphere environments, making it an excellent tool for IT administrators looking for a reliable and free backup solution.
With its user-friendly interface, you will learn how to operate it without any expertise. You can click the following button to download the freeware.
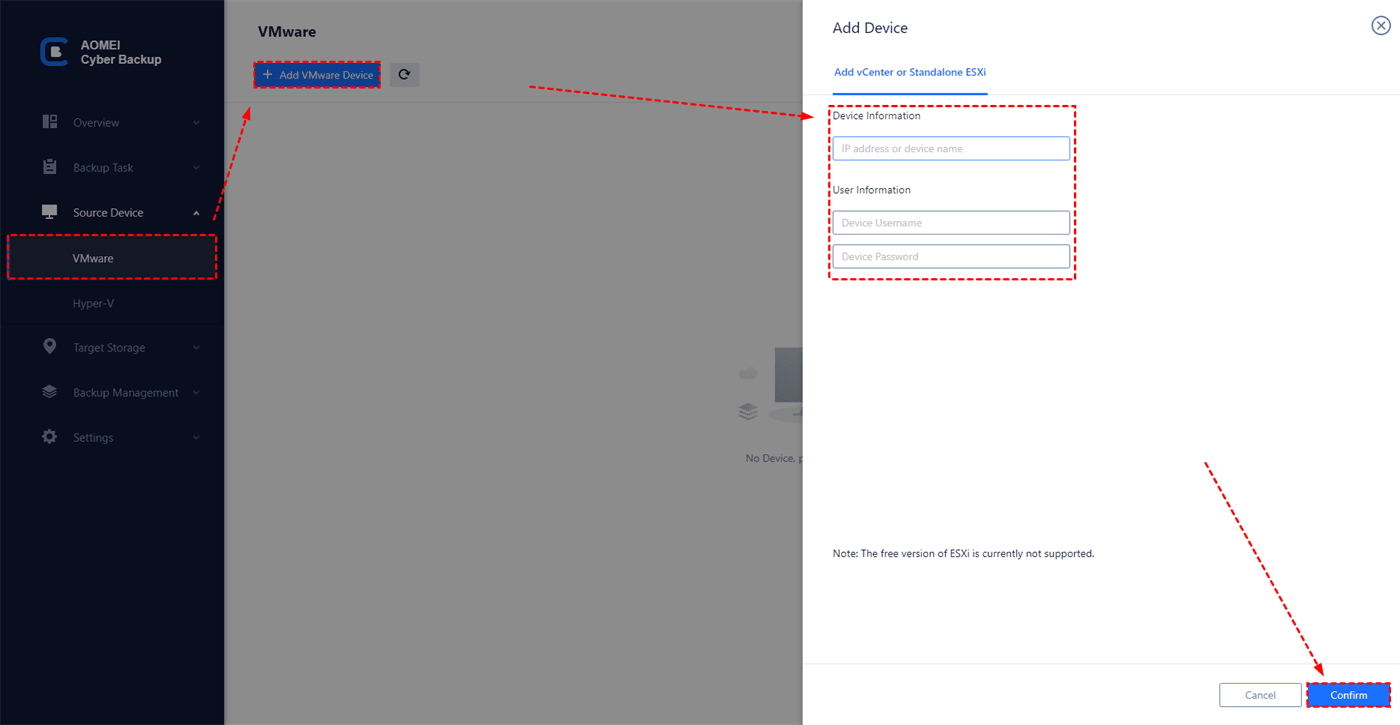
1. Bind Devices: Access AOMEI Cyber Backup web client, navigate to Source Device > VMware > + Add VMware Device to add vCenter or Standalone ESXi host as the source device, and then click … > Bind Device.
Note: Once bound the host you do not need to repeat this step later.
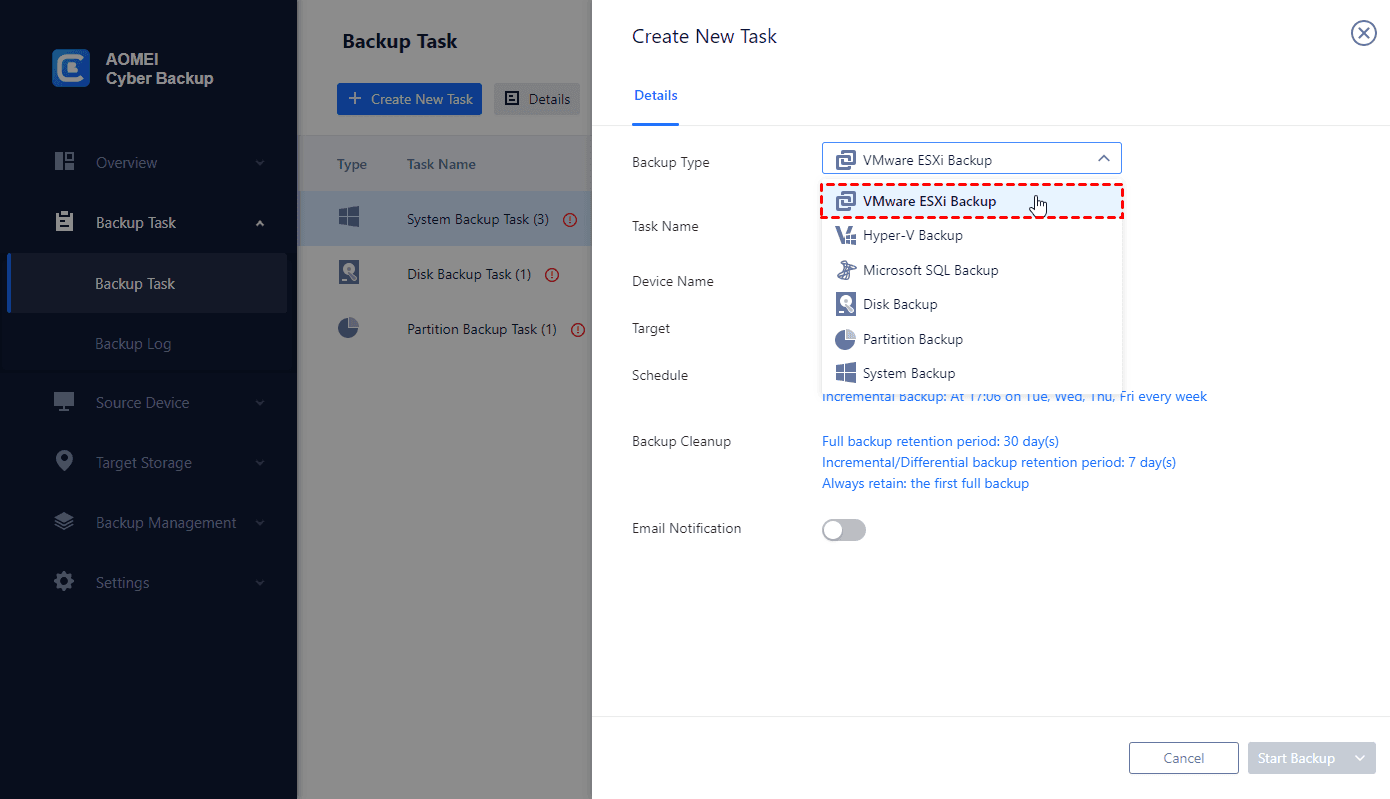
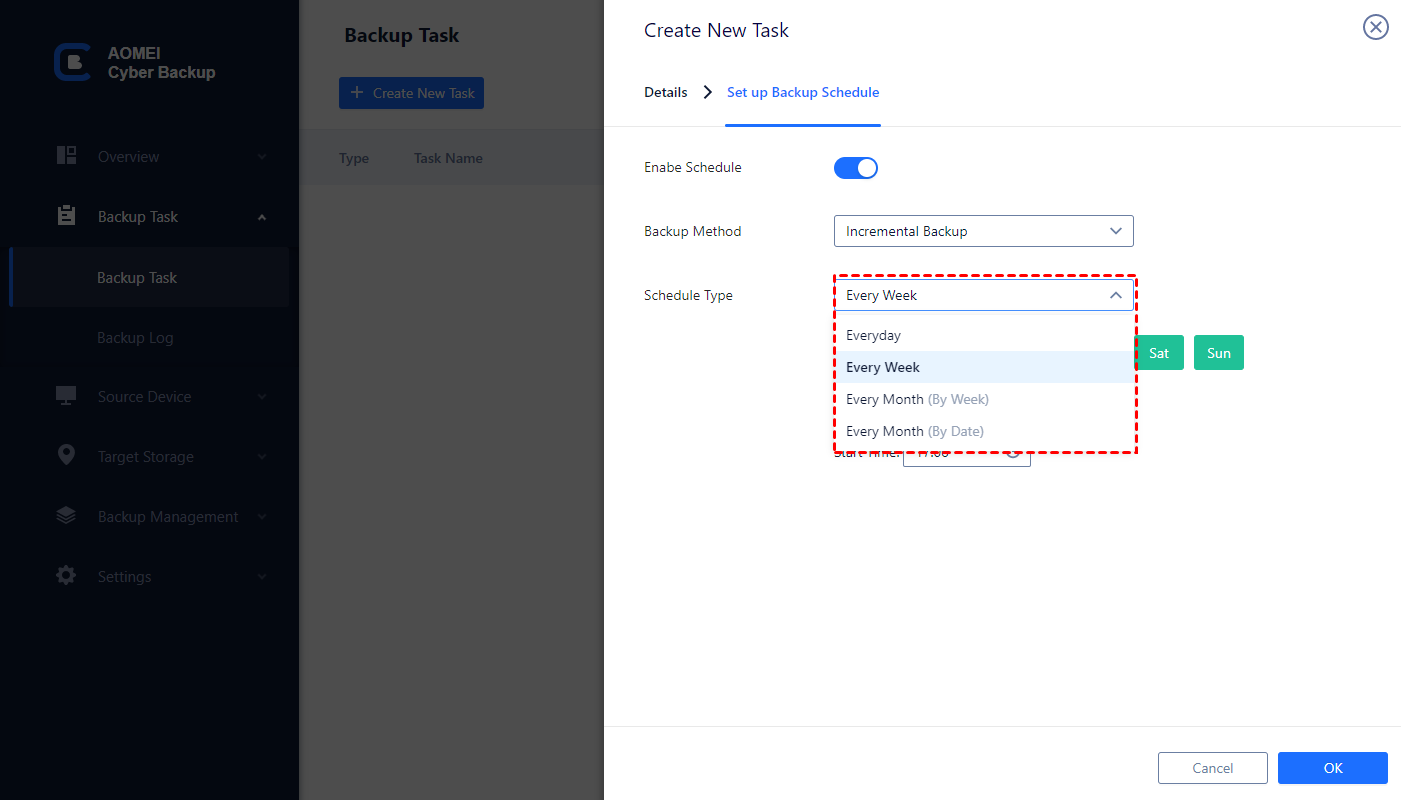
2. Create Backup Task: Navigate to Backup Task > + Create New Task, and then set the Task Name, Backup Type, Device, Target, and Schedule.
Now you can click Start Backup and select to Add the schedule and start backup now, or Add the schedule only.
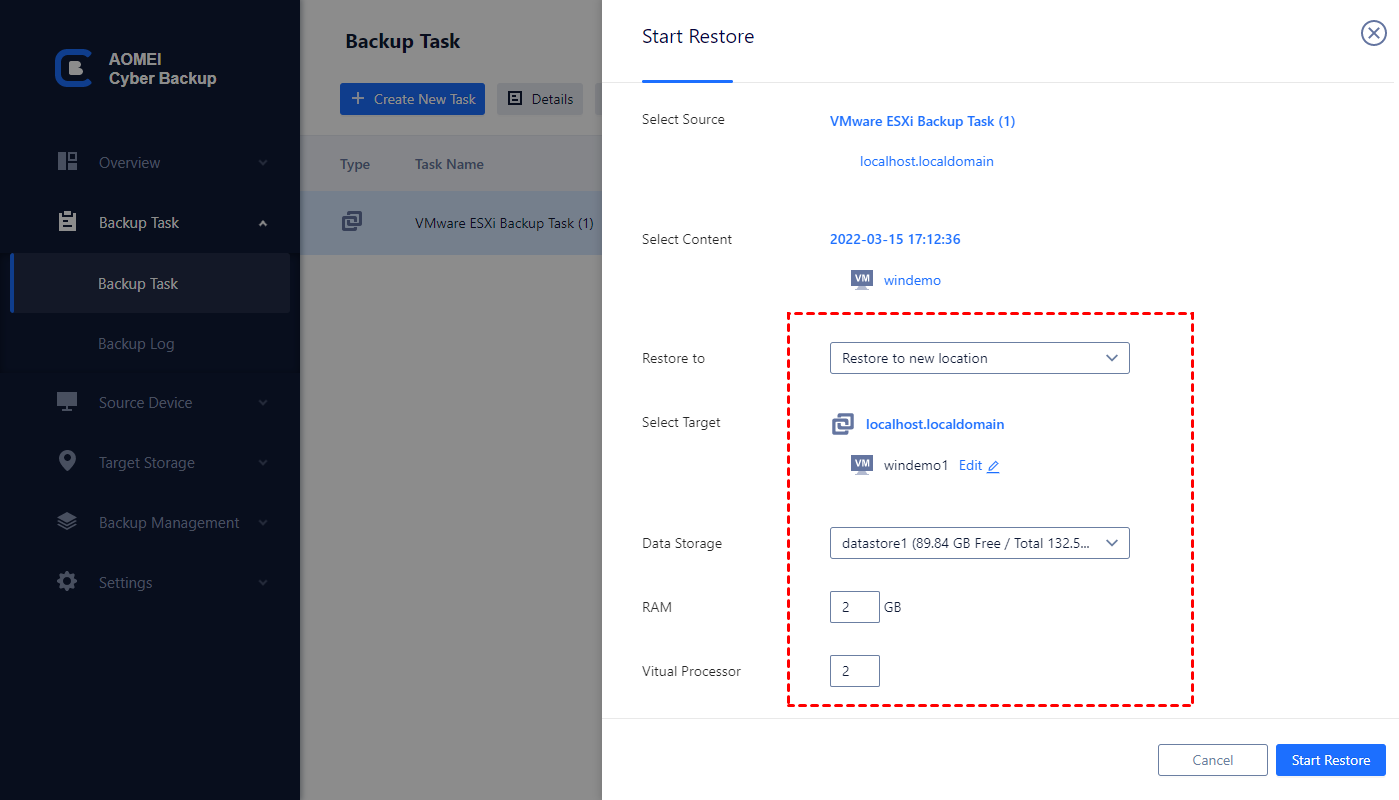
3. Restore VM: Click … > Restore on the backup task to open a wizard, and click Select Content to specify a restore point. Select to Restore to original location, and click Start Restore.
While the Free Edition covers most of VM backup needs, you can also upgrade to Premium Edition to enjoy: ▶ Batch VM backup: batch backup large numbers of VMs managed by vCenter Server or standalone ESXi hosts. ▶ Backup cleanup: Configure a retention policy to auto delete old backup files and save storage space. ▶ Restore to new location: Create a new VM in the same or another datastore/host directly from the backup, saves the trouble of re-configuring the new VM.
Checking if a VM is encrypted in VMware is a crucial part of managing your virtual environment’s security. By using the methods outlined above—via the vSphere Web Client, vSphere Client and PowerCLI—you can ensure your VMs are securely encrypted. Following best practices, like proper key management and regular verification, will help maintain the integrity of your encrypted data.