In this guide, we will unravel the intricacies of how to delete a SQL database, offering you a step-by-step roadmap to navigate this critical operation with confidence.

Confirmation before performing a SQL database deletion is a critical step in the database management process. It serves as a safeguard against accidental data loss and system disruptions. In this section, we will delve deeper into the importance of confirmation and outline the key considerations before proceeding with the deletion.
By adhering to these confirmation steps, you can significantly reduce the risk of unintended data loss and system disruptions when deleting or dumping a SQL database. Confirmation ensures that the decision to delete is well-considered and that proper precautions are in place to safeguard your data and system integrity.

Deleting a SQL database is a sensitive and potentially irreversible operation. It should be executed with caution and only when you are absolutely certain that the database is no longer needed. Here are the general guides on how to delete a SQL database:
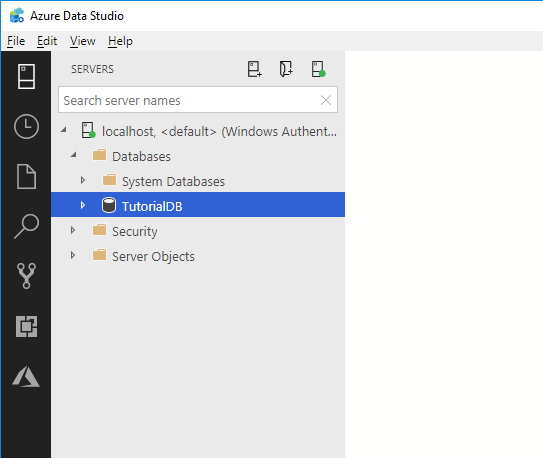
1. Within Object Explorer, establish a connection to a SQL Server Database Engine instance, and subsequently, expand the corresponding instance.

2. Expand the Databases, perform a right-click action on the database intended for deletion, and then select the Delete option.
3. To affirm your desire to proceed with the database deletion, choose the Yes option.
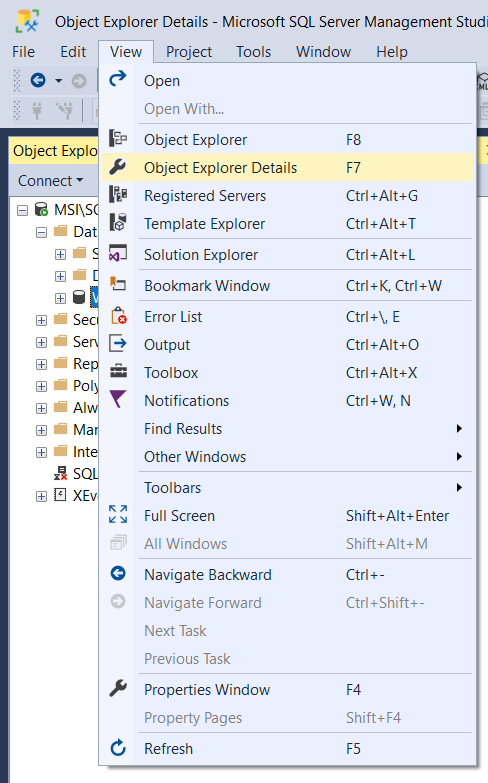
1. To delete a SQL database in SSMS, within Object Explorer, establish a connection to a SQL Server Database Engine instance, and subsequently, expand the corresponding instance.

2. Expand the Databases, perform a right-click action on the database intended for deletion, and then select the Delete option.
3. Confirm the correct database is selected, and then select OK.
1. Establish a connection to the Database Engine.
2. To delete database in SQL server using query, in the Standard toolbar, choose the New Query option.
3. Copy and paste the provided drop database command into the query window, then click on Execute.
❈ To delete a database:
USE master ; GO DROP DATABASE Databasename; GO
❈ To delete multiple databases:
USE master ; GO DROP DATABASE database1, database2, ...; GO
While the steps mentioned above provide guidance on safely deleting a SQL database, it's essential to highlight the critical importance of data backup before proceeding. Data loss can have severe consequences, and having a backup is your safety net.
Enter AOMEI Cyber Backup – a professional and reliable SQL database backup software that empowers you to safeguard your critical data with ease and confidence. AOMEI Cyber Backup is a comprehensive and user-friendly backup and recovery solution designed to meet the needs of both novice users and IT professionals. This robust software caters to various backup scenarios, making it the perfect choice for ensuring the security of your SQL databases.
◈ Intuitive User Interface: It simplifies the backup process. Even users with limited technical expertise can quickly set up and manage backups. ◈ Operation Within LAN: Assist you in doing numerous backups of SQL database, including SQL Express within LAN. ◈ Backup Schedule: Schedule an automatic backup task to back up the database at predetermined periods. ◈ Auto & Centralized Backup: Schedule SQL backups and run them automatically. ◈ Multiple Backup locations: Supports backing up SQL to local path, network share, NAS drive, external HDD, SSD, and save backups to Amazon S3 storage.
AOMEI Cyber Backup supports Microsoft SQL(2005-2022), VMware ESXi(6.0 and above), and Hyper-V(in Windows 8/8.1/10/11, Windows Server/Microsoft Hyper-V Server 2012 R2 and later versions) from a centralized console and click the button below to try the 30-day free trial:
✍ Before you perform a database backup, please make sure: 1. Your computer with both AOMEI Cyber Backup Agent and Microsoft SQL Server installed. 2. The local disk or network shared to store backup files.
1. Access to Source Device >> Add Microsoft SQL. If the database exists and the version is supported, it will appear automatically. Otherwise, you need click Add Microsoft SQL >> Download proxy program >> Already installed proxy and select the proxies you want to add.
2. Click ... >> Authentication to validate the database instance. You can choose Windows Authentication or SQL Authentication. Enter the credentials and click Verify.
3. Click Backup Task >> Create New Task to back up your SQL databases.
4. Start Backup: You can choose to Add the schedule and start backup now or Add the schedule only.
5. Click Backup Task on the left menu bar, locate the task you want to restore, and click ... >> Restore. Then specify the settings of your restore task.
In conclusion, deleting a SQL database is a critical task that requires careful planning and confirmation. Data loss can have severe consequences, so it's essential to follow best practices and take precautions before proceeding with any deletion. Always back up your important data using a reliable software like AOMEI Cyber Backup to ensure that your information is safe and can be restored if needed.
By following these guidelines, you can confidently manage your SQL databases while minimizing the risk of data loss and system disruptions.