If you are wondering what Hyper-V VM PXE boot is and what its advantages and caveats are. This article explains how you can use PXE to boot Hyper-V virtual machines off of the network in this post.

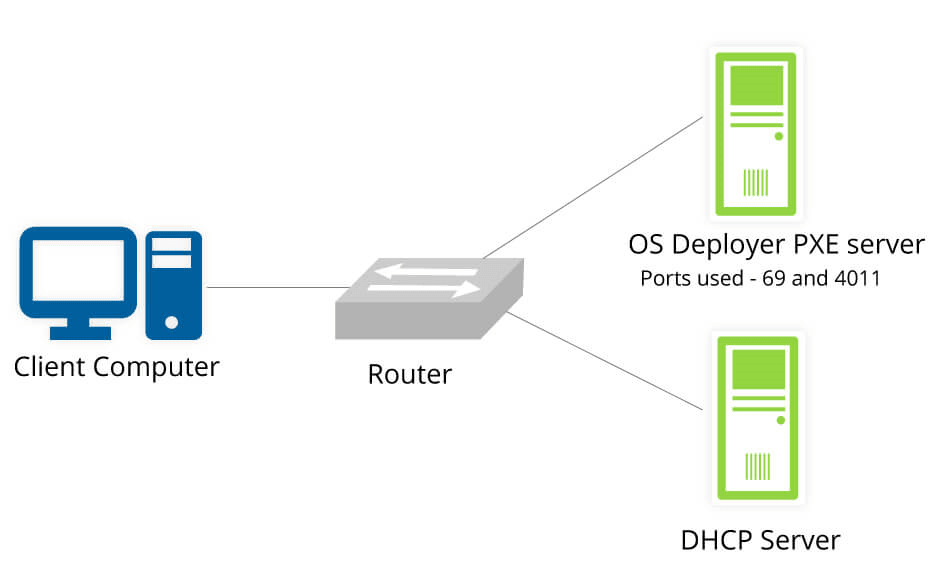
Hyper-V VM PXE Boot is the process of booting a network installation using the PXE (Preboot Execution Environment) bootloader in a Hyper-V virtual machine. In a Hyper-V environment, administrators can configure virtual machines to boot using PXE, which is often useful in the following situations:

This is only Hyper-V VM PXE Boot’s general characteristics, it also has its own unique advantages, as follows:
Therefore, Hyper-V VM PXE Boot is the process by which Hyper-V virtual machines utilize the PXE Bootloader to start a network installer, which simplifies the management of virtual machines, increases efficiency, and helps administrators better manage their Hyper-V environment.
Hyper-V VM PXE Boot is certainly powerful, but you must also consider some of its precautions in the process of using it, so as not to cause damage to you due to improper operation. The following points are what you should pay attention to in particular:
Therefore, Hyper-V VM PXE Boot is a technology that can help administrators quickly deploy new VMs, update or repair existing VMs, expand VM capacity, and more. However, when using it, issues such as security, network latency and compatibility need to be taken into account and appropriate measures taken to avoid risks.

Hyper-V has two generations of VM hardware which are Generation 1 and Generation 2. The generation of the Hyper-V virtual machine matters, because PXE uses different boot files depending on if the machine boots either using Legacy BIOS or UEFI.
Here, we will go through how to boot a Hyper-V Generation 1 or Generation 2 VM using PXE.
If you do want to boot a Generation 1 VM using PXE boot, you must add an emulated Legacy Network Adapter.
1. At first, open the Hyper-V manager and select the virtual machine.
2. Turn off the virtual machine, and right-click Setting.
3. Select Add Hardware. Then select Legacy Network Adapter and click Add.
4. Configure the Legacy Network Adapter settings, and change the boot order.
5. In the settings, select BIOS, and move to Legacy Network Adapter.
6. Apply the changes, and make the virtual machine boot image from PXE.
Unlike Generation 1 PXE is possible through the default network adapter itself. No setting needs to be adjusted for generation 2 servers.
1. When you created a Generation 2 virtual machine, access Hardware Configuration and click on Firmware. Please ensure you have your network at the top.
2. Click on Network Adapter >> Advanced Features, see the checkbox is selected for Protected Network.
This part describes how to deploy a Hyper-V VM with PXE boot. Hyper-V virtual machines play a crucial role in your organization, so it is necessary to backup the Hyper-V virtual machine.
Checkpoint in Hyper-V records the state of a virtual machine, so many people use Hyper-V checkpoints as backup. However, checkpoints could run out of the memory of disk with a rapid speed, which leads to the poor performance of your virtual machines. So, a reliable backup is the ideal solution for data protection of virtual machines.
Here I would like to introduce you to a powerful and easy-to-use software- AOMEI Cyber Backup for your free Hyper-V backup. It supports Hyper-V of Windows Server 2012 R2 / Windows 8 and later versions as well as VMware ESXi 6.0 and above.
✤Enjoy the following benefits for free: Agentless Backup: create complete and independent image-level backup for VMware ESXi and Hyper-V VMs. Multiple Storage Destinations: backup to local or network share destinations. Automated Execution: create backup schedules to automate virtual machine protection. Perpetual Free: you can use AOMEI Cyber Backup Free Edition with no time limit.
*You can choose to install this VM backup software on either Windows or Linux system.
Step 1. Access to AOMEI Cyber Backup web client and bind device. Then select Source Device >> Hyper-V >> +Add Hyper-V. Then add a Hyper-V host. And then click … to Bind Device.
Step 2. Create Backup Task: Navigate to Backup Task and Create New Task. Then select Hyper-V Backup for Backup Type. After that, set the Task Name, Device, Target, Schedule according to your need.
Step 3. Click Start Backup and choose Add the schedule and start backup now or Add the schedule only.
Step 4. When your backups are completed and you want to restore VMs, navigate to Start Restore, you can change restore location here to Restore to original location, and click Start.
In this article, you can understand the features of Hyper-V PXE Boot and learn to deploy a Hyper-V VM using PXE Boot. You can create Hyper-V virtual machines as you want, but I should remind you that virtual machine backups are equally important, please do not forget to backup your virtual machines in production environment.