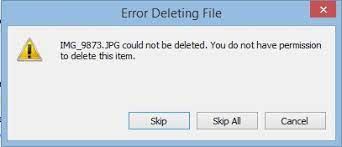
You may encounter a prompt message saying that “you do not have permission to delete this item”, then how to enable and get the deleting permission on iPhone. This article will give you some suggestions

In general, there will be countless folders on your iPhone, iPad, or computer, some of them are very significant while others can be deleted according to needs whether it's to solve" iCloud storage is full" or to protect individual privacy. Then, users are likely to try to delete some photos, files, DCIM folders, apps on iPhone but all to no avail, and get startled to find the error “you do not have permission to delete this item".

All kinds of reasons may cause you to get the no deleting permission prompt.
▶1. An old iOS version may be the first reason you don’t have permission to delete files.
▶2. If the pictures you want to delete are backed up on your iPhone, you may not have permission to delete photos because of iCloud or iTunes issues.
▶3. In most cases, the error deleting a file on iPhone is to ensure that an unauthorized user doesn’t access your phone and take the vital data away.
▶4. The chances are that it's because you have previously synced your photos from iPhone to computer, iPad, or Mac, most likely this item you can't delete is in the third-party device.
If you are in this trouble, relax, the next section will show you how to solve it.
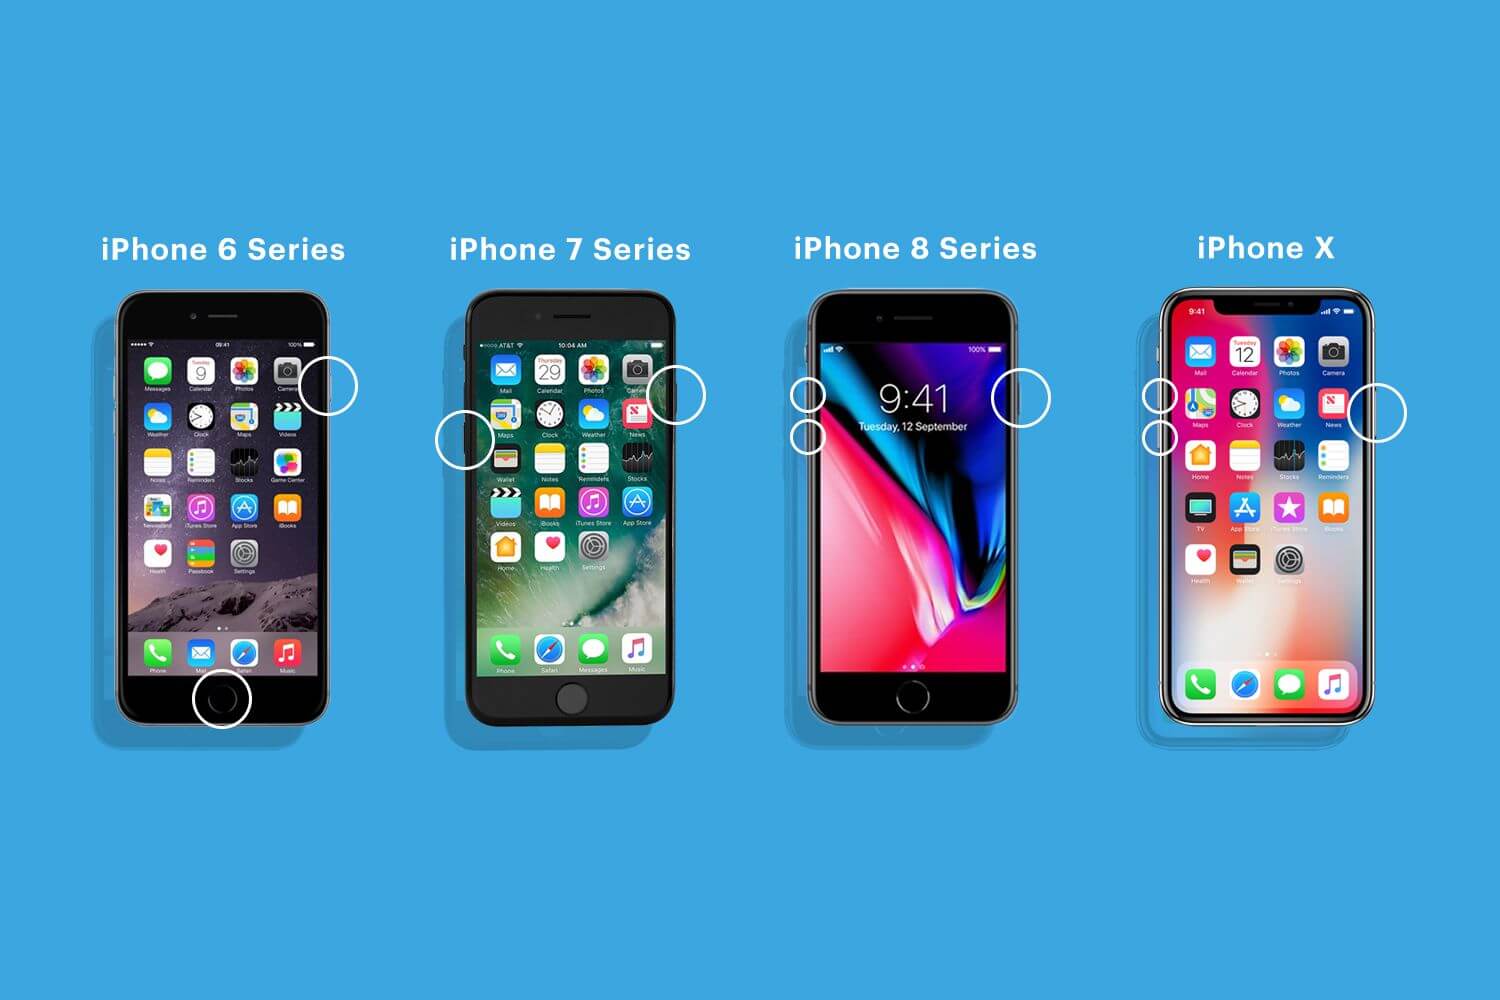
When you don't have permission to delete this file on iPhone, you should first try restarting iPhone to solve the issue. Different types of iPhones are detailed as follows.
For iPhone 6 series: Press the Sleep/Wake button and Home button until the Apple logo appears.
For iPhone 7 series: Press the Sleep/Wake button and Volume Down button until the Apple logo appears.
For iPhone 8 and iPhone X series: Press both Volume Up and Down buttons together, hold the iPhone’s side button until the Apple logo appears.

You can also go to the Settings app on iPhone, tap General, scroll down to the bottom, and then click Shut Down to power off your iPhone with ease.
In some cases, updating iOS to the latest version can easily solve various problems for iPhone.
Open the "Settings", click “General”, tap “Software Update”.
When the iOS upgrading is finished, you can try deleting the file again.
When pictures are backed up in the cloud, there could be a restriction on phone to enable file deletion. However, you don't need to disable the entire iCloud like calendar or messages, just disable the iCloud photo album.
Step 1. Go to the “Settings” app, tap on your name, navigate to iCloud.
Step 2. Click the Manage Storage, tap “iCloud Photo Library”.
Step 3. Click "Disable and Delete".
If you want to delete photos on your iPhone directly, you can try deleting them on the Photos app.
Step 1. Go to the Photos app.
Step 2. Choose the desired photos, tap Delete.
Step 3. Click the trash can to delete the selected photo, confirm your action.
When you see the error of no permission to delete files, photos on iPhone or iPad, you can try all the above methods to get permission to delete. Besides, it is recommended that you can back up all your files in advance with other tools in case of losing precious data. AOMEI FoneBackup is a powerful iPhone backup, and transfer software that can transfer photos, videos, messages, as well as other data from iPhone to computer to leave more space for your iPhone.
Here is an example of detailed operating steps to perform free photos backup in Windows.
Step 1. Launch AOMEI FoneBackup, plug in your iPhone, click Phone Transfer and go to iPhone to PC.
Note: If you want to create a photos image backup, click Phone Backup > Selective Backup to backup iPhone photos.
Step 2. Click the + icon and select the picture you wish to transfer and click OK to continue.
Step 3. Click Start Transfer > Select a storage path as the destination, click Transfer to start.
Step 4. Tap OK when the transfer is completed.
That’s all for the error you do not have permission to delete the item on iPhone/iPad. It’s best for you to try several alternatives. Besides, if you don't want to lose some important files, you'd better transfer them to a safe place by using AOMEI FoneBackup before deleting them. Hope this article can help you to troubleshoot the problem.