Fixed: 0xc1900101 0x20017 Windows 11 Installation Error
This guide will walk you through multiple methods to resolve 0xC1900101 0x20017 Windows 11 upgrade error, helping you easily upgrade to Windows 11 24H2 and keep your file secure.
Last Updated March 12, 2025
How do I fix error code 0xC1900101 0x20017?
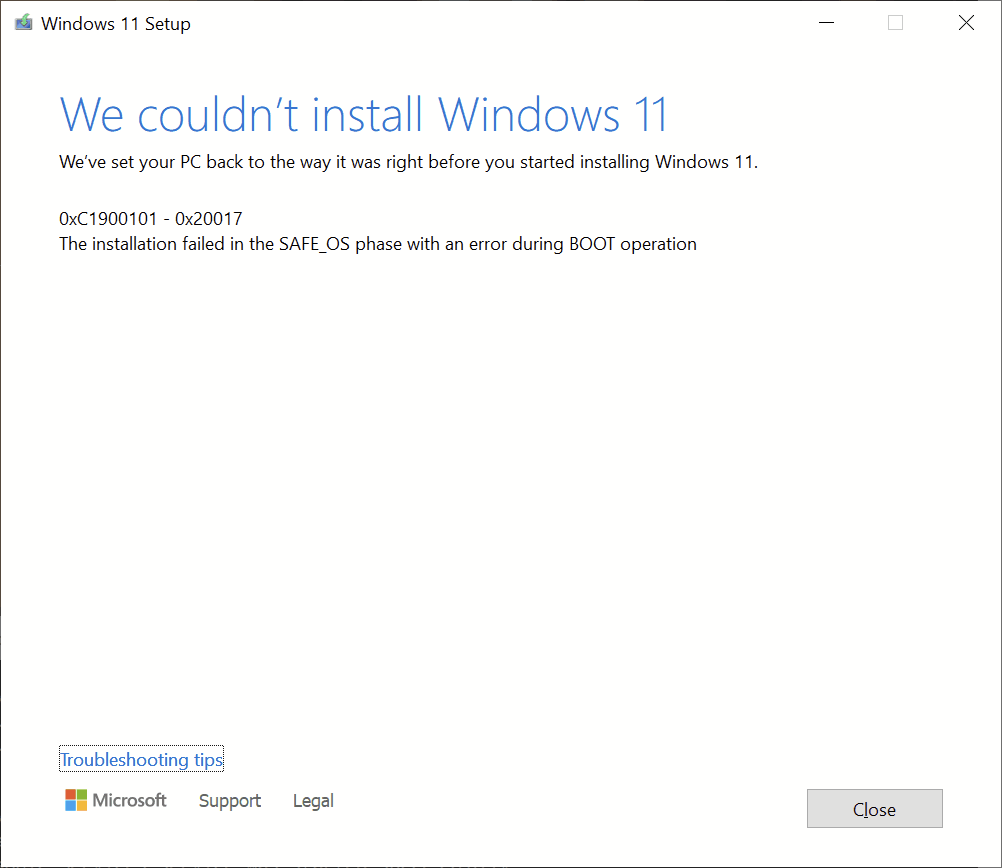
I am trying to upgrade my Windows 10 to Windows 11, but I keep getting the error message - we couldn't install windows 11:
"0xC1900101 - 0x20017, The installation failed in the SAFE_OS phase with an error during BOOT operation."
Encountering 0xC1900101 0x20017 during Windows 11 installation can be frustrating, as it typically signifies a driver-related issue that interrupts the upgrade process. This error often occurs during the "SAFE_OS phase" with a failure during the "BOOT operation," preventing the installation from proceeding smoothly.
Why does Windows 11 0xC1900101 0x20017 error occur?
Why is Windows 11 Version 24H2 or 22H2 update not installing with 0xC1900101 0x20017 error code? Most common reasons include:
- Outdated or incompatible drivers: Missing or outdated drivers, particularly for network, graphics, or storage, can trigger the couldn't install Windows 11 issue.
- Insufficient disk space: Windows installation requires a certain amount of free space; lacking it can cause installation failure.
- Corrupt system files: Damaged or missing essential system files can interfere with the upgrade process.
- BIOS settings conflicts: Secure Boot, UEFI settings, or outdated BIOS firmware can contribute to Windows 11 installation errors.
- Third-party security software interference: Antivirus or firewall software may block the installation process.
Before proceeding with any complicated solutions, you could try the following simple 0xC1900101 0x20017 Windows 11 fix tricks:
⇒If BitLocker encryption is enabled on your system, suspend BitLocker encryption before the Windows installation.
⇒Temporarily disable non-Microsoft security software to prevent it from blocking Windows updates.
⇒Make sure your computer meets the minimum hardware requirements to install or upgrade to Windows 11.
⇒ Free up space on the disk by removing useless files and ensuring that there is more than 64 GB of free space on the C: drive for Windows 11 installation.
⇒Turn off your Bluetooth and Wi-Fi in the BIOS if you have turned them on by heading to BIOS menu > Advanced and disable them.
How to solve 0xC1900101 0x20017 Windows 11 installation error in 7 Ways
To successfully install Windows 11 and bypass the "0xC1900101 0x20017 SAFE_OS" error, please follow these step-by-step troubleshooting methods.
Method 1. Run Windows update troubleshooter
The Windows Update Troubleshooter is a built-in tool designed to detect and fix common issues related to Windows updates.
Step 1. Open Windows Settings by pressing Win + I. Navigate to Update & Security > Troubleshoot.
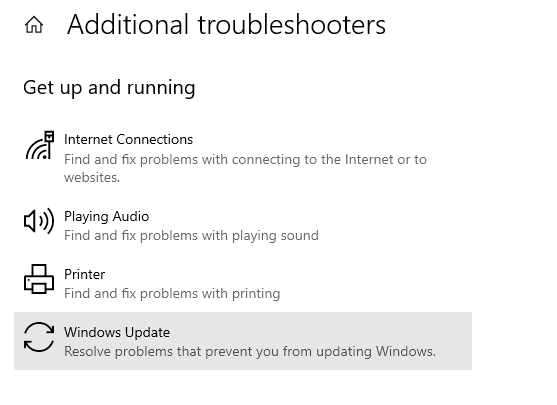
Step 2. Click Additional troubleshooters > Windows Update in turn.
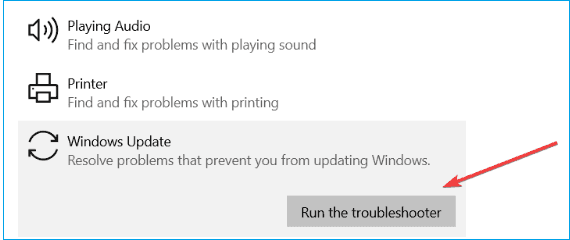
Step 3. Tap on Run the troubleshooter and it will start to check and fix Windows-update-related issues.
Method 2. Update Drivers
Outdated or incompatible drivers can trigger the 0xC1900101 0x20017 Windows 11 installation error.
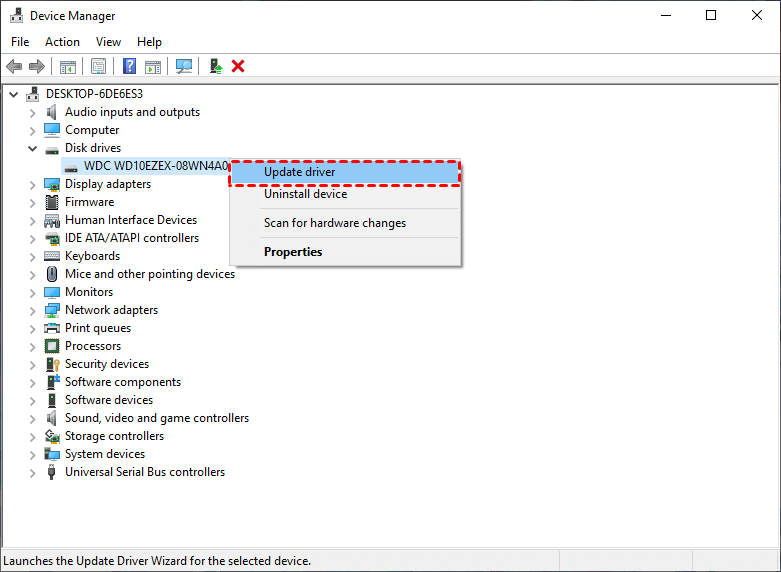
Step 1. Press Win + X and select Device Manager.
Step 2. Expand the Disk drives section, locate and right-click the problematic disk, then choose Update driver.
Step 3. Select Search automatically for drivers and wait for the driver to complete the update.
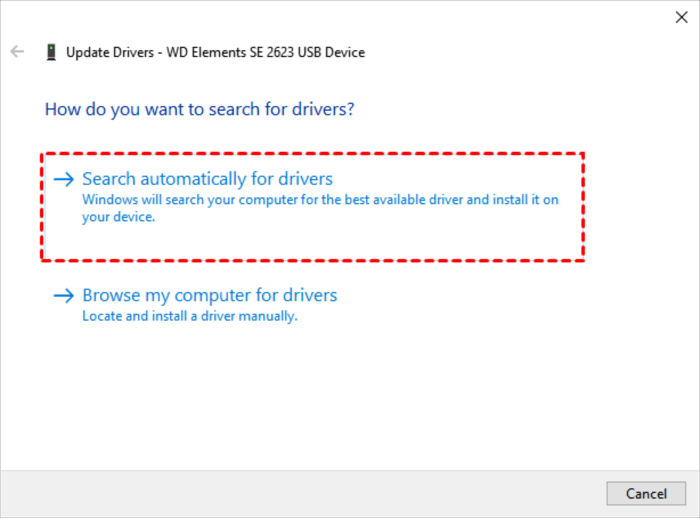
Method 3. Repair corrupted system files
Corrupted system files can hinder the update process. You could utilize the System File Checker (SFC) and Deployment Imaging Service and Management Tool (DISM) to repair damaged system files.
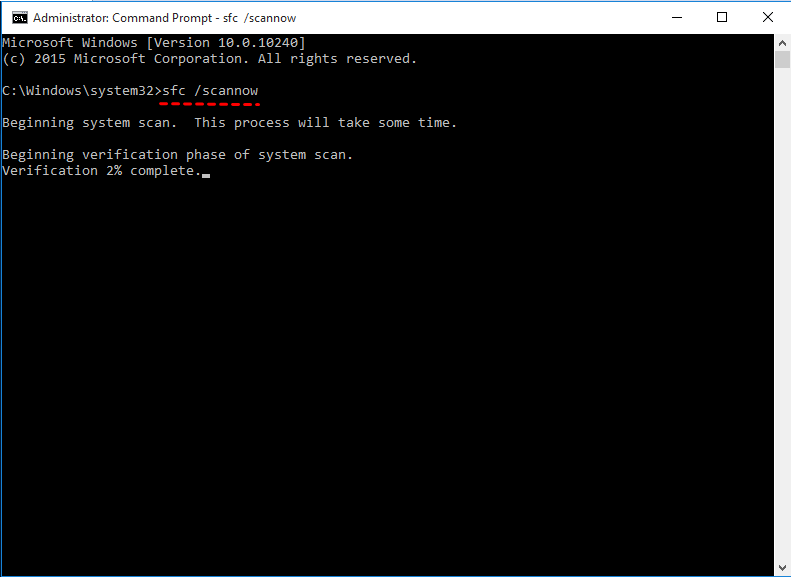
Step 1. Search for Command Prompt in Windows, and run it as an administrator.
Step 2. Type the following sfc command and press Enter to check and repair system files.
- sfc /scannow
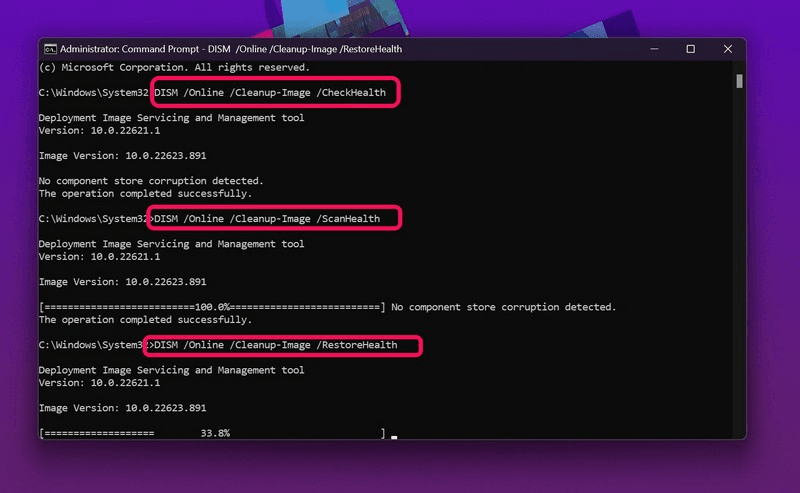
Step 3. Then, run the following commands one by one:
- DISM /Online /Cleanup-Image /CheckHealth
- DISM /Online /Cleanup-Image /ScanHealth
- DISM /Online /Cleanup-Image /RestoreHealth
Step 4. You could restart your PC when the scan is complete, and check if the Windows 11 24H2 failed to install with 0xC1900101 error issue persists.
Method 4. Reset Windows update
Sometimes, Windows downloaded update files with corrupted files can lead to Windows 11 0xC1900101 0x20017 upgrade issue. In such a case, you can clear Windows Update cache to reset the download.
Step 1. Run Command Prompt as an administrator likewise.
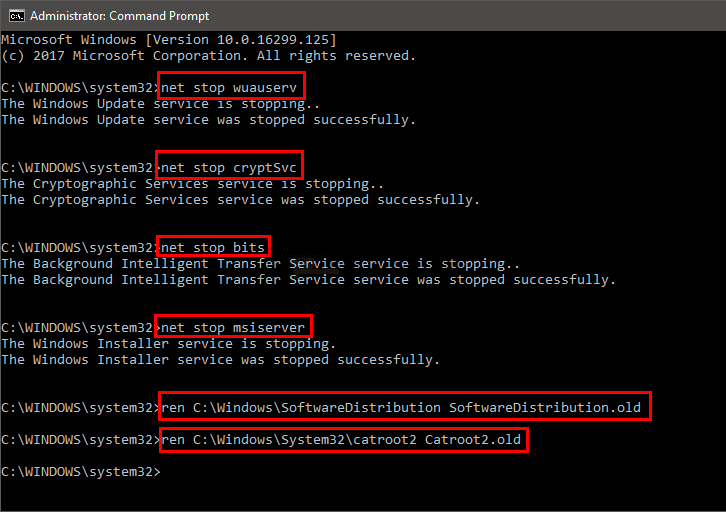
Step 2. Enter the following commands in sequence with Enter to disable the update components:
- net stop wuauserv
- net stop cryptSvc
- net stop bits
- net stop msiserver
- ren C:\\Windows\\SoftwareDistribution SoftwareDistribution.old
- ren C:\\Windows\\System32\\catroot2 Catroot2.old
Step 3. Now, enter the commands below one by one to restart the Windows update components:
- net start wuauserv
- net start cryptSvc
- net start bits
- net start msiserver
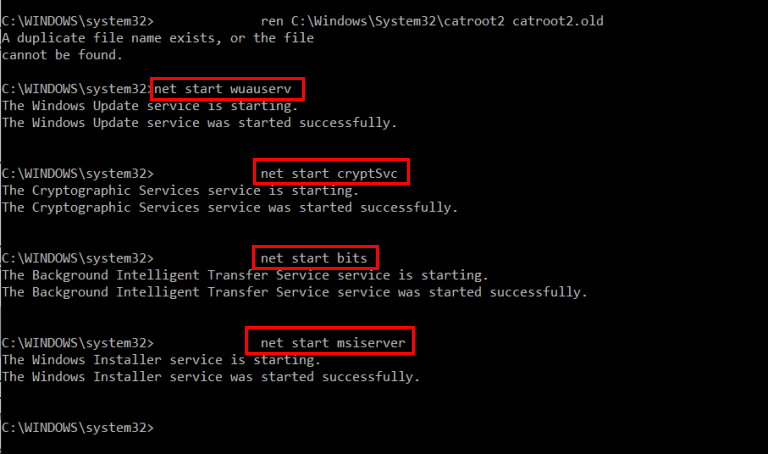
Step 4. Restart your PC and attempt the upgrade again.
Method 5. Update BIOS
An outdated BIOS can cause compatibility issues during the Windows 11 installation.
Step 1. Restart your computer, and as soon as your system starts, press the Esc, F2, F10, or Delete key (varies from manufacturer to manufacturer) to boot into BIOS/UEFI Settings.
Step 2. Locate the BIOS version information under the Main or General tab (varies from manufacturer to manufacturer).
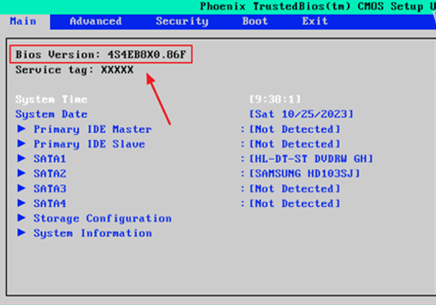
Step 3. Then, visit your motherboard manufacturer's official website. Download the latest BIOS update file and follow the installation guide provided if there is a newer one.
Method 6. Disable secure boot
Secure Boot can sometimes interfere with the Windows 11 upgrade process, causing the installation failed in the SAFE_OS phase on Windows 11 issue.
Step 1. Restart your PC and enter BIOS/UEFI.
Step 2. Locate the Secure Boot option and set it to Disabled. Then, Save changes and exit BIOS.
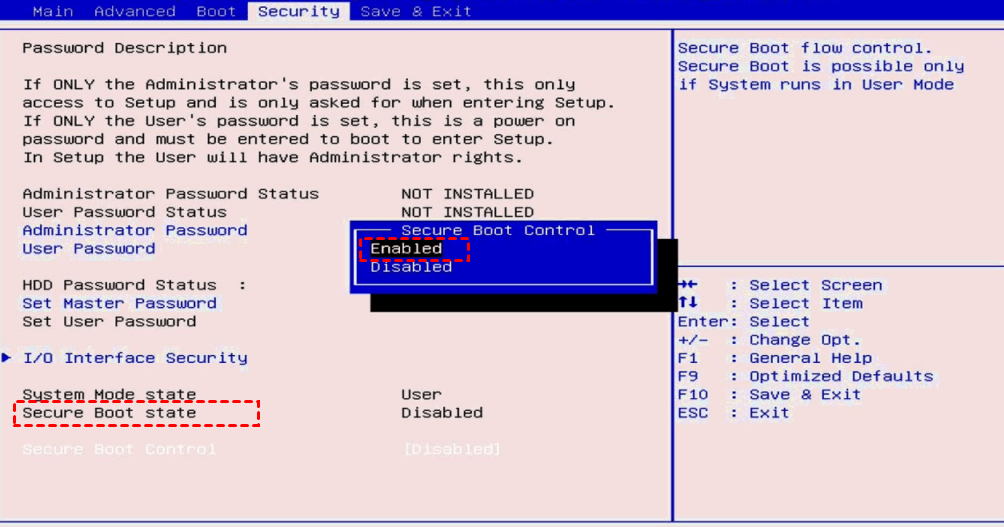
Always Backup Your Windows Computer for Data Security
Before attempting any major system changes, such as a Windows update or fresh installation, it's crucial to backup your data to prevent potential loss. AOMEI Backupper Standard is a reliable and user-friendly Windows backup and restore solution that caters to various backup needs.

- System backup: Create a full image of your operating system to safeguard against system failures.
- Disk and partition backup: Back up entire disks or specific partition as needed, ensuring all data is preserved.
- File backup: Back up specific files and folders to protect your personal data.
- Create bootable media: Besides, it allows you to create bootable USB or CD/DVD based on Windows PE or Linux kernel and helps to restore system when the computer won't boot.
Follow the guidelines below to backup your computer easily.
Step 1. Download and install AOMEI Backupper on your computer. Launch it to click Backup > System Backup. To backup your personal files, please use File Backup.
Step 2. The software will automatically select the system partition and boot-related partitions. You only need to choose a destination path. In case of any unexpected situation, it is highly recommended to create Windows system image on USB or other external hard drives.
Step 3. Click on Start Backup to initiate the process of backing up your Windows system.
- Notes:✎...
- You can enable Schedule Backup to automate system backup in daily, weekly, monthly, USB plug in, or event triggers to keep data always up-to-date.
- You can restore the system image by clicking Restore > Select Task.
- To create a bootable media for your computer, please navigate to Tool and use the Create Bootable Media option.
- In Professional and other advanced editions, you are able to restore system image to another computer with different hardware.
Conclusion
By following these troubleshooting tips, you can easily resolve the 0xC1900101 0x20017 Windows 11 upgrade error and successfully upgrade your system. However, it is recommended to use reliable backup software like AOMEI Backupper to secure your data before making any major system changes.
Except for data backup and restore, it is also a powerful free SSD cloning software that make data copy from one drive to another an easy task.