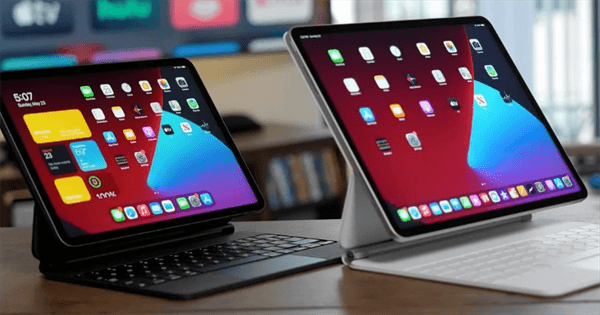
Want to transfer data to new iPad after setup? This guide will show you how to transfer data from old iPad to new iPad after setup.

Bought yourself a brand-new iPad? Congratulations! Over time, your current iPad has accumulated a lot of important data. You certainly don't want to say goodbye to them, especially some important files. So you would like to transfer data from old iPhone to new iPad.

Apple makes the process of transferring data to a new iPad fairly simple and straightforward. All you have to do is put two devices together and Quick Start can help you transfer everything. However, you can only access Quick Start during the setup process. What to do if you have already set up your iPad?
Can you transfer data to new iPad after setup? The answer is YES. There are two options for you to choose from.
Option 1. If there is no important data on your new iPad, then you can go to Settings > General > Transfer or Reset iPad > Erase All Content and Settings to erase your device and restart the setup process to access Quick Start.
Option 2. If you have been using your new iPad for a while and don’t want to erase the device, you can turn to other transfer tools to transfer data from old iPad to new iPad after setup. For the details, you can refer to the next part.
Here are 4 proven ways that can help you transfer data to new iPad after setup. These tools support different types of data transfer and have different requirements. You can read first and then choose the right tools to transfer data according to your situation.
If you have a compuer at hand, you can use AOMEI FoneBackup to transfer data from old iPad to new iPad after setup. AOMEI FoneBackup is one professional iPhone & iPad data transfer tool for Windows users. This tool can help you transfer photos, videos, music, contacts, messages, etc. from iPhone/iPad to new iPad.
With a stable USB connection, data transfer can be done quickly. You can click the download button below to get AOMEI FoneBackup and start to transfer data.
AOMEI FoneBackup supports data transfer between iPhone/iPad and computer. To transfer data to new iPad after setup, you can first export files from old iPad to computer and then import files to new iPad. It will not erase any existing data on your new iPad.
1. Launch AOMEI FoneBackup > Connect your old iPhone or iPad to computer.
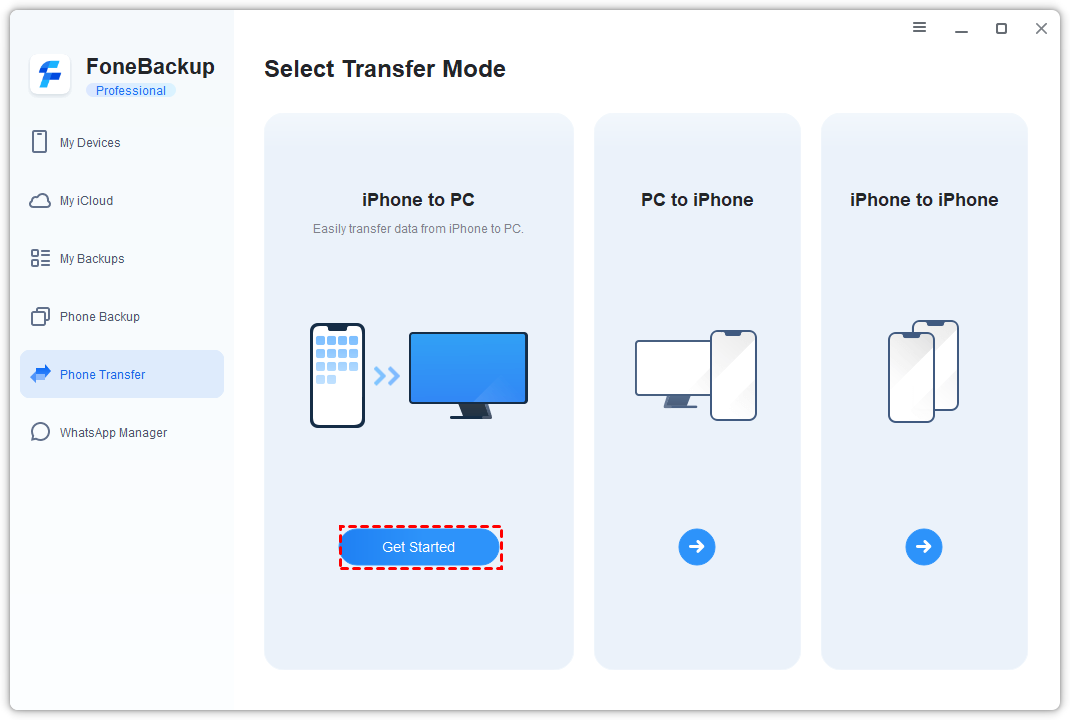
2. Choose Phone Transfer > Go to iPhone to PC and click Start Transfer.

3. Click the plus icon > Choose the files you want to transfer > Click OK.
4. Click Start Transfer > Choose a path to store your files and adjust other settings > Click Transfer to confirm.
5. Then unplug your old device and plug in your new iPad > Go to PC to iPhone this time.
6. Click Photos, Videos, Music or Contacts icon> drag the files exported from old device into the box.
7. Finally, click Start Transfer to add data to new iPad.
AOMEI FoneBackup for iOS is one mobile app that supports wireless transfer between two iDevices. It can help you transfer photos, videos, music, contacts and data in Files app. The transfer does not require a Wi-Fi connection and does not consume cellular data. You can download AOMEI FoneBackup for iOS from App Store and follow the steps below to transfer data to new iPad after setup.
1. Open AOMEI FoneBackup for iOS on both devices > Allow the tool to use WLAN & access files.
2. Go to Connect Device > Tap the avatar on either device to establish the connection.
3. Tap File Transfer on the old iPhone/iPad > Choose the data you want to transfer > Tap Send.
Please keep AOMEI FoneBackup in the foreground on both devices until the transfer is done. You can go to Transfer List to check the progress.
AirDrop is one built-in tool that can help you easily transfer photos, videos, contacts, voice memos, locations, etc. between two iDevices. However, it’s not a good choice if you want to transfer a large number of files.
When you want to AirDrop multiple photos, the transfer may fail. In addition, you can only AirDrop one contact at a time. If you don’t mind, see how to transfer data from old iPad to new iPad after setup with AirDrop. Here’s an example to AirDrop photos.
1. Open AirDrop on two devices: go to Control Center > touch and hold the network settings card > tap AirDrop to turn it on > choose Contacts Only or Everyone.
2. Go to Photos app on the old device > Choose the photos you want to transfer > Tap the Share button > Choose AirDrop and tap the name of the target device.
3. Tap Accept on your new iPad to receive the transfer.
You can also take advantage of cloud storage services like iCloud, Dropbox, Google Drive to transfer data to new iPad after setup. First upload data to the cloud from the source device and then download data from cloud on the target iPad. Below are examples of how to use iCloud to transfer photos to new iPad.
Transfer all photos to new iPad
1. On the source device: connect to Wi-Fi > go to Settings > [your name] > iCloud > Photos > turn on the sync.
2. On your new iPad: do the same above to turn on the sync.
It will sync all your photos to iCloud. if you have a large photo library, it can take a long time to complete the sync. When it’s done, you can check the photos in the Photos app.
Transfer selected photos to new iPad
1. On the source device: go to Photos app > choose the pictures you want to transfer > tap the Share button > choose Save to Files > select iCloud Drive as the destination.
2. On the target iPad: you can go to Files app > iCloud Drive folder to check the images.
That’s all about how to transfer data to new iPad after setup. You can choose one or more tools to help you complete the transfer depending on your needs. If you want to transfer a large number of files, then AOMEI FoneBackup is a good choice. It can help you transfer data without the Internet.