Best NAS Backup and Disaster Recovery Solution in Windows
NAS drive isn’t 100% safe. To ensure the data security, an efficient NAS backup and disaster recovery solution is required. If unluckily, you lost some data without any backup, you may need data recovery software to retrieve deleted files.
The necessity for NAS disaster recovery
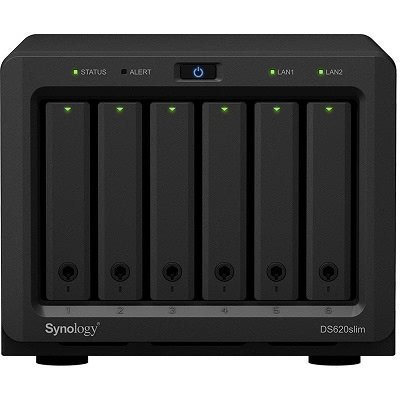
You may store some important data in QNAP NAS, Synology NAS, Seagate NAS, etc. for extended capacity, better security or easier file sharing. But is the data in NAS (Network Attached Storage) always safe?
NAS enables multiple computers within network to store data in a central place, and therefore becomes an ideal backup destination for family or company. However, when it comes to accidental deletion, hardware failure, virus attack and suchlike cases, there’s usually no built-in option to recover deleted files from NAS. Besides, as a physical device, you cannot rule out the possibility of it being damaged by human or non-human reasons.
All in all, the result of a NAS disaster could be severe as it affects all connected clients. If you don’t want to lose any data unexpectedly, the best solution is to backup your NAS on regular basis and restore it whenever you need to. If you’ve already lost important files without a backup, consider using a data recovery tool then.
Best NAS Backup and Disaster Recovery Solution
Simply put, to avoid data loss caused by NAS disaster, you need an effective backup & restore tool. But if you’ve been in the frustrating situation without any preparation, you need NAS data recovery software to retrieve deleted files. Whichever is the case, you can refer to following suggestions:
1. Free Backup and Restore Solution in Case of NAS Data Disaster
Backup is always a good habit to avoid data loss and system crashes, even in the case of NAS devices, you should consult to 3-2-1 backup strategy and pick an adequate data protection solution. Remember that only with the latest backup can you make the best of NAS disaster recovery.
Even if you’ve lost some data without preparation, it's best to start making regular backups after retrieving lost data with Solution 2.
To backup and restore NAS data safely and easily, you need a tool capable of backing up NAS to different storage devices, and setting up automatic backup to keep the data up-to-date as well as save your effort. Meanwhile, it should have good recovery speed to reduce the downtime.
Based on these conditions, AOMEI Backupper Standard is a good choice with its high compatibility and complete features.
● It works on all Windows PCs and supports all NAS without brands limitation. No matter you want to perform Synology file recovery, Seagate NAS recovery or QNAP disaster recovery, this software could help.
● It enables you to back up NAS data to different storages like local PC, network share, cloud drive, external hard drive, USB, etc. You could also specify backup source and target freely among these options
● It contains rich functionality including automatic backup on regular basis, incremental and differential backup modes, different compress levels, email notifications and so on.
These features are all included in the free Standard version, so you could simply give it a try without any concern.
How to backup NAS for disaster recovery:
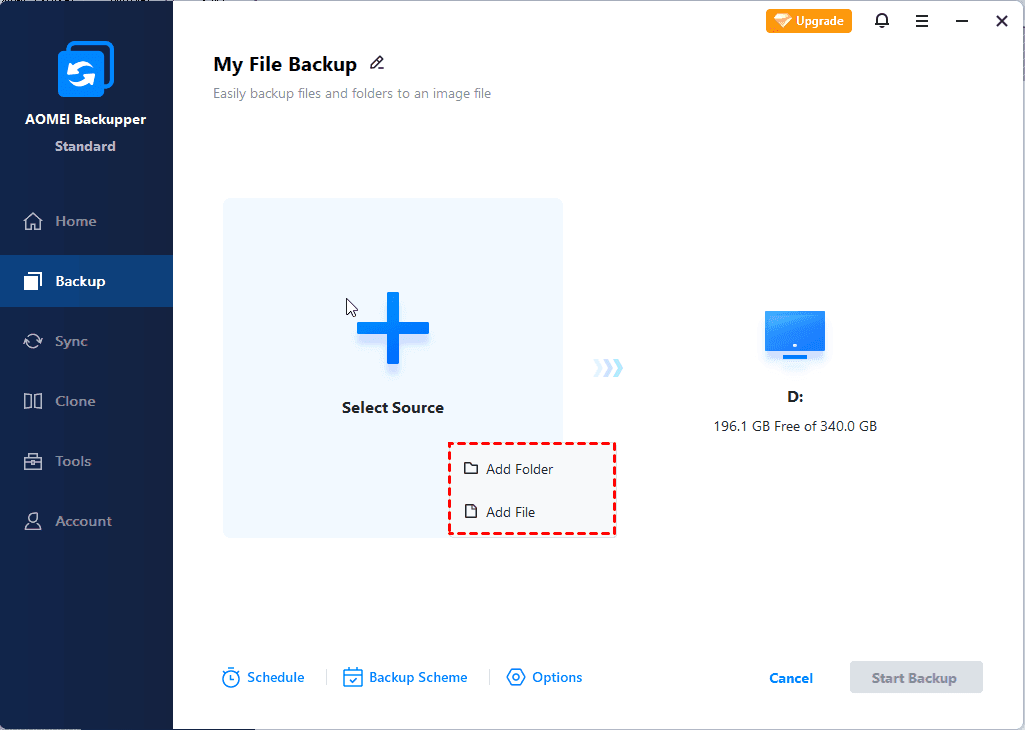
Step 1. Install and launch the software, go to Backup tab and choose File Backup in this case.
In terms of PC backup, you could choose other options like Partition Backup, Disk Backup or System Backup as you like. For example, you could backup Windows 10 to NAS in case of system failures.
Step 2. Click Add File or Add Folder accordingly and select Share/NAS in the popping out window.
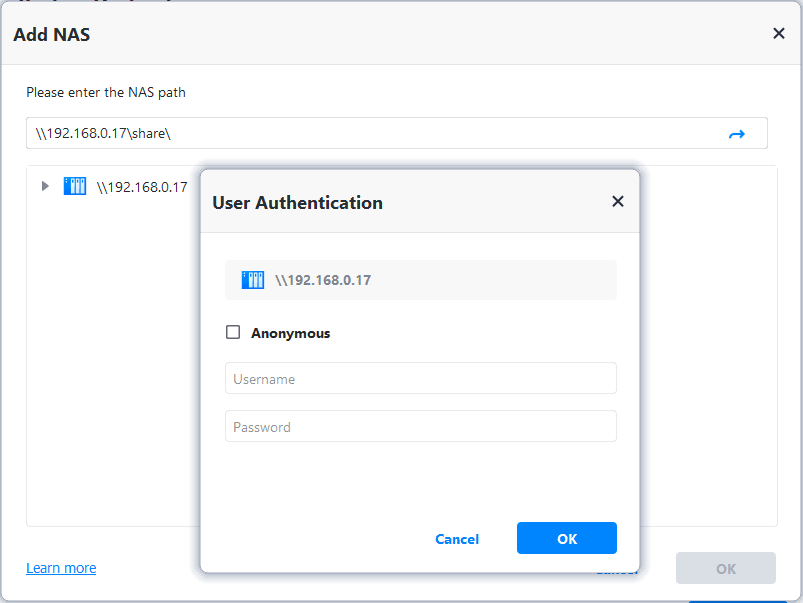
Click Add Share or NAS Devices, and enter the network path of your NAS. Then select what you want to backup. You can add multiple files or folders in this way.
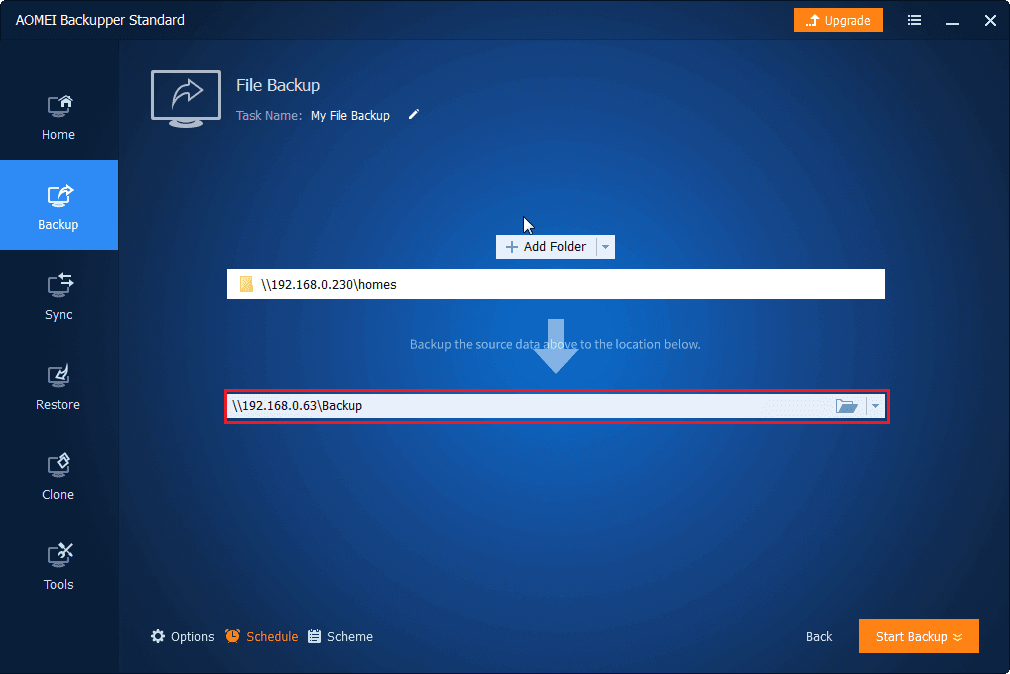
Step 3. Then select the destination you want to save NAS data to. It could be a removable device, cloud drive or even another NAS drive. Add a Schedule to execute the backup automatically and Start Backup.
Schedule Backup - Options include Daily/Weekly/Monthly, and runs in incremental mode by default. If you upgrade to Professional or higher editions, you could enjoy Event triggers/USB plug in, and scheduled differential backup.
Backup Scheme - If you're worried about running out of storage space, you could set up a backup scheme to delete older backups automatically. Available in advanced editions.
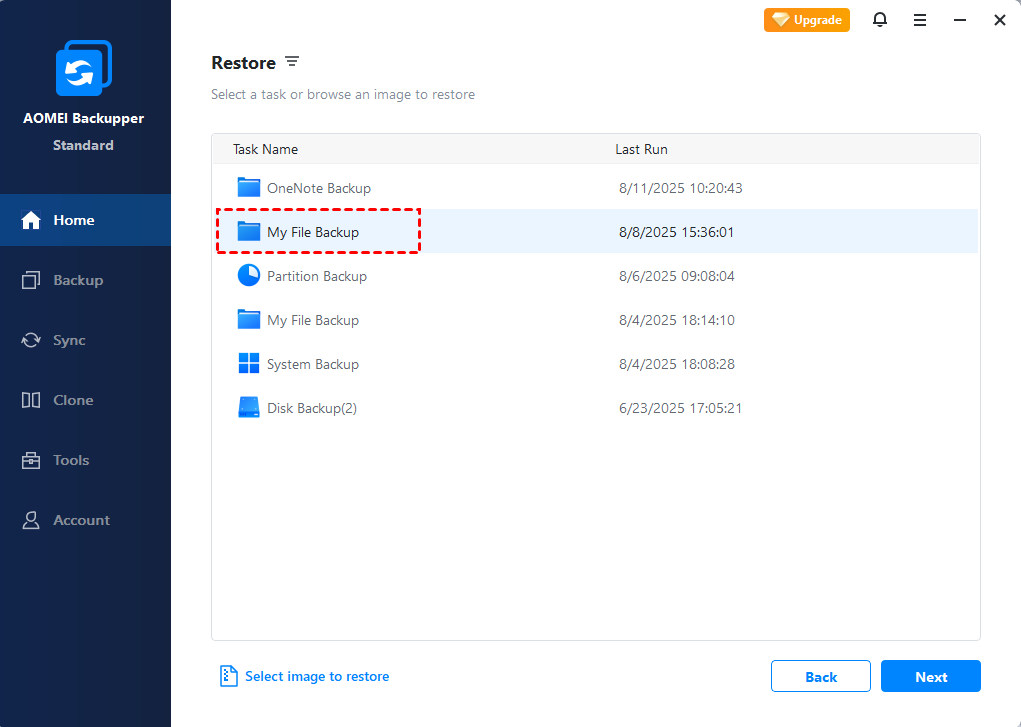
Step 4. To implement NAS data recovery from a backup, just go to Restore tab and choose Select Task or Select Image File to locate the backup image. You can either restore the data to original NAS or to a new location.
Related tips:
- If you want to copy NAS files with original formats for direct use, try sync features instead. With the real-time sync mode, AOMEI Backupper can also be used as continuous backup software to sync any changed files immediately.
- Many NAS manufacturers provide their own NAS backup and sync solution, e.g. Hyper Backup for Synology file backup and recovery, Hybrid Backup and Sync for QNAP disaster recovery. However, they are specifically designed for corresponding NAS devices and usually cannot be used to other producs.
2. Best NAS Data Recovery Software to Recover Deleted Files without Backup
When it comes to NAS disaster recovery without prior backup, Recoverit Pro could be your efficient assistant. It’s a professional NAS recovery tool that owns the ability to retrieve data from all data loss scenarios. You can use it on Windows 10/8/7/Vista/XP and recover deleted files from QNAP, Synology, Seagate and so on.
Recoverit Pro has a simple but comprehensive interface, which makes the program quite easy to operate. You can follow the steps below to recover data from NAS drive.
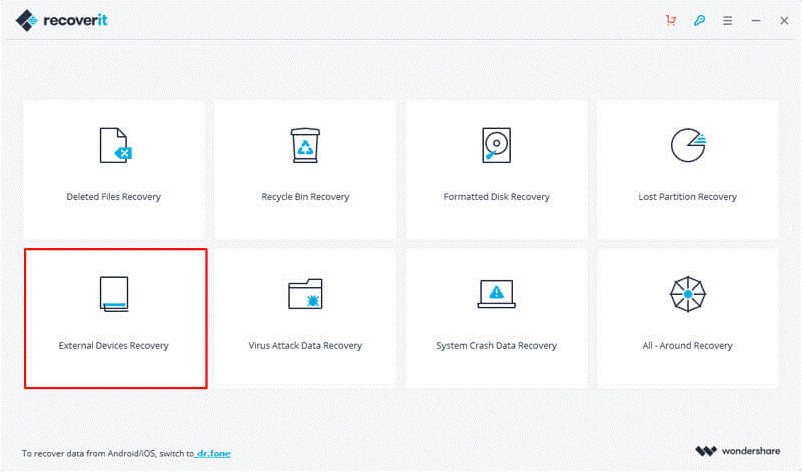
Step 1. Connect the NAS drive to your computer via a USB to SATA adapter. Install and launch Recoverit Pro to select External Devices Recovery to start.
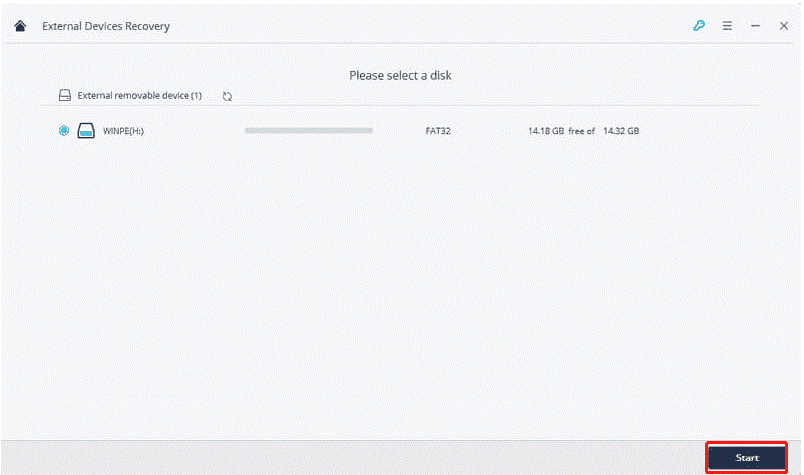
Step 2. Select the NAS drive and then click Start to continue.
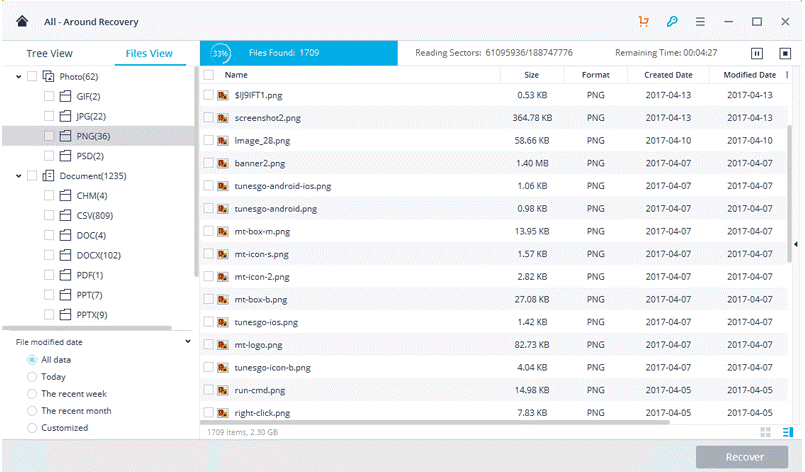
Step 3. This program will scan your drive quickly. If the quick scan can't get your lost data, turn to All-Around Recovery to start a deep scan.
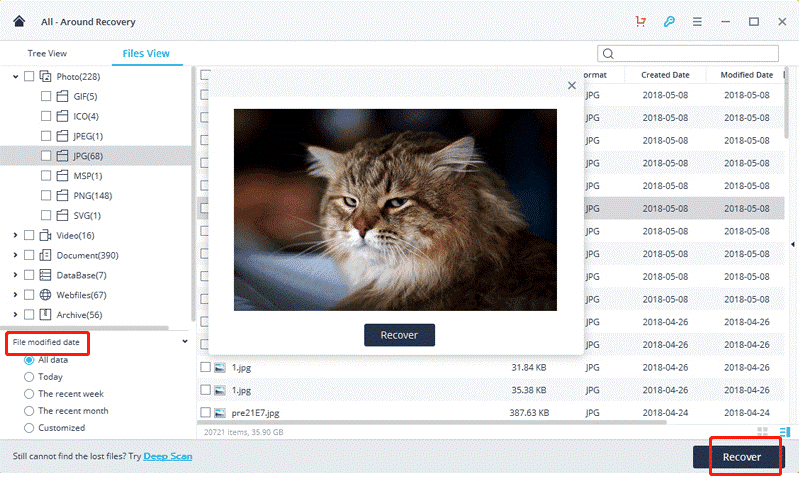
Step 4. Simply select the data you need and then click Recover to run a disaster recovery for NAS.
It takes some time to recover deleted files from NAS drive, especially when you choose deep scan. And some special data cannot be restored, since they have been severely damaged.
If you want to avoid any unwantted data loss, recovering data from an existing backup is definitely a more efficient and time-saving way. Therefore, it's strongly suggested to backup your NAS regularly.
Verdict
In this article, the operation steps of a NAS disaster recovery are introduced in detail. Things get easier and safer if your NAS devices have backed up in advance. So after retrieving your data, don’t forget to backup them with AOMEI Backupper Standard.
What’s more, this freeware also provides many flexible backup solutions, NAS mirror backup, for example. And if you want to backup Windows Server to NAS drive or vice versa, AOMEI Backupper Server is also a good choice.
