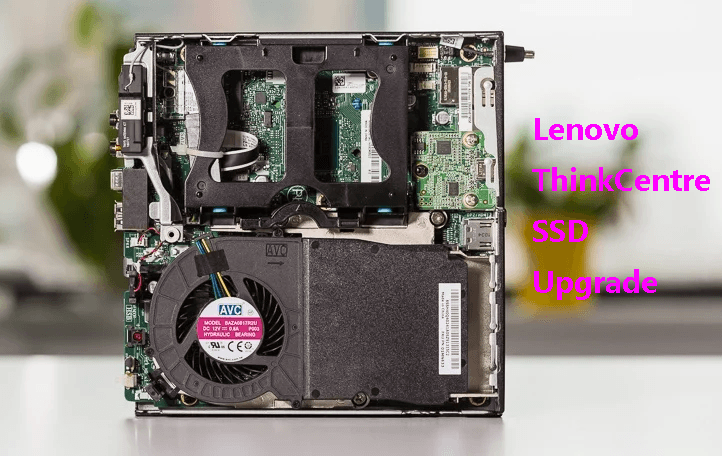
Lenovo ThinkCentre SSD Upgrade: Step-by-Step Guide
If you want to perform a Lenovo ThinkCentre SSD upgrade, you are in the right place. Read and follow this ultimate guide to complete the SSD upgrade task without data loss with the help of a professional disk cloning tool.
By Jonna Updated on March 20, 2025
Can You Upgrade a Lenovo ThinkCentre?
I'm planning to upgrade the SSD on my Lenovo ThinkCentre M910q. I'm no expert, so I'm not sure if this is feasible or I'm not sure which SSD I should choose. Can anyone with experience upgrading their Lenovo ThinkCentre SSD (or similar hardware) chime in and let me know what SSD is compatible?
Yes! Most Lenovo ThinkCentre desktops can be upgraded with an SSD. Whether you own an M Series ThinkCentre like the M700, M900, M710q, or M910q, replacing your hard drive with SSD will make a huge difference in performance.
In this guide, we'll walk you through everything you need to know about performing a Lenovo ThinkCentre SSD upgrade, including compatibility, preparation, and a step-by-step guide for upgrading SSD - without Windows reinstallation!
|
Necessary Tools |
Detailed Steps |
|
♦A compatible SATA or M.2 SSD, depending on your ThinkCentre model ♦A screwdriver to open the case ♦A SATA-to-USB adapter or M.2 enclosure ♦Choose a reliable disk cloning tool, like AOMEI Backupper Professional to clone hard drive to new SSD without OS reinstallation |
#1. Clone old hard drive with new SSD to avoid Windows reinstalling from scratch #2. Remove the computer cover and disconnect the old hard drive to for SSD replacement #3. Place the new SSD where the old hard drive is removed #4. Put the panel back and turn on your ThinkCentre desktop |
Overview of Lenovo ThinkCentre SSD Compatibility
Before proceeding with the Lenovo ThinkCentre memory upgrade, it's crucial to verify the compatibility of your ThinkCentre model with the intended SSD. Most ThinkCentre models support 2.5-inch SATA SSDs and M.2 NVMe SSDs. For precise compatibility information, you can consult resources like Crucial's compatibility tool, which provides detailed insights based on your specific ThinkCentre model.
Here are some supported SSD types for M700, M900, M710q, and M910q models:
|
ThinkCentre Model |
Supported SSD Type |
|
Lenovo ThinkCentre M700 |
2.5" SATA SSD |
|
Lenovo ThinkCentre M900 |
2.5" SATA SSD, M.2 NVMe |
|
Lenovo ThinkCentre M710q |
M.2 NVMe SSD |
|
Lenovo ThinkCentre M910q |
2.5" SATA SSD, M.2 NVMe |
How to Clone Hard Drive to New SSD without Reinstalling Windows
While Lenovo ThinkCentre M900 SSD upgrade or on other models, if you are replacing the system drive, you will need to migrate the operating system and other installed programs to the new drive if you do not want to reinstall or lose them.
AOMEI Backupper Professional is a powerful and reliable disk cloning tool that ensures that you migrate all your data (including operating system, settings, user profiles, installed programs, and other data) to a new SSD. With a simple GUI, it only requires several simple clicks to clone a hard drive and provides various features:

-
Offer Disk Clone to seamlessly duplicate an entire hard drive, System Clone to specifically clone OS and related partitions, and Partition Clone to copy a specific partition to another drive.
-
Support clone hard drive with bad sectors and support Sector-by-Sector Clone for creating an exact copy of the source drive.
-
Optimize SSD performance with 4K alignment, to speed up SSD and increase the SSD lifespan.
-
Perform Hot Clone to run the cloning process in the background without interrupting your work.
In addition to disk cloning, this software also allows you to create backups for your system, hard drives, and specific files/folders, as well as create bootable USB drive or CD/DVD to recover a failed system. Download this disk cloning software on your computer and follow the guide below to perform data cloning for Lenovo M710q memory upgrade:
Step 1. In the beginning, connect the new SSD to your computer via a slot or using an enclosure or adapter.
Step 2. Launch AOMEI Backupper Professional, and select Clone and Disk Clone in order. If you only want to move the OS, choose System Clone instead.

Step 3. Select your current hard drive as the source disk and click Next.

Step 4. Select the new SSD you have connected to your PC as the destination drive and click Next.

Step 5. Tick SSD Alignment to improve the performance of the target SSD, and click Start Clone to start the hard drive cloning process.

How to Replace Lenovo ThinkCentreHard Drive with SSD
Now that your SSD is ready, it’s time to swap it with your old HDD to complete the Lenovo ThinkCentre M700/M900/M710q/M910q SSD upgrade.
Step 1. Unplug your PC and press the power button for 10 seconds to discharge any remaining power. Remove the side panel by unscrewing the screws on the back.
Step 2. Find the hard drive bay - usually located near the front. Disconnect the SATA and power cables from the old HDD.
Step 3. Unscrew the HDD from the mounting bracket. Place the new SSD into the bracket and screw it in securely. Then, reconnect the SATA and power cables to the SSD.
Step 4. Close the ThinkCentre case and tighten the screws. Turn on your PC and enter BIOS (Press F1 during startup) to ensure your SSD is recognized and set as the primary boot drive. Then, save the changes and restart your PC.
To Wrap Things up
We hope this article helps you in a successful Lenovo ThinkCentre SSD upgrade. We have mentioned all the necessary steps and instructions. The recommended cloning software AOMEI Backupper Professional will help you to copy your data and ensure a secure boot after cloning.
Besides, this tool can do you a favor in backing up Lenovo laptops or PCs to USB drives, external hard drives, NAS, network drives, cloud, and other storage devices for protection.