
Fix "External Hard Drive Recycle Bin Access Denied" Issue
This article provides an in-depth exploration of the common issue of "external hard drive recycle bin access denied." It offers practical solutions, introduces the AOMEI FastRecovery software for file recovery, and shares tips to prevent future occurrences of the problem.
By Zoey / Updated on December 11, 2024
Are you encountering the frustrating "external hard drive recycle bin access denied" error? Fear not! In this guide, we'll delve into the intricacies of this issue and provide you with practical solutions to regain access to your recycle bin on external hard drives. Additionally, we'll introduce you to AOMEI FastRecovery, a powerful tool designed to assist in file recovery. Let's dive in!

Understanding the Problem
When you encounter the "external hard drive recycle bin access denied" error, it means that you are unable to access or empty the recycle bin on your external hard drive. This can occur due to various reasons, including insufficient permissions, corrupted files, or conflicts with third-party software. Common scenarios where this issue arises include:
Permission Restrictions: The user account lacks sufficient permissions to access or modify the recycle bin contents.
Corrupted Recycle Bin: The recycle bin on the external hard drive may become corrupted, preventing access to its contents.
Third-Party Software Interference: Installed programs or antivirus software may interfere with the normal functioning of the recycle bin.
Solutions for "External Hard Drive Recycle Bin Access Denied"
1. Check Permissions
Ensure that your user account has the necessary permissions to access and modify the recycle bin.
Right-click on the recycle bin icon, select "Properties," and navigate to the "Security" tab to adjust permissions accordingly.
2. Reset Recycle Bin
Open Command Prompt as an administrator.
Type the command rd /s /q :\$Recycle.bin and press Enter to reset the recycle bin on the external hard drive.
3. Disable Third-Party Software
Temporarily disable any third-party antivirus or security software that may be blocking access to the recycle bin.
Check if you can now access the recycle bin without encountering the "access denied" error.
Introducing AOMEI FastRecovery
AOMEI FastRecovery is a cutting-edge software solution designed to help users recover lost or deleted files from external hard drives, including those trapped in the recycle bin due to access denied errors. With its intuitive interface and powerful recovery algorithms, AOMEI FastRecovery makes the process of file recovery a breeze.
Features of AOMEI FastRecovery:
- One-Click Recovery: Easily initiate the recovery process with a single click, saving time and effort.
- Customizable Options: Tailor the recovery process to your specific needs, choosing what elements to restore.
- Backup and Restore: Safeguard your important files and settings by creating backups and restoring them whenever necessary.
Steps to Utilize AOMEI FastRecovery for Windows 11 Recovery:
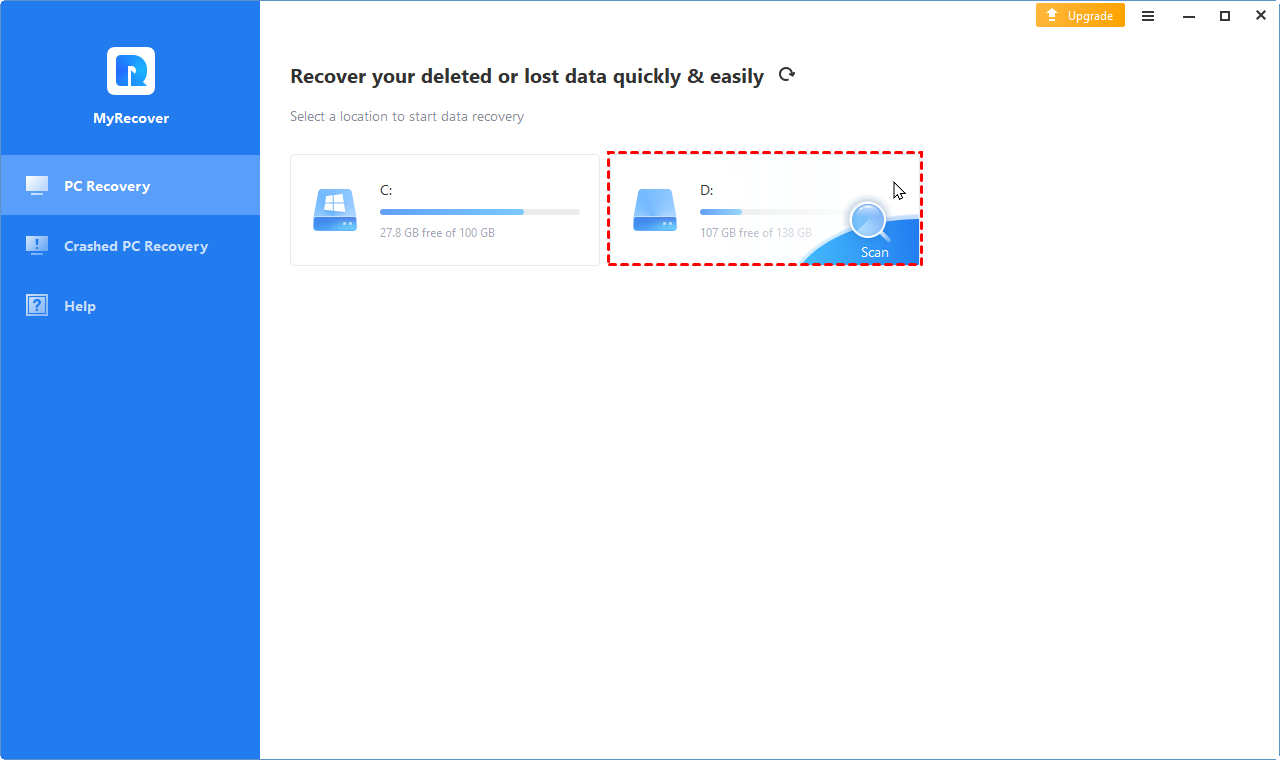
1. Download and install AOMEI FastRecovery from the official website. Connect the external hard drive to the computer.
2. Hover your mouse on the external hard drive and you can click Scan icon.
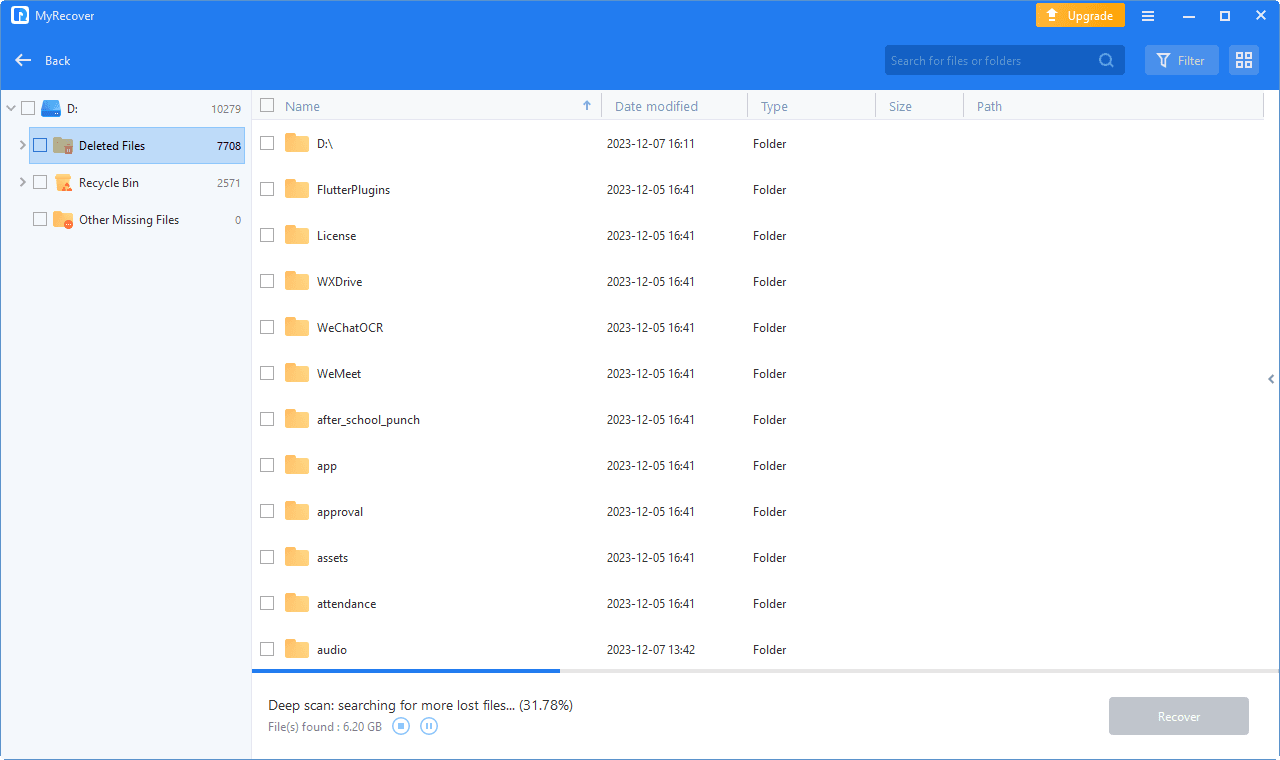
Step 2. Your deleted and missing files and folders will be displayed here. You can search for a file/folder name or sort by file type, date modified, or size to locate the one you want quickly.
- Type:It will contain all the file types in the local drive, such as, images, videos, documents, mails, webpage, compressed files, etc.
- Data Modified:It supports today, yesterday, last 7 days, last 30 days, and custom.
- Size:It allows you to filter file size from less than 128KB to 128KB ~1MB to 1MB ~ 512MB and above, or custom.
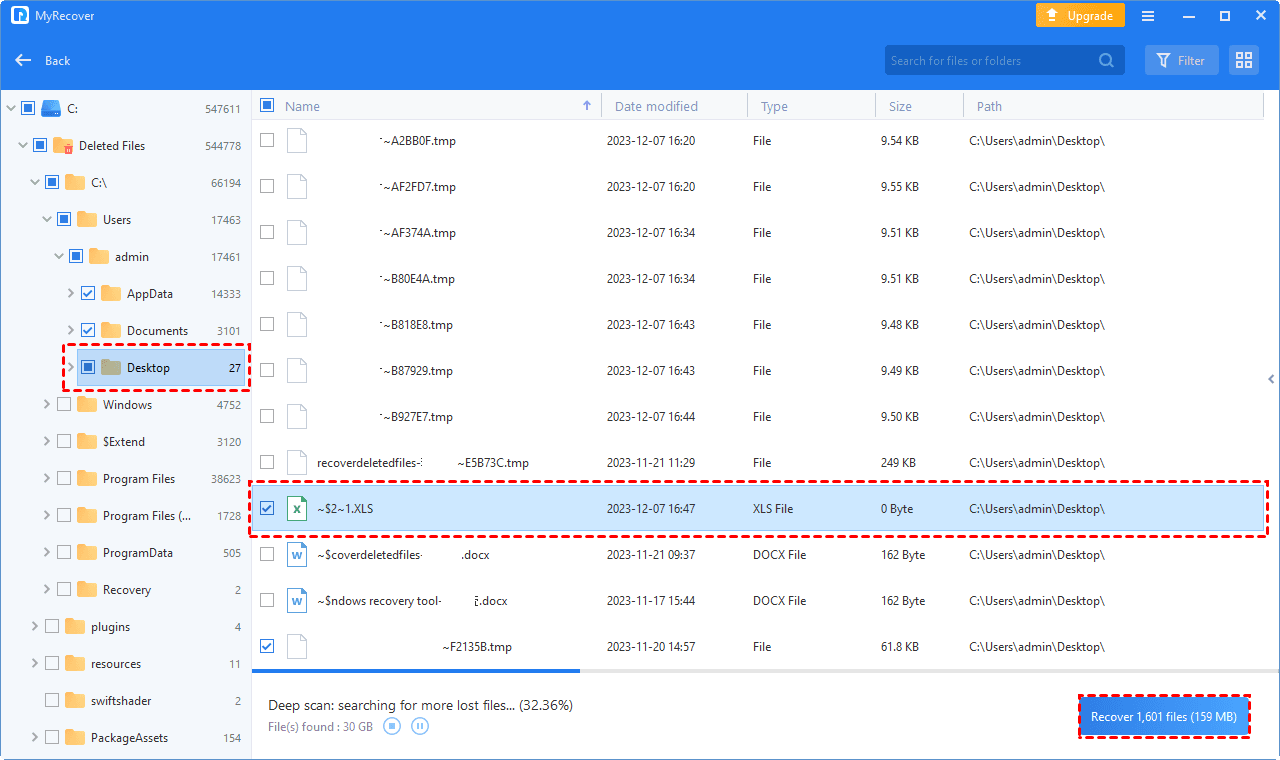
3. Expand Deleted Files folder and Other Missing Files folder to choose the desired items. Tap on Recover x files, and then pick a path to store the recovered files.
Tips for Preventing Recycle Bin Access Issues
To avoid encountering "external hard drive recycle bin access denied" in the future, consider implementing the following tips:
Regularly Empty Recycle Bin: Periodically empty the recycle bin on your external hard drive to prevent it from becoming overloaded or corrupted.
Update Permissions: Ensure that your user account has the necessary permissions to access and modify the recycle bin and its contents.
Backup Important Files: Create backups of important files stored on your external hard drive to mitigate the risk of data loss.
Conclusion
In conclusion, resolving the "external hard drive recycle bin access denied" issue is crucial for maintaining the functionality of your external storage devices. By following the steps outlined in this guide and leveraging tools like AOMEI FastRecovery, you can overcome this obstacle and regain control over your files. Remember to practice good data management habits to prevent similar issues from arising in the future.
FAQs
Can I recover permanently deleted files from the recycle bin on my external hard drive?
Why am I encountering access denied errors when trying to empty my external hard drive's recycle bin?
Is it possible to prevent the recycle bin on my external hard drive from becoming corrupted?

