How to Use PowerShell to Force Delete File and Folder?
How to use PowerShell to force delete file and folder? You can read this page to delete files and folders using PowerShell. Also, if needed, you can recover files deleted by PowerShell easily.
By Lori / Updated on March 14, 2025
File deletion is a common occurrence for computer users, but it can become a bit of a hassle when you have to delete multiple files or delete files from different folders.
Or, you use ordinary deletion methods such as pressing delete but it doesn't work and you want to force the file to be deleted. Well here is a simple solution – using powershell to force delete file and folder.
In this guide, we will teach you how to delete files and folders using Powershell efficiently. In addition, in case of accidental file deletion, a way to recover Powershell deleted files is included.
What is PowerShell and Remove-Item Cmdlet
PowerShell is a task automation and configuration management program developed by Microsoft. It is designed to simplify and automate the management of Windows OS and apps. It provides a powerful environment for system administrators and power users to manage and automate files and folders.
The Remove-Item cmdlet in PowerShell is a powerful command that allows administrators to delete various items, such as files, folders, registry keys, variables, functions, and aliases in different providers.
The Remove-Item Cmdlet offers the following common parameters, which represent different meanings.
|
Parameter |
Description |
|
-LiteralPath |
Specifies a path to one or more locations. |
|
-Path |
Specifies a path of the items being removed. |
|
-Recurse |
Deletes items in the specified location and all child items of the locations. |
|
-Force |
Delete items that can't otherwise be changed, such as read only or hidden files. |
|
-Include |
Specifies a path element to include, such as *.txt. |
|
-Exclude |
Specifies a path element to exclude, for example, *.txt. |
PowerShell can delete not only a single file, but also entire directories or groups of files based on specific conditions. It can also delete only existing files, files older than x days, or delete files based on wildcard patterns. Let's keep reading to delete files or folder using PowerShell.
How to Delete Files and Folders Using PowerShell?
How to delete a file in PowerShell? The following 4 methods are provided for you. You can refer to the first 3 methods according to the situation of data you want to delete (a single file or folder/ multiple files/ multiple folders). If you want a simple method, refer to method 4 directly.
#1. Force Delete a File and a Folder with PowerShell
To delete a file or a folder in PowerShell, we only need to specify the full path to the file or folder including the file/folder name. Please do the following:
-
Deleting a file is permanent and cannot be undone. The files are not moved to the Recycle Bin. In addition, you need to have the appropriate permissions to delete files in the specified location.
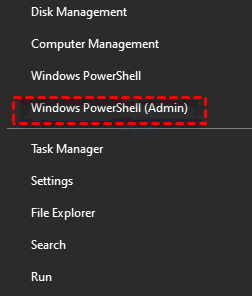
Step 1. Press the Win + X keys, then select Windows PowerShell (Admin).
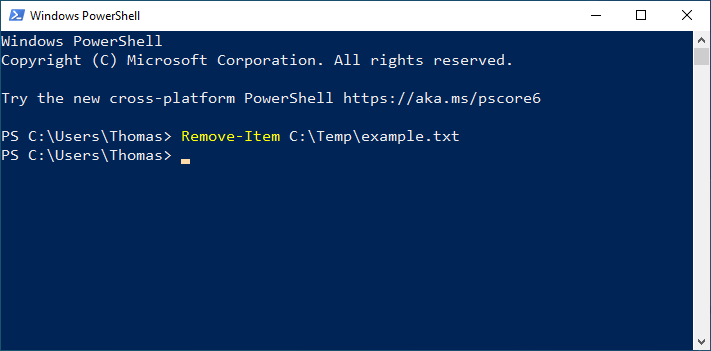
Step 2. In the Command Prompt window, Type Remove-Item –path c:\testfolder –recurse and press Enter. (Replace c:\testfolder with the full path to the folder you want to delete).
👉 For example, to delete a file called example.txt in the C:\Temp directory, you can type the following command: Remove-Item -path C:\Temp\example.txt.
To delete a folder, type dir c: in the command prompt and press Enter, replacing c: with the parent directory of the folder you just deleted.
-recurse parameter in PowerShell to delete child items without asking for permission. Also, you can add the -force parameter to delete read-only or hidden files.
#2. Delete Multiple Files using PowerShell
Deleting a file or a folder with PowerShell is easy; you just need the right command. When using PowerShell to delete files, it can get a bit difficult, but don't worry. Please follow the steps below.
Step 1. Press the Win + X keys, then select Windows PowerShell (Admin).
Step 2. In the Command Prompt window, you can use the command: Remove-item file-path, file-path1, file-path2
👉 For example, to delete files named TWC.png on the desktop and TWC1.txt in downloads, you can type the following command: Remove-item C:\Users\user-name\Desktop\TWC.png, C:\Users\user-name\Downloads\TWC1.txt

#3. Delete Multiple Folders using PowerShell
Similarly, the same commands need to be executed when using PowerShell to delete folders. Here are the steps.
Step 1. Press the Win + X keys, then select Windows PowerShell (Admin).
Step 2. In the Command Prompt window, you need to use the following command, replacing the example paths with the actual paths of the folders you want to delete on your PC.
👉 For instance, if you have folders named "TWC" on the desktop and "TWC1" in downloads, the command would be: Remove-item C:\Users\user-name\Desktop\TWC, C:\Users\user-name\Downloads\TWC1

#4. Force Delete Stubborn File or Folder Using a File Shredder
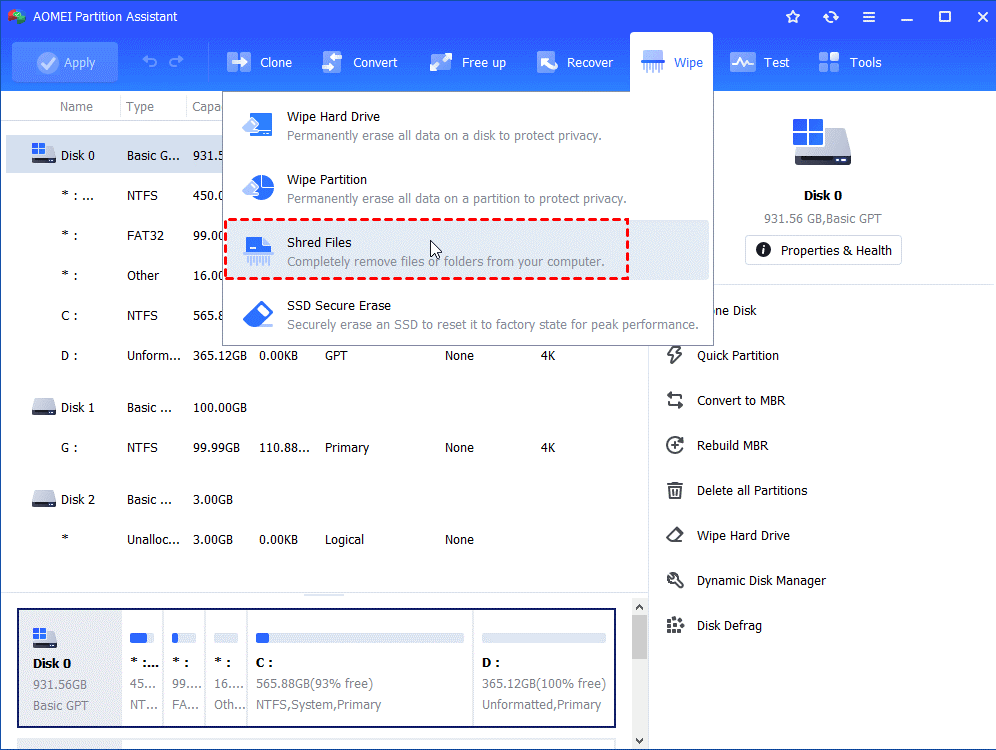
If you are new to computers and think that deleting files and folders using PowerShell is too complicated, or the above methods can't help you. Here, is an easy-to-use and safe file shredding tool for Windows 10, 8, 7 - AOMEI Partition Assistant Standard. It can help you to force delete files and folders that cannot be deleted.
This tool is more than a file eraser; it can perform various tasks, including cloning HDD to HDD or SSD, zero-filling hard drive, check bad sector, and more.
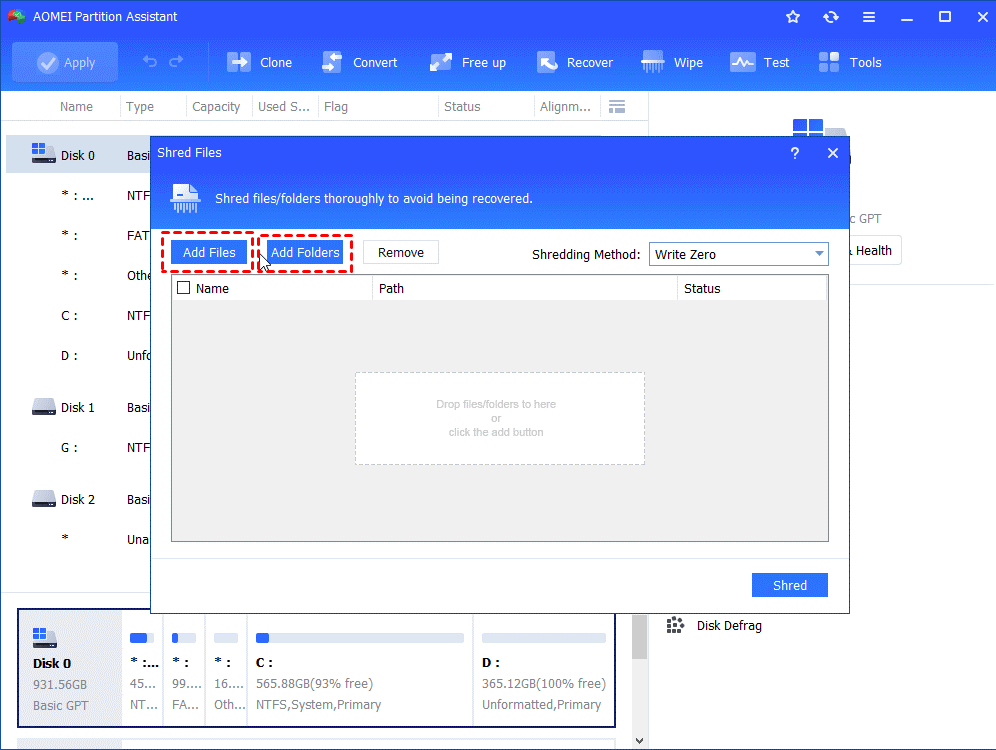
Step 1. Run this software, go to “Wipe” on the top toolbar and select “Shred Files”.
Step 2. Click “Add Files” or “Add Folder” to add the files or folders that you need to delete permanently.
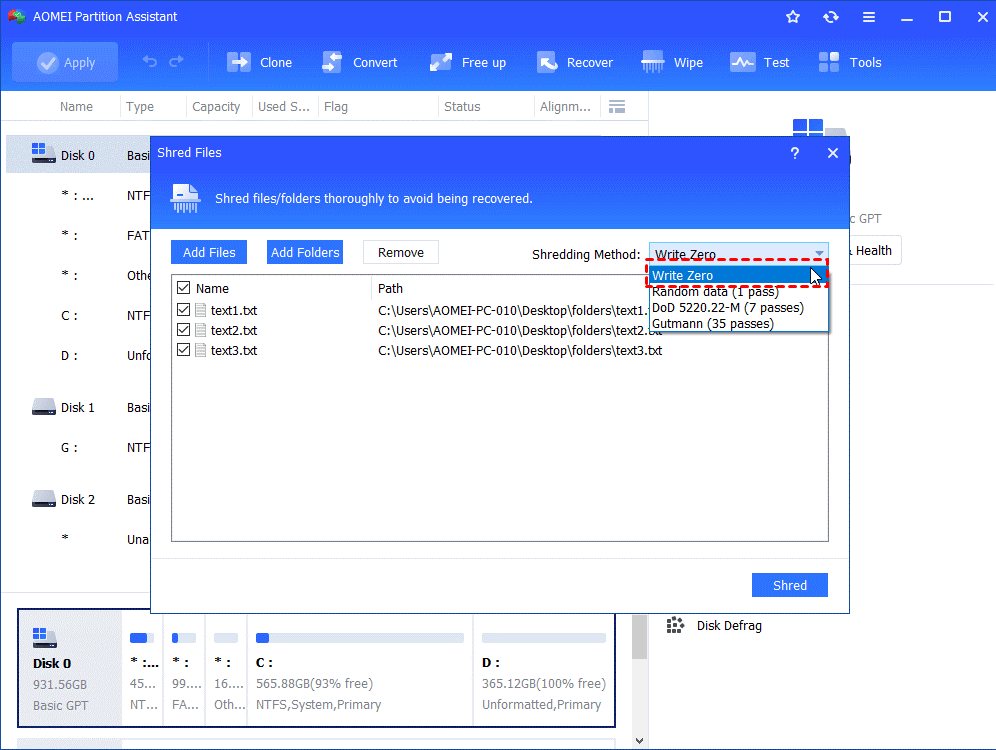
Step 3. Choose “Write Zero” as the shredding method. If you prefer the other three shredding ways, upgrade to the Professional version.
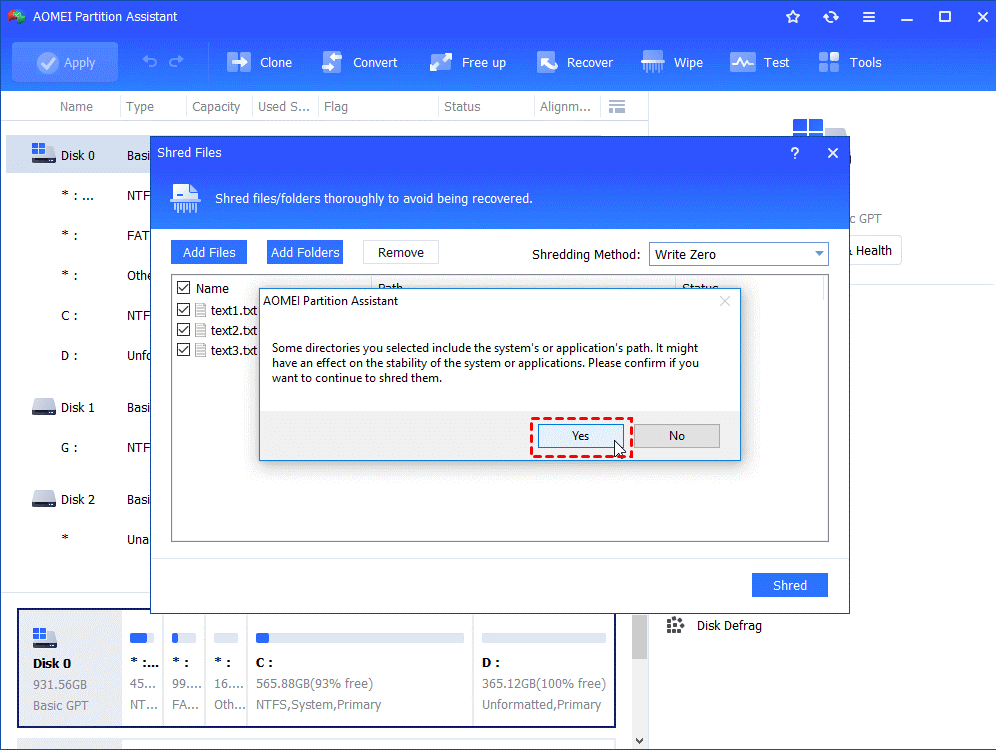
Step 4. Click “Shred” to start and click “Yes”.
How to Recover Files Deleted by PowerShell?
For most people, losing data is the worst thing that can happen. Using PowerShell to force delete file and folder will be a permanent deletion of data.
If you have accidentally deleted an important file or folder, then use powerful data recovery software like AOMEI FastRecovery to help you recover deleted files or folders effectively. It offers a user-friendly interface and has a high success rate and fast recovery speed.

- Recover 200+ file formats: It can recover deleted Microsoft Word, Excel, PPT, PDF, JPG, MP4, MP3, CDA, ZIP, MSG, and more.
- Support different storage devices such as HDDs, SSDs, external hard drives, SD cards, and USB flash drives, etc.
- Advanced scanning method: It automatically runs Quick Scan & Deep Scan to find all the retrievable files and folders.
- Support NTFS, FAT32, exFAT, and ReFS file systems in Windows 11, 10, 8, 7, or Windows Server.
How to recover deleted files or folders? Please refer to the following easy steps.
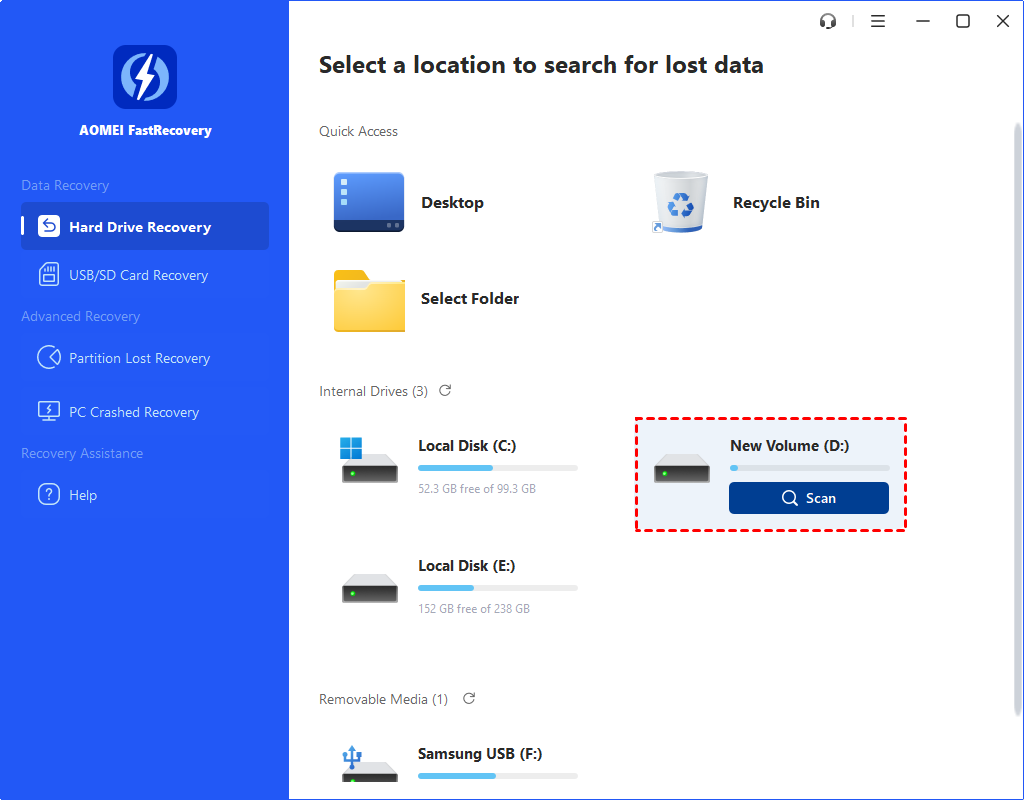
Step 1.Download and launch AOMEI FastRecovery
Download and run AOMEI FastRecovery on your computer. Hover the mouse over the drive saved deleted files before, and click Scan.
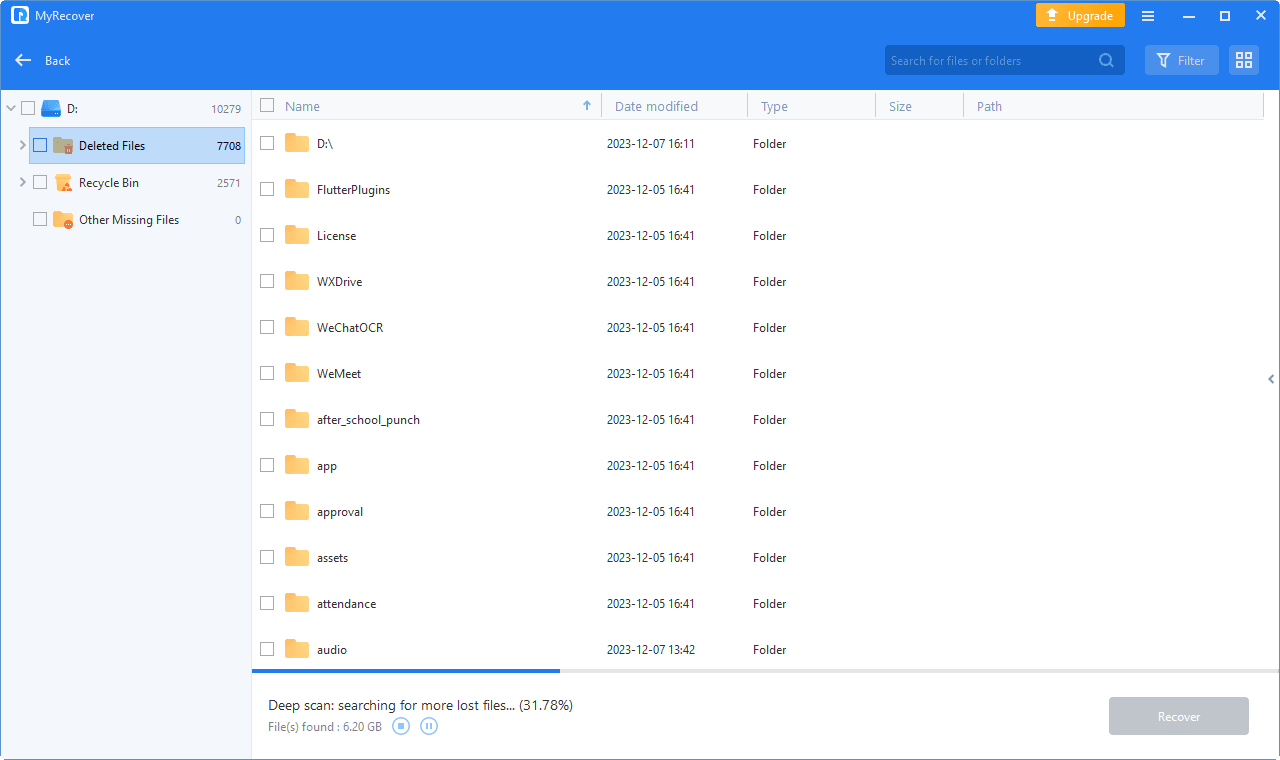
Step 2. Scan for deleted files or folders
It will run Quick Scan & Deep Scan automatically to scan all the deleted files or folders from your drive. You could enable file filtering and preview by Files Type, Size, Date, etc.
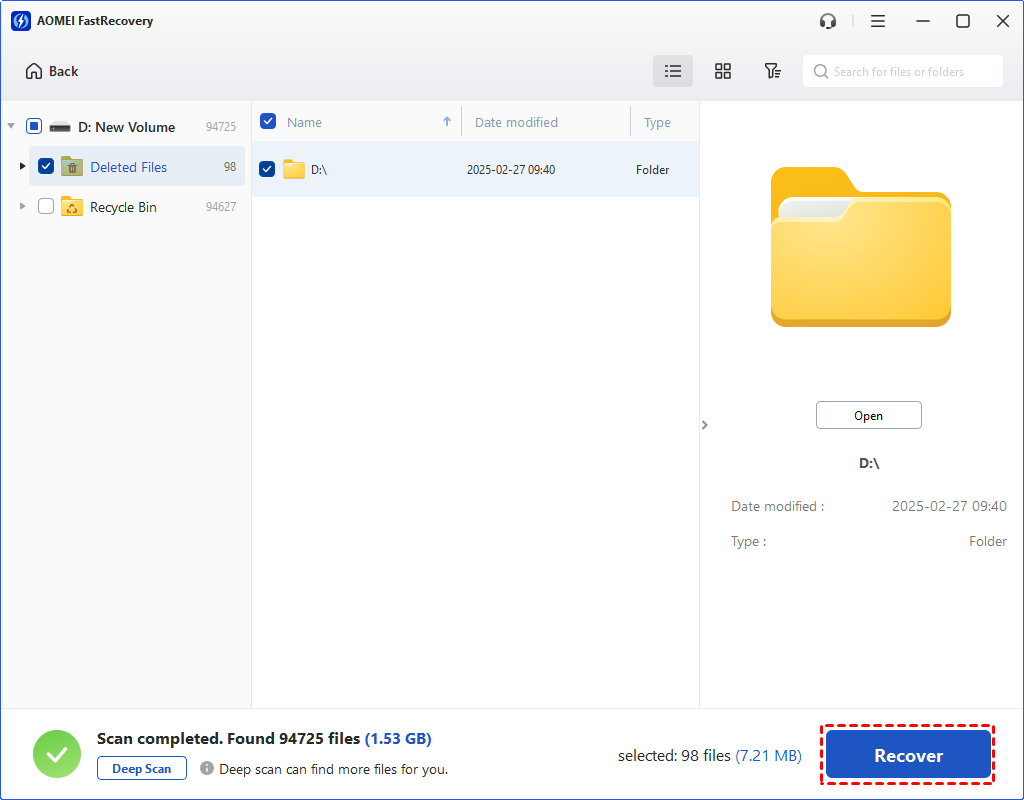
Step 3. Select files or folders and click recover
Select the files or folders you would like to recover. Then click Recover x files.
Step 4. Choose a new location for recovery
Choose a new location for the recovered data instead of the original location to save the files to store, and click Select Folder to confirm.
FAQs
How do you force delete a file and folder?
How do I delete a folder and contents if exists in PowerShell?
Step 1. Press Win + X to open Windows PowerShell (Admin).
Step 2. Type the command in the window: Remove-Item -Path "C:\Path\To\Folder" –Recurse. This ensures that the removal is done without an interactive confirmation prompt.
Which command delete the contents of an item in PowerShell?
Step 2. Use Remove-Item with the Recurse parameter to delete the contents of an item. For example: Remove-Item -Path "Registry:HKEY_LOCAL_MACHINE\Software\OldApp" –Recurse
How do I delete files and folders older than 30 days in PowerShell?
Step 2. Type the command: Get-ChildItem –Path "C:\path\to\folder" -Recurse | Where-Object {($_.LastWriteTime -lt (Get-Date).AddDays(-30))} | Remove-Item in the window.
How to fix cannot delete files from USB drives?
Fix 1. Restart the Computer and Try Another PC
Fix 2. Run the Virus & Threat Protection to Scan
Fix 3. Get Permission to Delete Files
Fix 4. Remove Write Protection from USB Flash Drive
Fix 5. Check Files and Folders on Flash Drive Was Not Set to Read-Only
Fix 6. Delete Files Using Windows Command Prompt
Fix 7. Format the USB Flash Drive
Fix 8. Run the Check Disk Tool to Fix the USB
In the End
That is all to use PowerShell to force delete file and folder. Moreover, if you have accidentally deleted important files or folders resulting in data loss. Don't worry, using powerful and free data recovery software such as AOMEI FastRecovery can help you recover deleted files or folders effectively.
The best way to avoid data loss again is to back up important data regularly. You could try this free backup software for Windows like AOMEI Backupper Standard.