Guide and Alternative for Win32 Disk Imager (Portable)
Win32 Disk Imager is a simple and convenient option to write ISO image to portable device, but it also has a relatively narrow range of functions. In this post, I will introduce its workflow as well as a powerful alternative.
By Delia Updated on October 25, 2024
Overview of Win32 Disk Imager
Win32 Disk Imager is a portable application that allows you to write ISO files into USB drives or SD Memory cards, and therefore make a bootable drive. Also, you can use this utility to create a raw disk image to a removable drive or backup a removable drive to a raw disk image.
As an open-source software, Win32 Disk Imager has an easy-to-use interface with the very least bugs. But please note, it cannot write CD-ROMs nor USB Floppy by far.
You can download and install Win32 Disk Imager on Windows PC, then follow this guide to use it.
- Quick guide: how to use Win32 Disk Imager
- Alternative to make bootable media and create system image (portable)
Quick guide: how to use Win32 Disk Imager
The most common application of Win32 Disk Imager is to write a raw disk image to a removable device, e.g. install a Raspberry Pi operating system image on an SD card. In turn, you can also use this utility as a portable device backup tool to create disk image.
If these features won't work or cannot suit your needs, read the next part to use the Win32 Disk Imager alternative.
How to write ISO to removable device
1. To create a bootable drive with Win32 Disk Imager, you need to prepare the ISO image at first. For example, if you want to write Windows 10 image to USB, you can download the MediaCreationTool from Microsoft to create an ISO file, or follow this tutorial to download Windows 10 ISO without MediaCreationTool.
2. Then, connect the portable device and launch Win32 Disk Imager. The device should be auto detected, or you can select it manually.
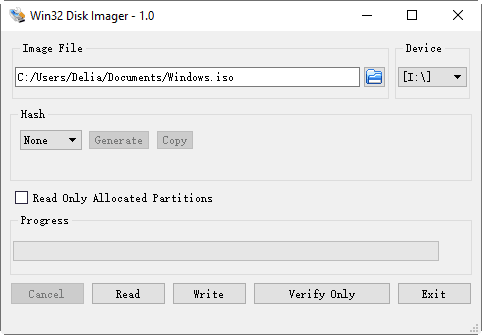
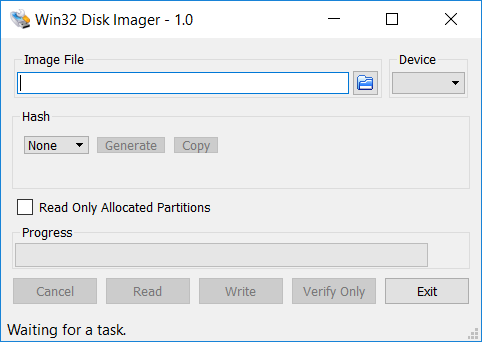
3. Click on the folder icon to browse your local drive and find the prepared image. By default, only IMG files will be displayed. So if it’s an ISO file, you need to change the view filter to display all files.
![]()
4. After selecting the image file, the grey buttons at the bottom will become available. Click Write to copy the bootable file to the selected portable drive.
It will prompt you that writing ISO file to a physical device will overwrite the device and may even corrupt it. You can click Yes to continue, or take precautions to backup the USB drive first.
How to create disk image of portable device
1. Connect the portable device you want to back up. Type the path plus the name and extension of the image file, e.g. D:/backup.img.
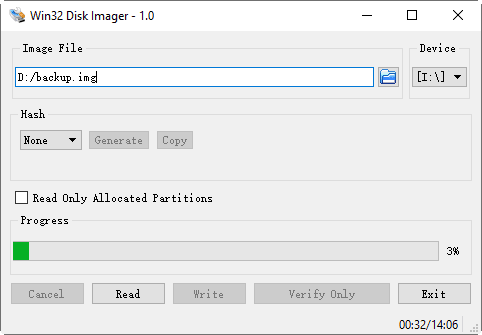
2. Click Read button. This will create an image file of the selected device named “backup” in D drive.
Tip: If you only want to create Windows bootable USB, some built-in tools can also help. Please refer to copy Windows 10 to USB.
Alternative to make bootable media and create system image (portable)
Win32 Disk Imager has a very simple interface and operation, as well as relatively limited functionality. For example, you can't burn ISO image to CD/DVD, and when used for backups, it can only create image files of portable devices.
Therefore, you can use an equivalent in Windows for better support - AOMEI Backupper Standard.
- No matter you are running Windows 11, 10, 8, 7, XP or Vista, you can use the software to create bootable media on USB/CD/DVD, or export the ISO file directly.
- Meanwhile, it enables you to create disk image as well as back up files & folders/partitions/operating system with or without a schedule.
- And the supported devices include internal/external drive, USB flash drive, network location and cloud service.
When the computer breaks down, you can use the bootable media to start it into WinPE, and perform system recovery with an earlier system image. Download it to proceed:
*Note if you have multiple computers to maintain, you can also copy this tool to a removable device for portable use. This requires the Create Portable Version feature in Technician or Technician Plus edition.
How to create a bootable media
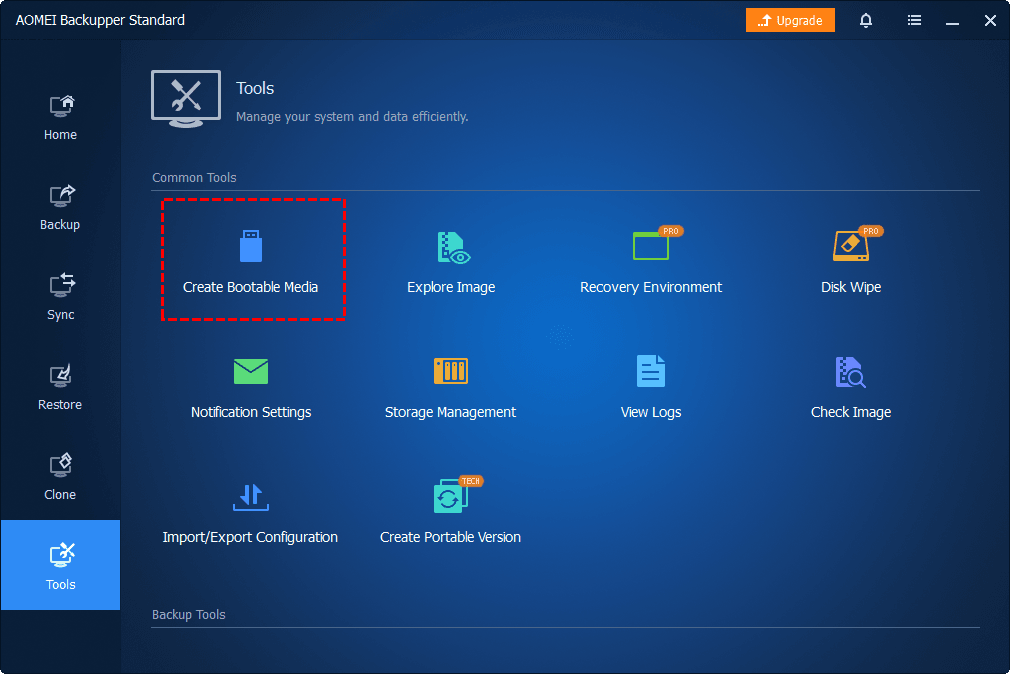
1. Launch the software, go to Tools tab and choose Create Bootable Media under Common Tools.
2. Select Windows PE (recommended) and the created disc will support both legacy/MBR and UEFI/GPT.
3. Select the media you want to copy the ISO file to. In addition to USB drive, you can also burn it into CD/DVD as long as you have a CD-burning program. Then click Next to start the creation of the bootable media.
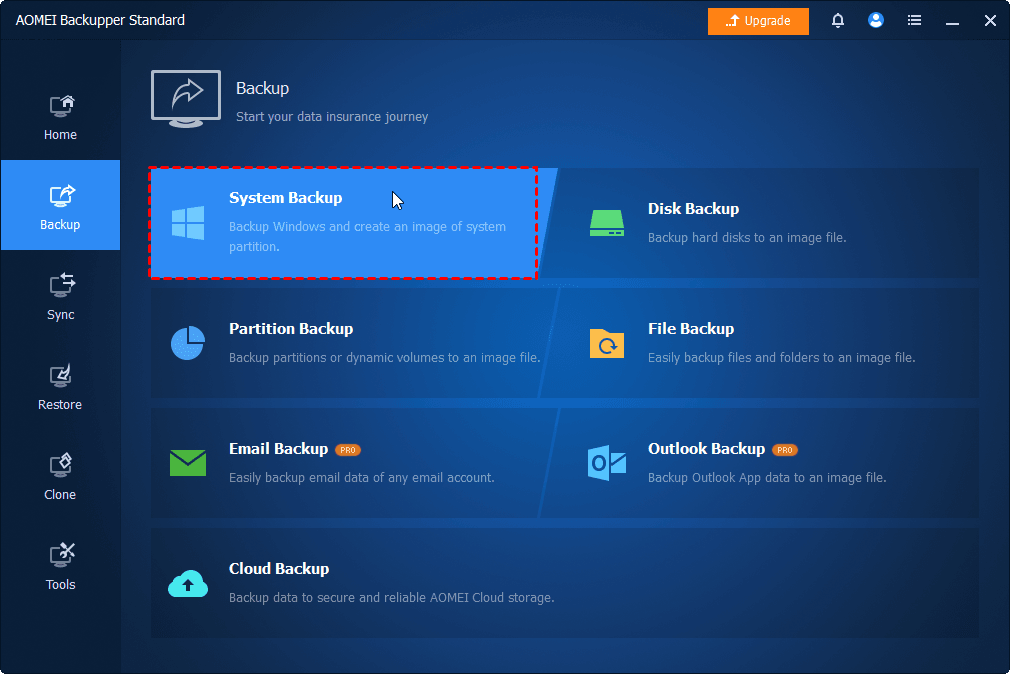
How to create system image
1. Navigate to Backup tab, choose System Backup to create an image of the operating system.
⊙ If you want to create a disk image of USB drive, you can choose Disk Backup instead.
2. Select a destination for the backup image. It’s recommended not to save it on local drive.
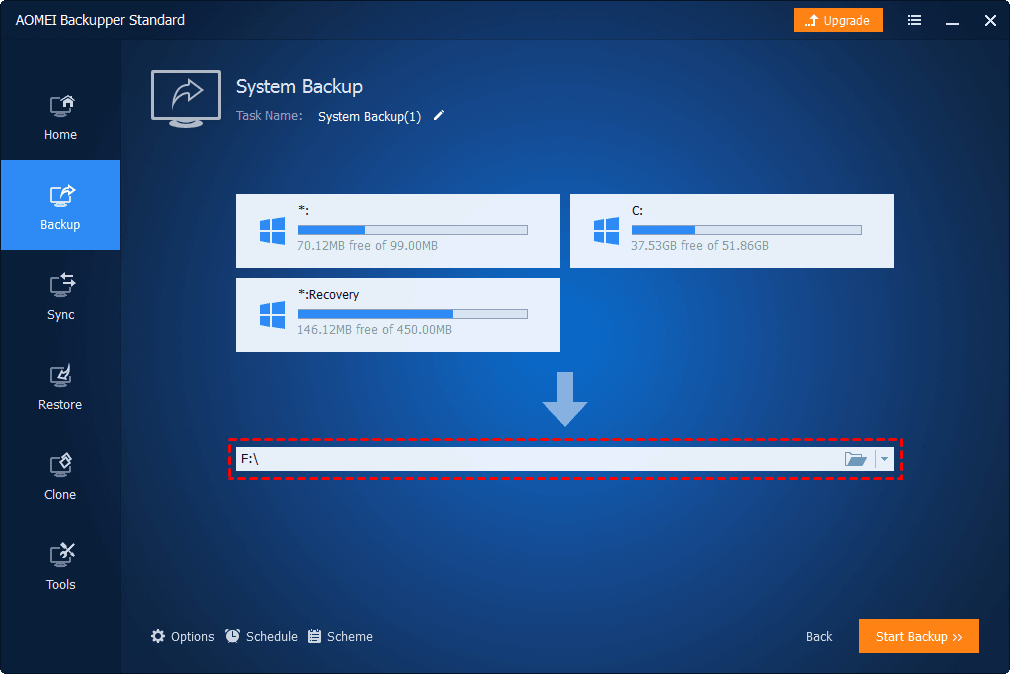
3. Click Start Backup to create a system image.
Tips:
- Schedule Backup: Create automatic backup on basis of Daily/Weekly/Monthly/Event triggers/USB plug in.
- Options: Backup modes, image compression and splitting, comments, email notification, operation priority, etc.
- Backup Scheme: Customize the rule to auto delete backups older than x days or change incremental backup to differential backup. Available in Pro edition.
- Create Recovery Environment: To restore an image file without booting Windows, you may create recovery environment with AOMEI Backupper in advance.
How to create a portable image tool
Here you will use Create Portable Version in the Technician or Technician Plus editon only. Before start, please buy one of them in the edition comparison page. You can use it on unlimited PCs or servers and perform any operations without installing again, even deploying system image to multiple computers simultaneously.
Then, follow the steps below:
1. Switch to Tools tab and select Create Portable Version.
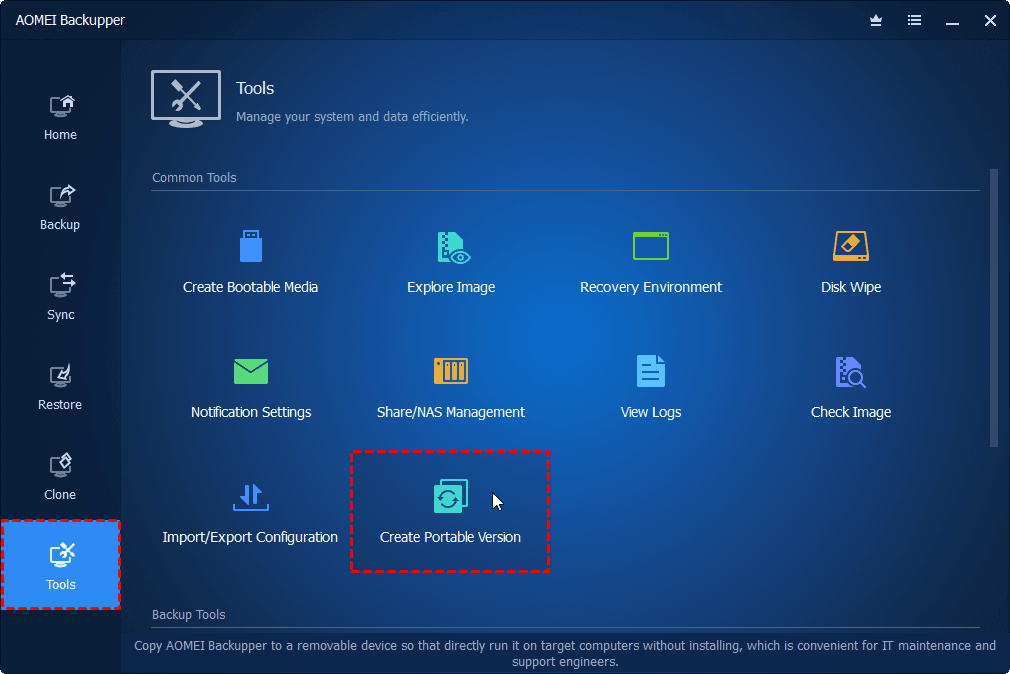
2. The connected portable device will be auto-selected as the target location. You can also click Browse to specify a location manually.

3. Click Start Creating to create the portable disk imager. After completion, you can insert the device to any target PC, and double-click Backupper.exe to run AOMEI Backupper without installation.
Note: If AOMEI Backupper has been installed on the target computer before, then the portable version may run into problems. Thus you can use Register.exe in the portable directory to register for the advanced edition correctly.

Conclusion
Win32 Disk Imager is a portable tool to write ISO image to removable device, or create a disk image of it. If you encounter problems using it or find its functionality too sketchy, you can also use a powerful alternative, AOMEI Backupper.
As a professional backup tool, it enables you to create disk image, system image, make bootable USB/CD/DVD, and create portable version to work with multiple PCs. Moreover, if you want to make a bootable clone, like clone a Raspberry Pi SD card to another, you can also use the Disk Clone feature. Even if you are a Windows Server user, there’s a Server edition could help you with the same features.

