How to Automatically Sync Folders on Mac (2 Ways Included)
Automatic folder sync on Mac can help to keep two folders in different locations the same while saving you from repetitive work. Get 2 easy ways to auto sync folders on Mac below.
Is it necessary to automatically sync folders on Mac?
Folder sync means to keep the contents of one folder synchronized with another folder, either on the same device, another device, or in the cloud. It is useful in the following situations:
- Data Backup: Ensures that your files are backed up and can be recovered if needed.
- Accessibility: Allows you to access your files from multiple devices.
- Collaboration: Facilitates easy sharing and collaboration with others.
What’s more, you may add, delete or edit files in the synced folder from time to time. It would be troublesome to manually sync the folder every time it is changed. Therefore, automatic folder sync is recommended.
Where should we keep the synced folders?
The location for keeping synced folders depends on your specific needs and the method you are using to sync them. Here are some common locations used for folder sync:
1. External storage
Use an external HDD, SSD or USB flash drive to store your synced folders. This is useful for backups and for cases where you need to transfer data between computers without an internet connection.
2. Local network
Use a network shared folder or NAS device as the sync destination path. This is useful in home or office environments where multiple users need access to the same set of files.
3. Cloud services
- Use iCloud for syncing your Desktop, Documents, and other important folders that you want to access across all your Apple devices.
- Use Dropbox, Google Drive, or OneDrive to sync folders you need to access from multiple devices (not only Apple devices) or share with others.
How to have Mac auto sync folders
In this part, you can learn the specific steps to automatically sync folders on Mac. Two methods are available: one is using the best free sync app - AOMEI Backupper Mac and the other is using Apple’s cloud service - iCloud.
#1. Sync folders on Mac with free sync app
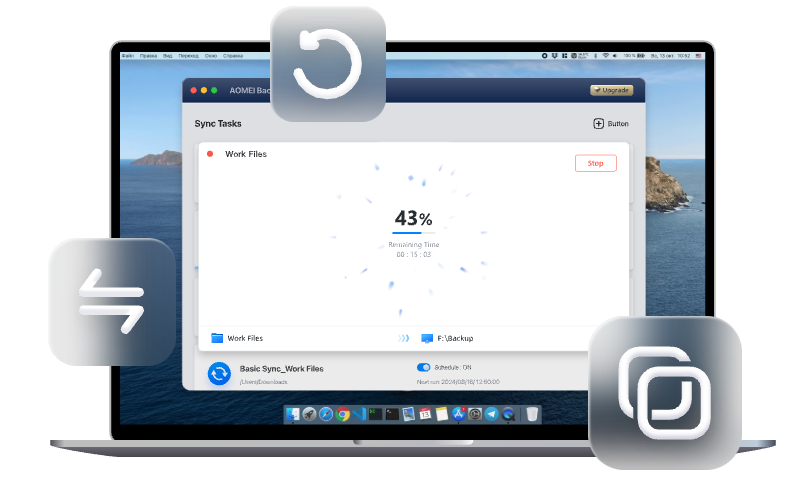
Speaking of the best folder sync app for Mac, AOMEI Backupper Mac can’t be missed. It offers various sync features to meet your specific needs.

-
Multiple sync types: You can sync files from source to destination with Basic Sync or Mirror Sync. You can also sync files both sides with Two-Way Sync.
-
Various sync source and destination: You can select folders on the local disk, external hard drive, network location or NAS device as the sync source or destination. You can even sync files between two Macs.
-
Automatic sync: The program offers 5 schedule modes to help you sync folders automatically, including Once, Hourly, Daily, Weekly and Monthly.
-
System compatibility: It runs smoothly on macOS 14/13/12/11/10.15.
Download AOMEI Backupper now and use it to sync your Mac folders automatically. Follow the instructions below.
Step 1. Install and launch AOMEI Backupper Mac. In the main interface, click New Task in the top-right corner.
Step 2. Select your desired sync type. Here I take Basic Sync as an example.
Step 3. Click Select Sync Source to choose the folder that you want to synchronize.
Step 4. Click Select Sync Destination to choose another folder to receive the synced files. If you want to sync files to an external hard drive, connect it to your Mac beforehand.
Step 5. To have the sync task run automatically, click the clock icon in the left bottom to enable Schedule. I choose Daily here.
Step 6. Confirm all your settings and click on the Sync button to begin file syncing.
🌟 Bonus tip:
All the sync tasks you create with AOMEI Backupper will be listed in the main interface. You can view or run a task and change schedule settings from there.
#2. Sync folders on Mac via iCloud
iCloud, Apple's cloud storage and cloud computing service, allows users to store data such as documents, photos, music, and other digital files on remote servers, and then access those data from multiple devices such as iPhones, iPads, Macs, and even Windows computers. Learn how to sync Mac folders automatically via iCloud below.
Step 1. Open System Preferences from the Apple menu. Then click on Apple ID.
Step 2. In the Apple ID settings, click on iCloud in the sidebar.
Step 3. Ensure that iCloud Drive is checked in the list of services.
✍ Note: If you want to sync Desktop and Documents folders, click on Options next to iCloud Drive. Then check the Desktop & Documents Folders option and save the settings.
Step 4. Open Finder > iCloud Drive. Simply drag and drop the files/folders you want to sync into the iCloud Drive.
Step 5. Files and folders within iCloud Drive will be accessible from any device signed in with the same Apple ID and with iCloud Drive enabled. You can also access these files from the iCloud website (iCloud.com) by logging in with your Apple ID.
✍ Note: Ensure you have enough iCloud storage. You can manage your storage or purchase more by going to System Preferences > Apple ID > iCloud > Manage.
Summary
It is easy to automatically sync folders on Mac if you use the methods provided on this page. Both AOMEI Backupper Mac and iCloud offer unique advantages suited to different requirements. AOMEI Backupper excels with its comprehensive features and user-friendly interface, making it an excellent choice for reliable syncing.

