How to Transfer Files from PC to Mac Without Migration Assistant
This guide explores alternative methods to transfer files from PC to Mac without using the Migration Assistant. It covers various solutions, including using cloud services, and network transfers. Each solution is explained in detail, with step-by-step instructions to ensure a smooth file migration process.
By Sebastian Updated on August 8, 2024
Introduction
Transitioning from a PC to a Mac can be an exciting upgrade, but transferring files without the Migration Assistant can seem daunting. Fortunately, there are multiple efficient ways to move your data. Whether you prefer using external drives, cloud services, or network transfers, this guide will help you transfer files from PC to Mac without a hitch.
Why Avoid the Migration Assistant?
While the Migration Assistant is a convenient tool, it can sometimes be slow or problematic, especially with large amounts of data. Moreover, it may not be suitable for those who prefer a more hands-on approach or need to transfer specific files and folders selectively.
Potential Issues with the Migration Assistant
⚡Slowness with Large Data Sets: The Migration Assistant can be notoriously slow, especially when dealing with large volumes of data. Transferring extensive files, applications, and settings can take several hours or even days, making it cumbersome and time-consuming.
⚡Compatibility Problems: Not all files, applications, and system settings are guaranteed to migrate smoothly. Incompatibilities between PC and macOS can result in certain files or programs not being transferred correctly.
⚡Limited Customization: The Migration Assistant performs a bulk transfer, often lacking the granularity to select specific files or folders. Users who prefer a more tailored migration, focusing on essential data while leaving behind unnecessary clutter.
⚡Errors and Interruptions: Network interruptions or software glitches can cause the Migration Assistant to fail mid-transfer. Recovering from such interruptions can be problematic, and users might need to start the process from scratch, adding to the frustration.
⚡Complexity for Novice Users: For users who are not tech-savvy, the setup and execution of the Migration Assistant can be overwhelming. The steps involved in connecting both systems and navigating the migration settings can be daunting.
Solutions to Transfer Files from PC to Mac Without Migration Assistant
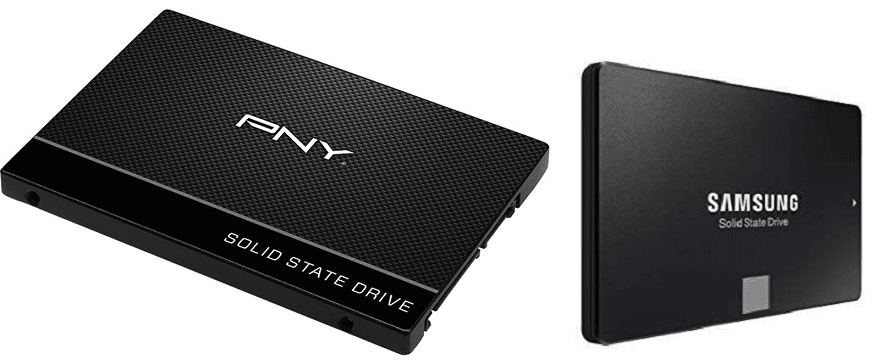
Solution 1: Using External Drives
One of the simplest methods is using an external hard drive or USB flash drive. It has no special threshold. The only thing you should be aware of is that if you have a lot of files to transfer, you may need larger external hard drives. Then, you can transfer files from PC to Mac manually.
1. Prepare Your External Drive: Ensure your drive is formatted to a file system compatible with both Windows and macOS, such as exFAT. Connect the drive to your PC.
2. Copy Files to the External Drive: Open File Explorer on your PC. Select the files and folders you want to transfer. Drag and drop or copy and paste them to the external drive.
3. Safely Eject the External Drive: Once the transfer is complete, safely eject the drive from your PC.
4. Connect the Drive to Your Mac: Plug the external drive into your Mac. Open Finder to access the drive.
5. Transfer Files to Your Mac: Copy the files from the external drive to your desired location on your Mac.
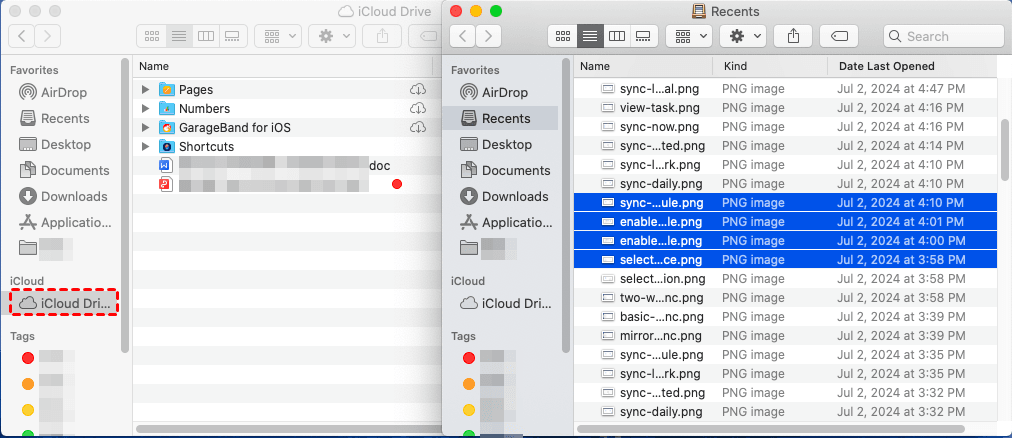
Solution 2: Using Cloud Services
Cloud storage services like Google Drive, Dropbox, or OneDrive provide a seamless way to transfer files. In this, you will get the fastest file-transferring service you enjoy.
1. Upload Files to Cloud Storage: Sign in to your preferred cloud service on your PC. Upload the files and folders you wish to transfer.
2. Install the Cloud App on Your Mac: Download and install the corresponding cloud service app on your Mac.
3. Sign In and Sync: Sign in to your cloud account on your Mac. Sync the files to your Mac, or manually download them from the cloud.
4. Organize Your Files: Move the downloaded files to your desired locations on your Mac.
5. Maintain Backup: Consider keeping a copy of your files in the cloud as a backup.
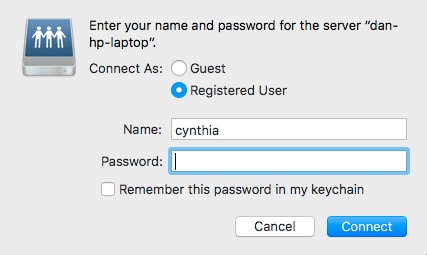
Solution 3: Network Transfer
Transferring files over a local network is another efficient method.
1. Enable File Sharing on PC: Go to Control Panel > Network and Sharing Center. Click on Change advanced sharing settings and enable file sharing.
2. Create a Shared Folder: Right-click on the folder you want to share. Select Properties, then go to the Sharing tab and click Share.
3. Note the Network Path: Take note of the network path of the shared folder (e.g., \YourPCName\SharedFolder).
4. Connect to the Shared Folder on Mac: Open Finder on your Mac and go to Go > Connect to Server. Enter the network path and connect.
5. Transfer Files: Drag and drop the files from the shared folder to your desired location on your Mac.
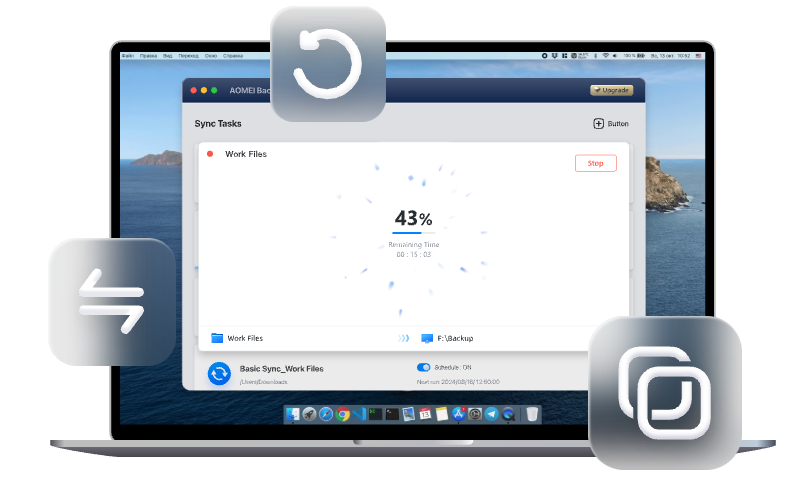
Bonus Syncing Tool: AOMEI Backupper Sync Files on Mac
When using computers for daily file storage, transferring files isn't the only concern; syncing them is equally important. Having a reliable Mac file transfer tool can significantly streamline this process. AOMEI Backupper Mac stands out as an excellent choice for syncing essential files on your Mac. Its intuitive interface and robust features simplify data protection, ensuring your files remain secure and well-organized.
Free Mac sync software to sync files and folders automatically
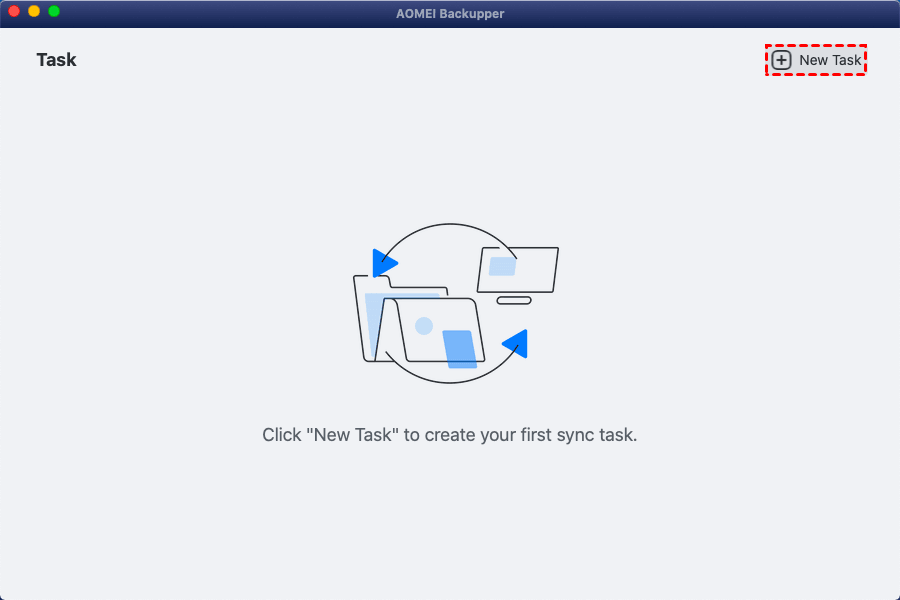
Step 1: Begin by downloading and installing the AOMEI Backupper Mac. Open the app and click on "New Task" to get started.
Step 2: Select the synchronization method that suits your requirements. For instance, you might choose Mirror Sync or Two-Way Sync for syncing tasks between folders.
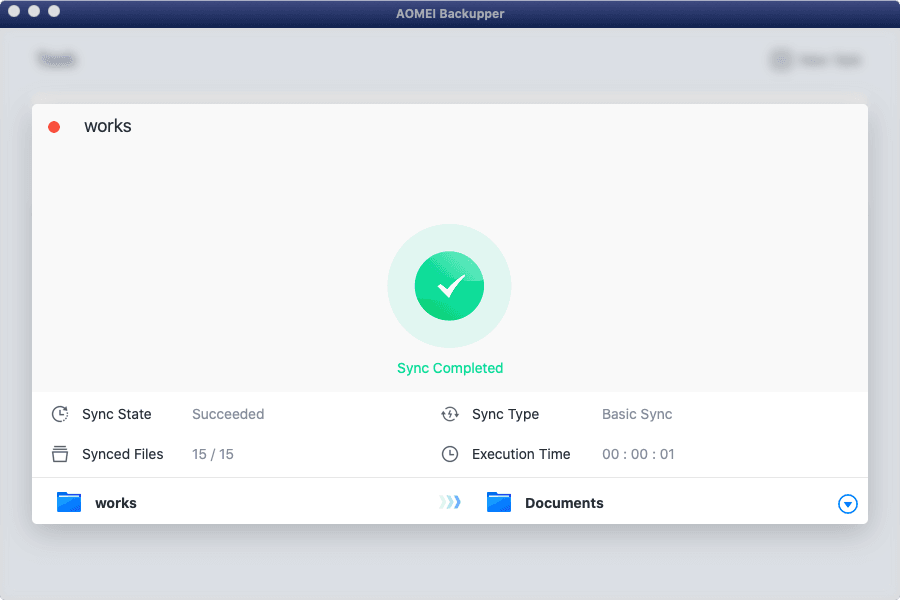
Basic Sync: Copies files from one location to another without deleting them from the original location.
Mirror Sync: Creates an exact replica of the source files at the destination, deleting any files at the destination that no longer exist in the source.
Two-Way Sync: Keeps files in both the source and destination locations updated, ensuring changes in one location are mirrored in the other.

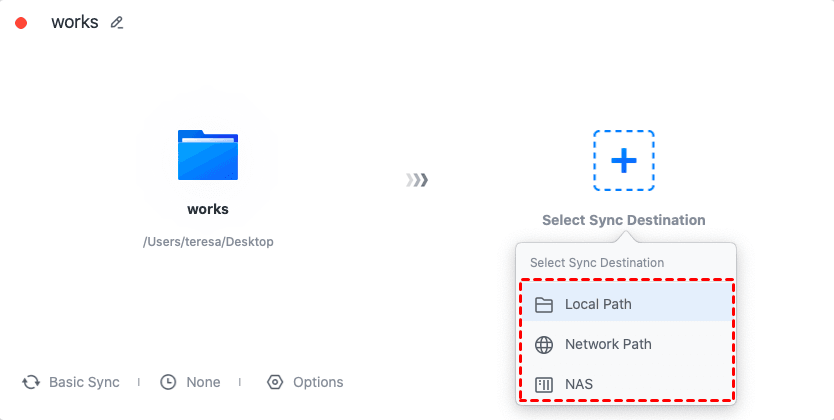
Step 3: Pick the source folder and the destination folder where you want the files to be synced.
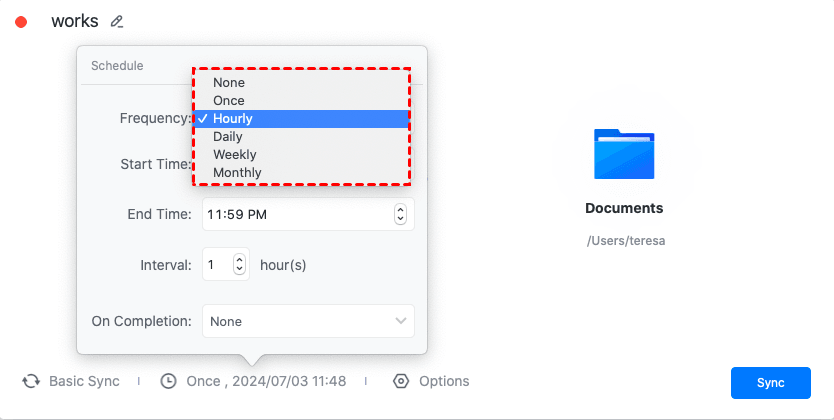
Step 4: Set up the sync schedule and customize other options to fit your needs. You can choose how often the sync should occur and set specific times.
You can set the synchronization frequency to suit your needs, such as once, hourly, daily, weekly, or monthly. Additionally, you can specify the start time and choose if the system should hibernate or shut down after the sync is completed.
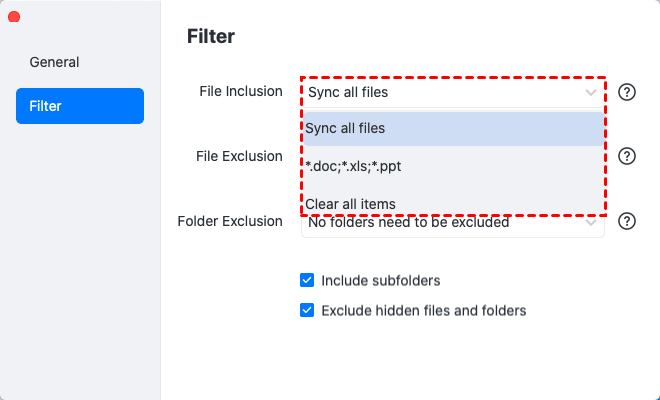
In the Options menu, you can tailor the sync process with settings like File Inclusion, File Exclusion, and Folder Exclusion to meet your specific needs.
Step 5: After configuring all the settings, click the "Sync" button to initiate the process. The software will then handle the synchronization automatically.
Frequently Asked Questions
Q 1: Is there a file size limit when transferring files using cloud services?
A 1: Most cloud services have file size limits, but they are usually generous. For large files, services like Google Drive or OneDrive offer substantial limits.
Q 2: How do I format an external drive for compatibility with both PC and Mac?
A 2: You can format your external drive to exFAT or FAT32, which are compatible with both Windows and macOS. Use Disk Utility on Mac or Disk Management on PC for formatting.
Q 3: What should I do if the file transfer process is interrupted?
A 3: Resume the transfer process by re-copying the interrupted files. If using cloud services, the transfer usually resumes automatically.
Practical Tips for Efficient File Transfer
- Plan Ahead: Organize and prioritize the files you need to transfer to avoid unnecessary data movement.
- Check Compatibility: Ensure your external drives and software are compatible with both Windows and macOS.
- Backup Important Data: Always create backups before initiating any major file transfer to prevent data loss.
Conclusion
Transferring files from PC to Mac without the Migration Assistant is not only possible but can be done efficiently with the right methods. Whether you opt for external drives, cloud services, or network transfers, following the detailed steps outlined in this guide will ensure a smooth transition. Embrace the switch and enjoy the enhanced performance and capabilities of your new Mac. Stay proactive with data management, and leverage tools like AOMEI Backupper to keep your files secure and accessible.