Restore Individual Files from Time Machine to New Mac: 2 Ways
Want to restore individual files from Time Machine to new Mac instead of restoring the entire machine? Scroll down to get 2 ways to restore data from Time Machine to new computer.
By Lily Updated on July 16, 2024
User case: Move only selected files from Time Machine to new Mac
“Hi there! I just got a new MacBook Pro and want to move only certain files from my last Mac's time machine onto my new machine. Migration Assistant seems to only allow migration of categories of data- not select files, for example a particular Logic Pro project.
When I try another method- to enter the old Time Machine drive manually on my new Mac, I'm having trouble locating such files. Could that be because the old Mac was running a previous OS? Thanks for your help!”
– Apple Discussions
When moving to a new Mac, you may need some important files from your old Mac. If you have backed up those files with Time Machine, you can transfer files to new Mac by restoring from the Time Machine backup. How to have Mac Time Machine restore to new computer? Please read on.
How to restore individual files from Time Machine to new Mac
To restore data from Time Machine to new Mac, there are some prerequisites:
- Ensure your Time Machine backup drive is connected to your new Mac.
- You need to be able to navigate through the Finder on your Mac.
Now, follow the instructions below.
Restore from Time Machine to new Mac through Finder
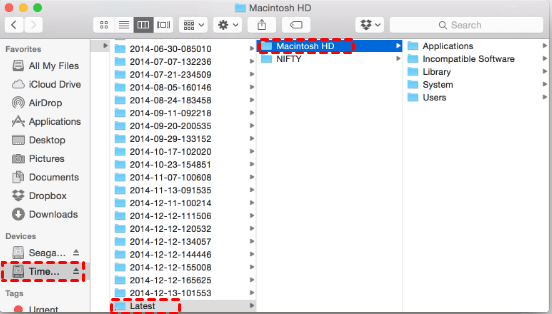
1. Open Finder and select your Time Machine backup drive under Devices. It might be named something like "Time Machine Backups" or whatever name you assigned to it.
2. Open the following folders in order:
Backups.backupdb > old Mac folder (with your old Mac name) > Latest > Macintosh HD
Note: Instead of the latest version, you can also grab an older version if you're really sure that's what you want.
3. Select the folder that stores the files you want to recover, like Applications, Library, System, or Users.
4. Drag the files to your desktop to make a copy of them. Alternatively, you can use the Copy and Paste commands to transfer the files.
5. Enter your User account password if prompted. The old files will now be on your new Mac and you can use them as if they had always been there.
Restore files to new Mac using Time Machine app
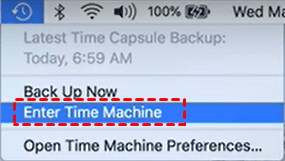
1. Enter Time Machine via the menu bar shortcut. If you don’t see this menu bar option, click System Preferences > Time Machine, and select Show Time Machine in menu bar.
2. Once you’re in Time Machine, open the folder that contains the files that you wish to restore.
3. Use the dial on the right to navigate back through time until the item that you wish to restore appears in the folder.
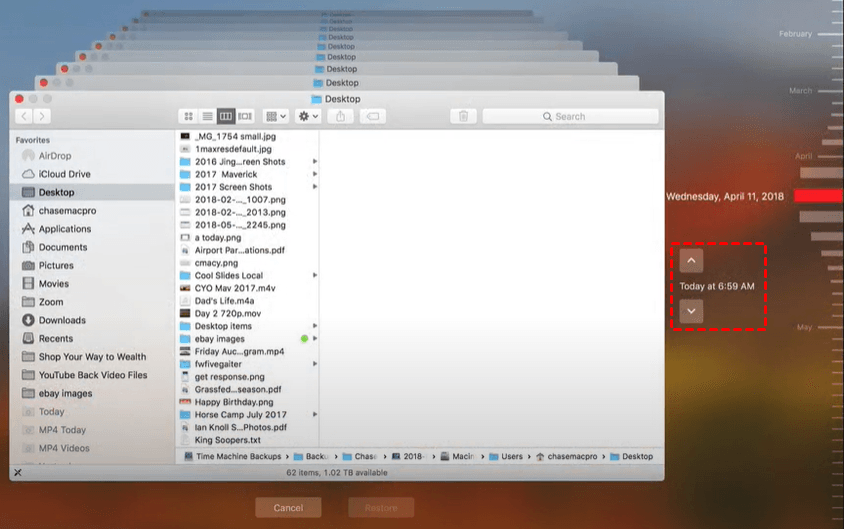
4. Highlight the file you want and click the Restore button at the bottom of the interface to restore that individual file from backup.
Note: You can double click a file to preview it before restoration.
Bonus: Sync files between Macs with free Mac sync software
If you haven’t made a backup with Time Machine on your old Mac, how can you transfer files to your new Mac? The best free Mac sync software - AOMEI Backupper Mac can help you out.
💜 Multiple sync types: You can sync files from source to destination with Basic Sync or Mirror Sync. You can also sync files both sides with Two-Way Sync.
💜 Various sync source and destination: You can select folders on the local disk, external hard drive, network location or NAS device as the sync source or destination.
💜 Automatic sync: The program offers 5 schedule modes to help you sync folders automatically, including Once, Hourly, Daily, Weekly and Monthly.
💜 System compatibility: It runs smoothly on macOS 14/13/12/11/10.15.
Download AOMEI Backupper now and use it to transfer files from the old Mac to the new Mac.
Free Mac sync software to sync files and folders automatically
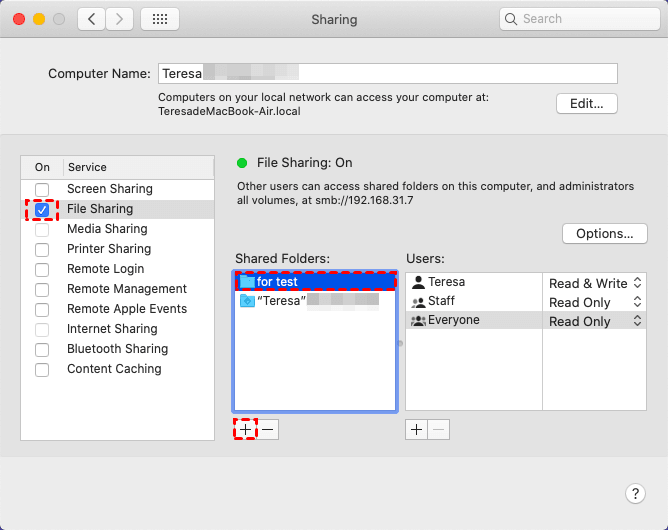
1. Make sure the two Macs are on the same wireless or wired network. Then create a shared folder on the old Mac.
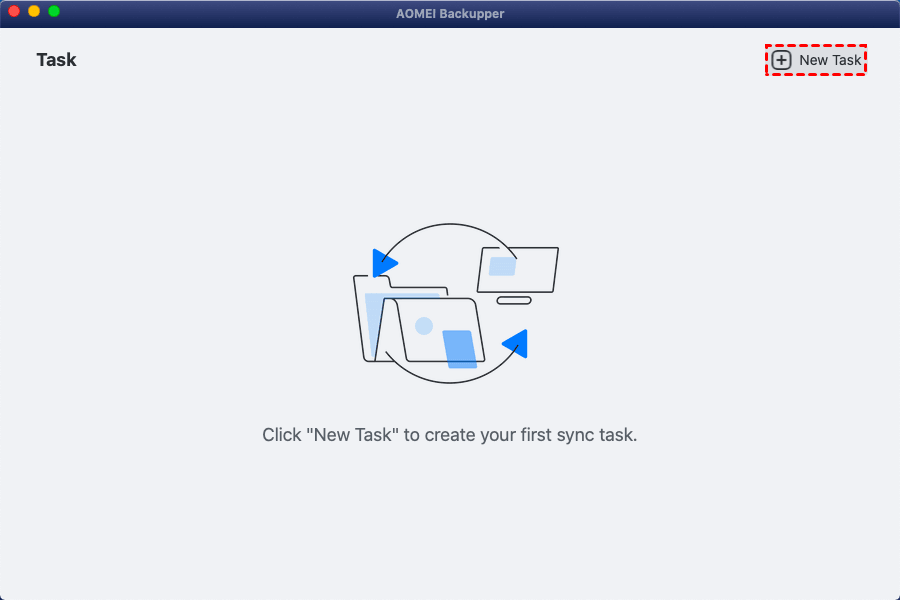
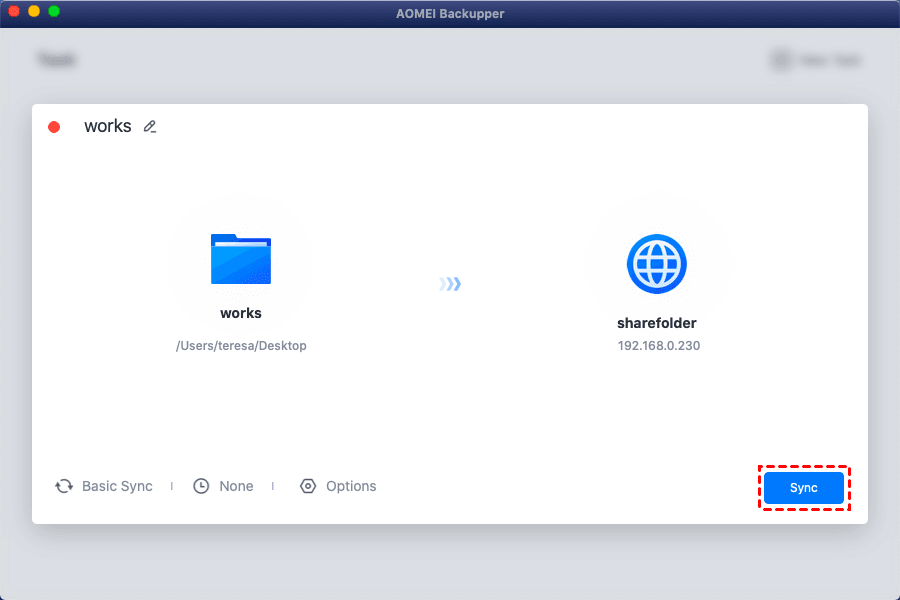
2. Install and run AOMEI Backupper on the old Mac. Then click New Task in the main interface.
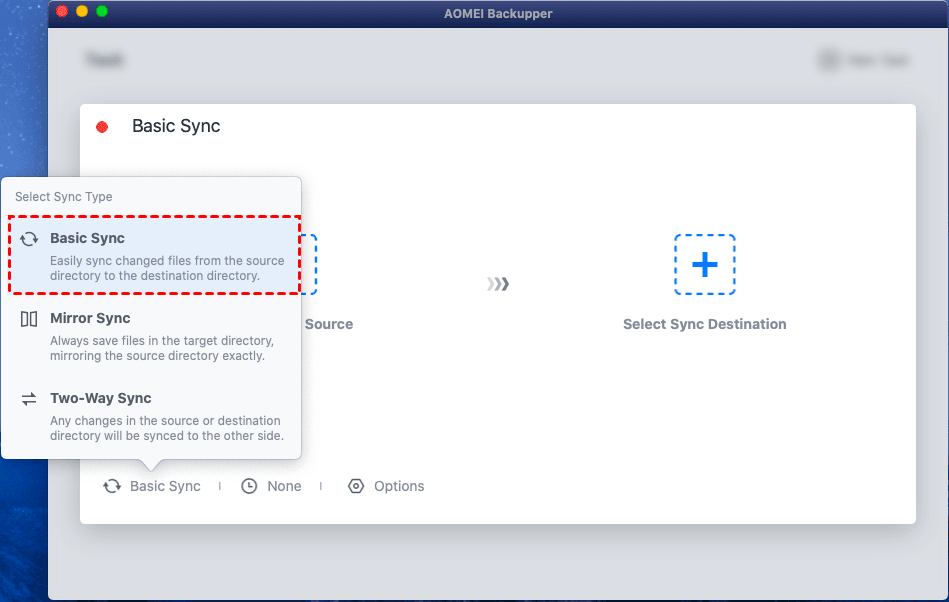
3. Select a sync type. Here I choose Basic Sync.
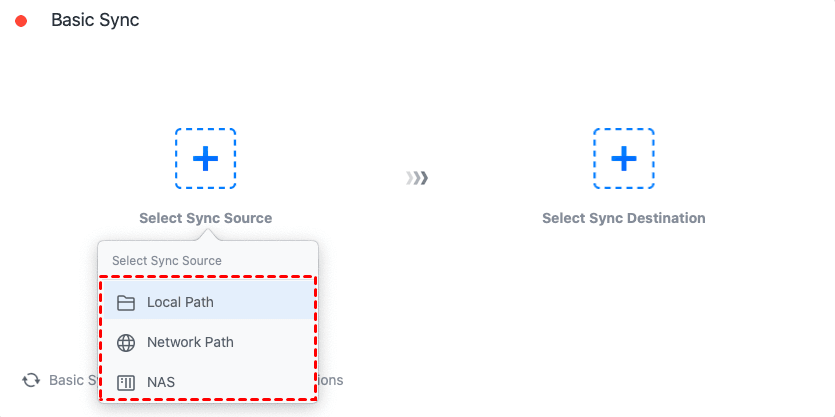
4. Select the folder you want to transfer as Sync Source and select the shared folder you created as Sync Destination.
5. Click on the Sync button to begin file syncing. Wait for the sync process to be done.
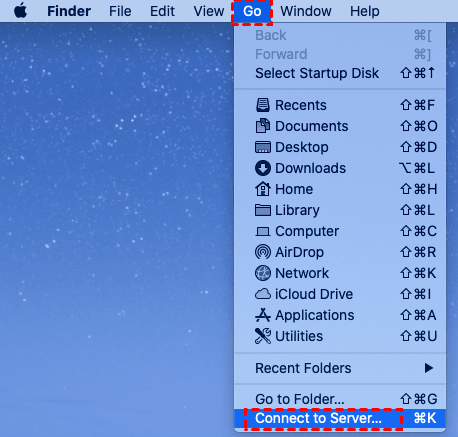
6. On the new Mac, choose Go > Connect to Server from the menu bar to connect to your old Mac and mount the shared folder. Then, open Finder and copy shared files to another location on your new Mac.
Summary
Now you know how to restore individual files from Time Machine to new Mac. You can either restore Time Machine backup to new Mac through Finder or using Time Machine app. If you haven’t made a backup with Time Machine before, you can transfer files from the old Mac to the new Mac with AOMEI Backupper. It stands out for its comprehensive sync features and ease of use. Just explore it by yourself!