Top 4 Ways to Transfer Files from One Dell Laptop to Another
From this page, you will learn how to transfer files from one Dell laptop to another easily with some listed methods. Read carefully and choose the one that suits you most.
By Miya Updated on September 22, 2023
Need to transfer files from old Dell laptop to a new one
Transferring files from an old Dell laptop to another ensures that all your important data and files are available on the new computer, saving you time and effort. By transferring these files, you can ensure that you have access to everything you need on your new computer, making it easier to pick up where you left off on your old machine.
There are several ways to transfer files between computers, including using an external hard drive, a cloud-based storage service, or specialized software designed for file transfers. The method you choose will depend on factors such as the size and number of files you need to transfer, the speed of your internet connection, and your personal preferences. Keep reading to pick up one method that you are desired.
How to transfer files from one laptop to another (4 ways)
To transfer files including documents, photos, music, videos, email archives, browser bookmarks, etc. to a new Dell laptop, you can try the listed several ways to enable the task.
Method 1. Transfer files with an external hard drive
It can be the simplest way to use an external storage device to transfer files because it's easy to operate and requires no skills.
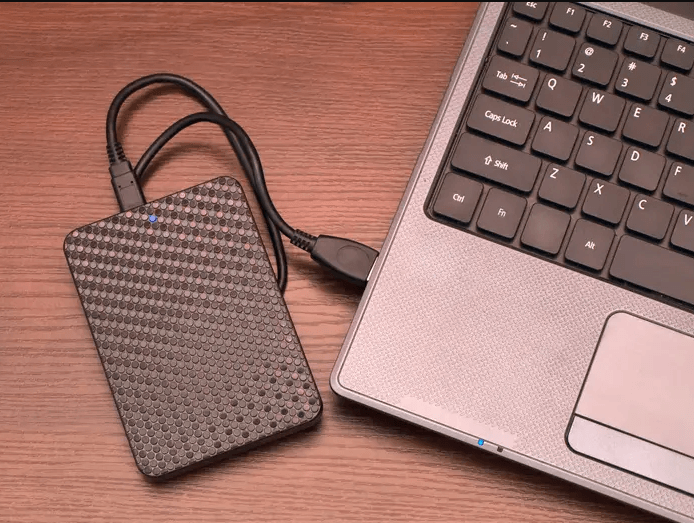
You just need to plug an external device into the old Dell laptop and copy or drag files in need to an external hard drive. Then, plug it out and connect it to the new Dell computer, and paste all files into the new Dell. Quite easy, right? But it has some limitations.
The copy-and-paste process needs to be done manually and will be time-consuming if you have dozens of files to be transferred simultaneously. And if the device is accidentally corrupted, you will risk losing files.
Method 2. Transfer files with cloud storage device
Most cloud storage devices offer users the ability to automatically sync their computer files to the cloud and provide users with free space, for example, OneDrive 5GB, Google Drive 15GB, and Dropbox 2GB to store these files. It allows users to access files from anywhere anytime with an internet connection, making it easy and convenient to transfer files between devices.

To transfer files using cloud storage, take OneDrive for example, open its desktop folder on the old Dell computer, copy and paste the files to OneDrive folder and it will automatically sync. Now, on your new computer, open the OneDrive with same account. The files you uploaded from your old computer should now be visible. Select the files you want to download to your new computer and click the download button.
Method 3. Transfer files with Dell Data Assistant
Besides, Dell also provides you with a data transfer tool to transfer files from old laptop to new one, it's called Dell Data Assistant. This is available only for Inspiron, Inspiron G Series, XPS, and Alienware PCs in certain regions. And you need to purchase it before migrating files and settings in your computers and it charges $49. However, you may encounter Dell Migrate not working when you try to use it.
Follow the steps to use Dell Migrate to transfer files:
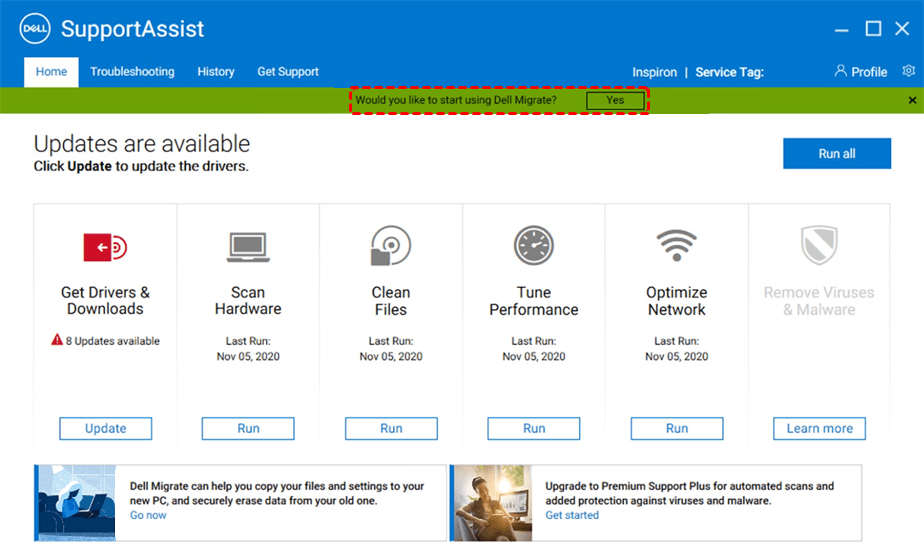
1. Type SupportAssist in the search box and select it from the result lists.
2. Click Yes to start using Dell Migrate and then Let's get started, it will start to search for your files and settings on the old PC.
3. Click Trust network if you recognize and trust the network. It will try to look for your old PC and show you the instructions to download and install Dell Data Assistant on the old computer. Just follow it.
4. Run Dell Data Assistant on the old computer and it will check if your computer meets all the pre-requisites. Click Trust Network > Let's get started to connect both computers. After identified, it will generate a verification code, which is required on the new computer for secure data migration.
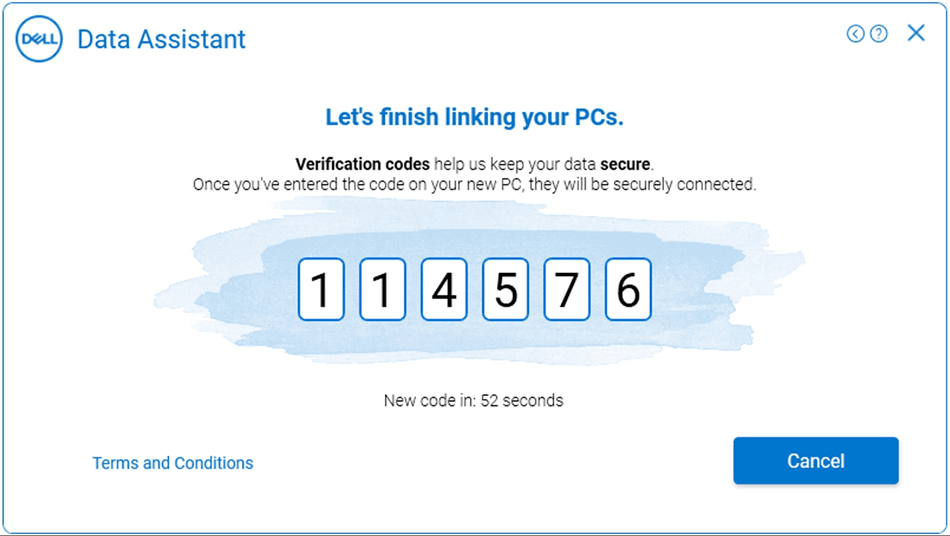
5. Enter the verification code on the new computer, once paired, it will become green. And it will go to the next step if the user profiles are the same and search for files and settings to be migrated. If not, you need to choose to continue or log in with the same Windows user profile.
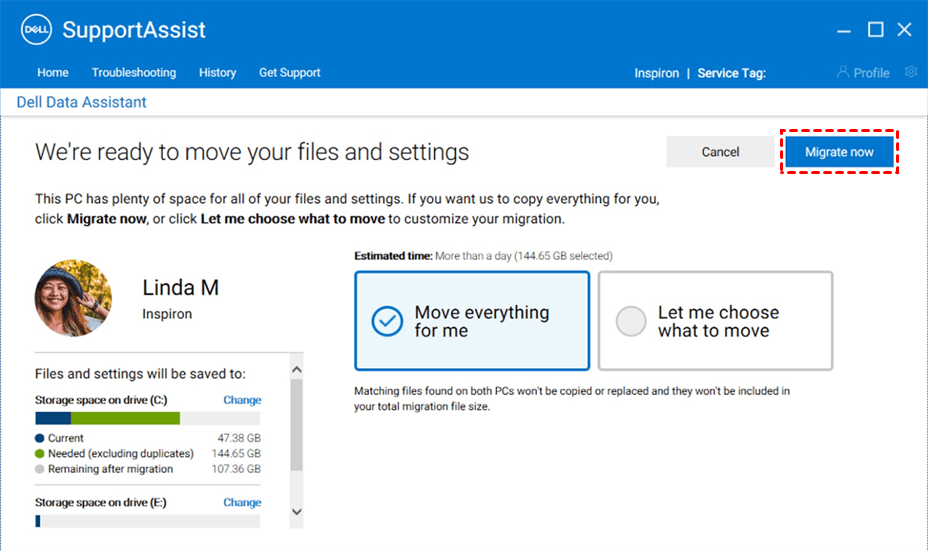
6. After searching, click Move everything for me and Migrate now on the new computer. And you can also select Let me choose what to move instead.
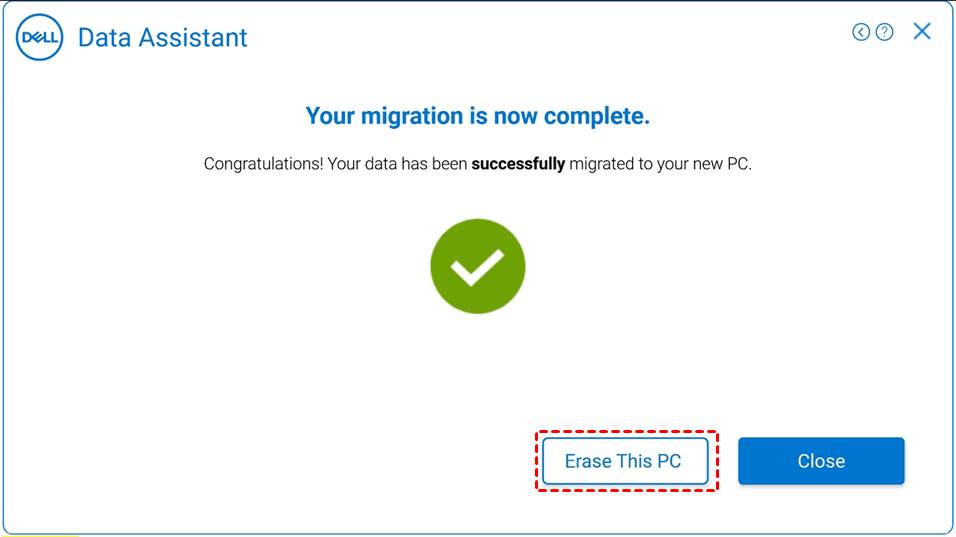
7. Just wait until the Dell Migrate is complete and check the summary of your migration results. If you want to give away your old computer or sell it, click Erase this PC and follow the instructions to complete the rest of steps.
Method 4. Transfer files with the best free file transfer tool
Except for the above solutions, you can make the file transfer process easier with freeware, AOMEI Backupper Standard. This free file transfer software supports Windows 11/10/8/7 and Windows XP/Vista. The Sync feature can help you sync files between laptops with a few clicks.
- It can support you to sync Dell files to other locations such as internal/external hard drives, NAS devices, USB drives, and clouds (sync files to Dropbox, OneDrive, Google Drive, etc.).
- You can automatically sync files at a fixed frequency such as daily, weekly, monthly, event triggers, or USB plug in. You don't have to worry about missing the data that needs to be transferred.
Please download its free trial and have a try. Windows 11, 10, 8.1/8, 7, XP, and Vista are supported.
To get started, you need to create a LAN and create a network shared folder on the source Dell laptop.
Step 1. Run AOMEI Backupper, click Sync, and then Basic Sync.

Tip: There are 3 other sync types you can try: Real-Time Sync, Mirror Sync, Two-Way Sync. (upgrade to Professional version).
Step 2. Click Add Folder to choose files or folders to transfer.

Step 3. Click the inverted triangle and select Add Share or NAS Devices.
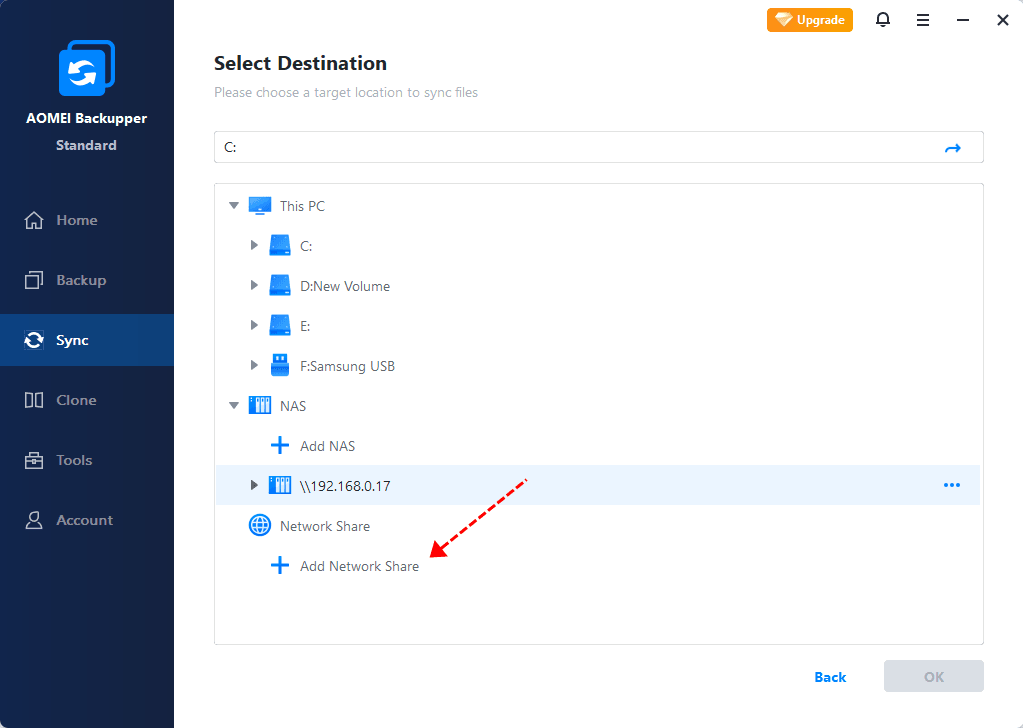
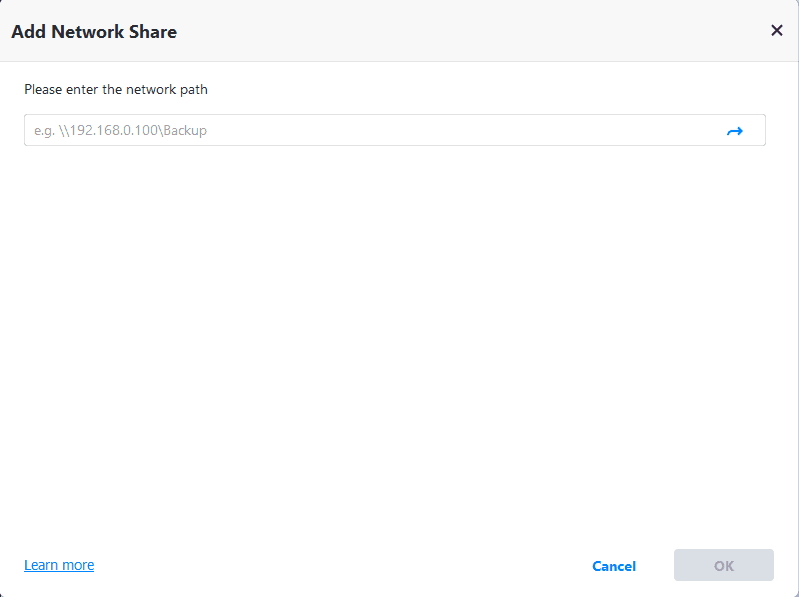
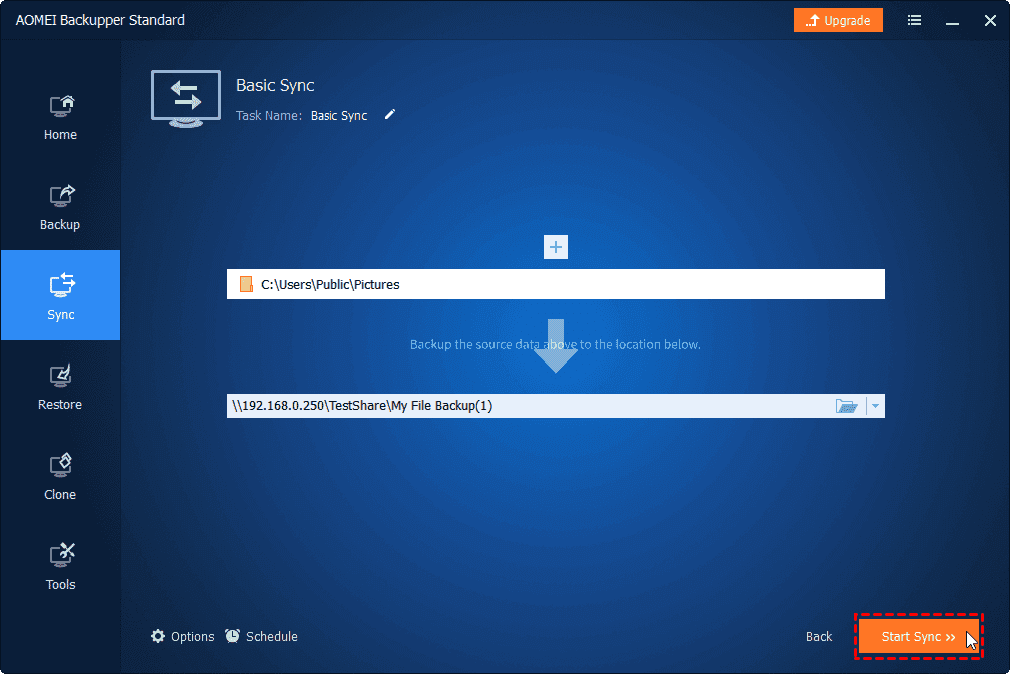
Step 4. In the pop-up window, enter network path or name of the target Dell computer and fill in the blanks with accurate information. Click OK. Then all the shared folders will be listed in the window. Select one folder as the destination folder and click OK.
Step 5. After all the settings, click Start Sync to launch the process. When the process is done, click Finish to exit.
When the process of file sync from old Dell laptop to new one is complete, you can access the synced files directly in the local path of the target Dell laptop.
Conclusion
Now you know how to transfer files from one Dell laptop to another after reading this whole passage. This post has listed 4 solutions to finish the file transfer task flexibly. You can choose one of them according to your needs. All in all, the free file transfer tool AOMEI Backupper can transfer files between laptops regularly with more excellent features.
In addition, it offers many other features to manage your Dell computers. You can enable Dell secure erase SSD securely, enable Dell boot from USB, enable Dell Inspiron 15 SSD upgrade without booting issues, etc.