Transfer Windows 10/11 to New Motherboard: Easiest Way
Are you looking for how to transfer Windows 10 to a new motherboard? This article will tell you the easiest way to move Windows when you change or replace motherboard.
By Jonna Updated on March 24, 2025
A motherboard, also known as a mainboard, system board, or mobo, is the primary circuit board in a computer system. It serves as the central hub, connecting all essential components, including the central processing unit (CPU), memory (RAM), storage devices, graphics card, and various peripherals.
If your motherboard is old or has hardware problems and you want to upgrade motherboard for better performance, you have landed in the right place. On this page, we will show you how to transfer Windows 10 to new motherboard easily without the need for a complete system reinstall. Let's begin now!
Can I Change My Motherboard without Reinstalling Windows 10?
I am planning to upgrade my motherboard. I was running Windows 10 pre-installed when I bought this PC. Now I want to transfer it to my new motherboard. Can I transfer Windows 10 to a new motherboard without reinstalling Windows? How do I do this? Any advice is appreciated.
- User case from Microsoft Community
Yes, it is possible to transfer Windows 10 license to new motherboard for motherboard replacement without Windows reinstallation. However, the success of this process depends on several factors:
- License type: If your Windows 10 license is tied to your hardware (OEM license), you may encounter activation issues after changing the motherboard. In contrast, retail licenses are more flexible and can be transferred to new hardware.
- Drivers compatibility: New motherboards come with different chipsets and components, which may require new drivers. Ensuring that these drivers are compatible with your existing Windows installation is crucial.
Easiest Way to Transfer Windows 10/11 to New Motherboard
Transferring Windows 10/11 to a new motherboard requires careful steps to ensure your system remains activated and fully functional. Here we will explain to you two situations respectively: only replacing the motherboard and replacing the motherboard & hard drive to help you successfully move Windows 10 to a new motherboard without losing data.
Part 1. You're Only Replacing the Motherboard
If you only need to replace your motherboard, you can try the following steps. But before replacing your motherboard, please determine whether your Windows 10 license is tied to your old hardware.
Step 1. Check Windows 10 Activation Type
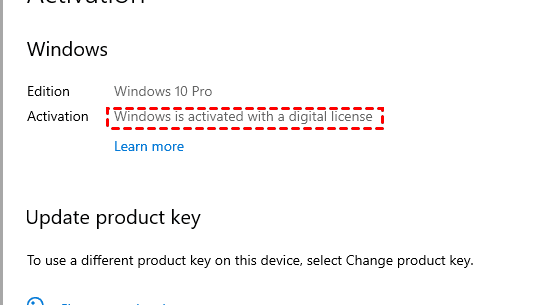
1. Open Settings → Click Update & Security → Select Activation.
2. Look under Activation Status:
-
If it says "Windows is activated with a digital license", your Windows is linked to your Microsoft account.
-
If it says "Windows is activated with a product key", you might need to enter the key again after the motherboard swap.
3. To make reactivation easier, link your Windows 10 license to your Microsoft account:
-
Go to Settings > Accounts > Your info.
-
Sign in with a Microsoft account.
-
Under Activation, select Add a Microsoft account (if not already linked).
Step 2. Prepare for the Motherboard Replacement
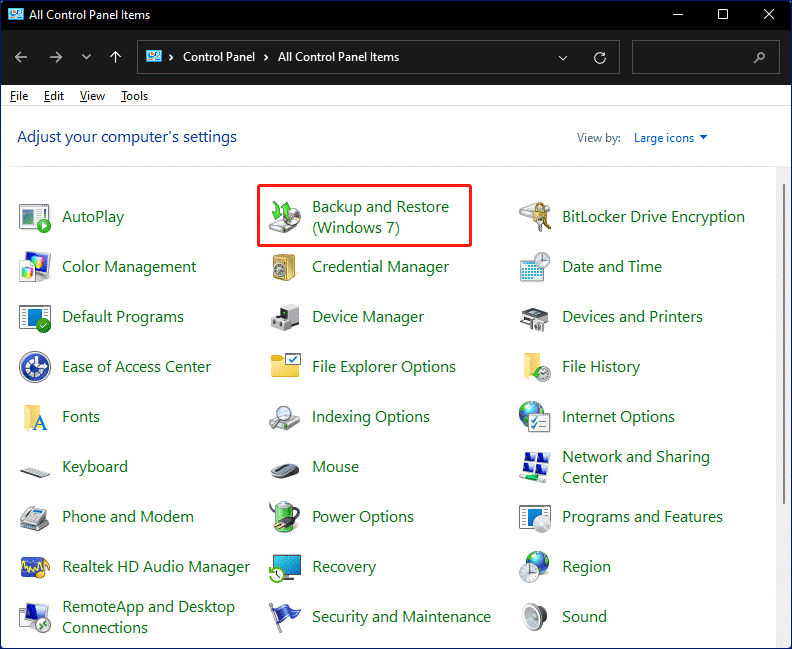
1. Backup your important files by heading to Control Panel > System and Security > Backup and Restore (Windows 7), and choose to backup your files to an external hard drive or network location.
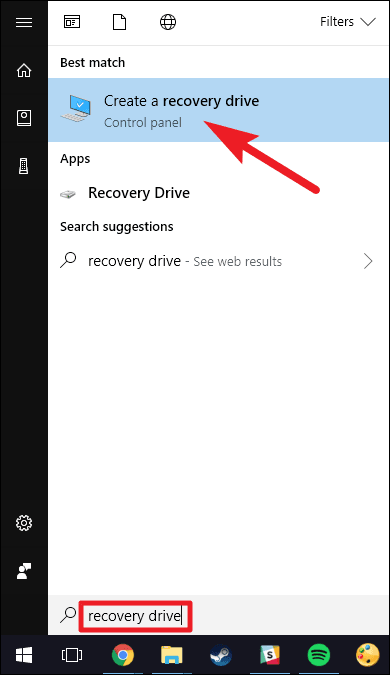
2. (Optional) Create a Windows recovery drive to avoid your system failing to boot after swapping the motherboard: plug in a USB drive (at least 8GB) > search recovery drive in the Start menu > follow the prompts and create the recovery media.
Step 3. Install the New Motherboard
1. Shut down your PC and unplug it. And Remove components like RAM, GPU, and storage drives carefully.
2. Disconnect the old motherboard (power cables, CPU cooler, and case connections). Install the new motherboard and connect everything back. Then, reassemble and boot the system.
Step 4. Reactivate Windows 10
After the motherboard change, your Windows might show Windows is not activated. Follow these steps to reactivate:
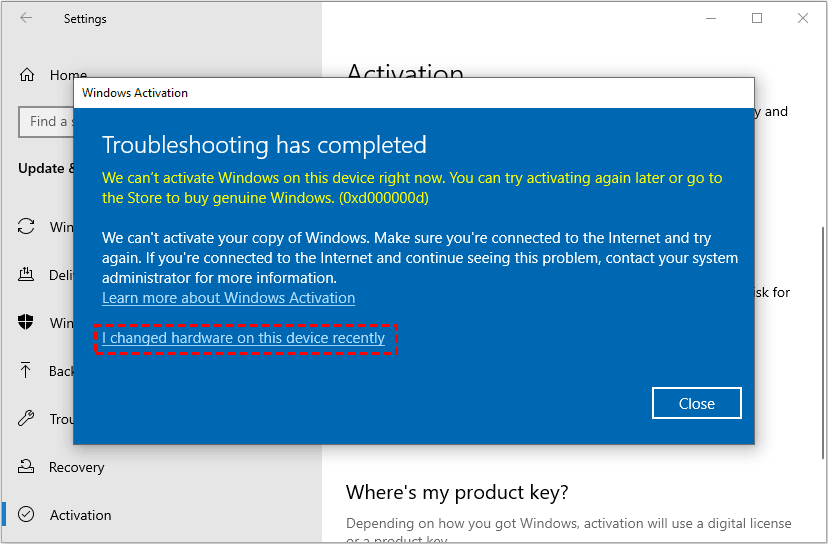
1. Go to Settings > Update & Security > Activation. Click Troubleshoot and select I changed hardware on this device recently.
2. Sign in to your Microsoft account and select your PC from the list. Click Activate.
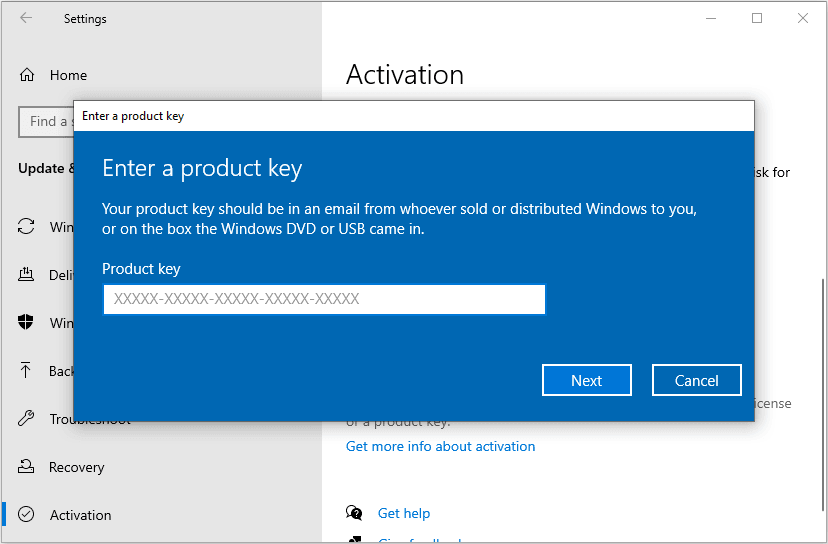
Or, you could reactivate Windows 10 via a product key if you have a retail key: open Settings > Update & Security > Activation > Change Product Key, then enter your 25-digit product key.
Step 5. Install Motherboard Drivers
To ensure stability, install the latest drivers for your new motherboard:
1. Go to the motherboard manufacturer's website.
2. Download and install the chipset, LAN, audio, and other necessary drivers.
After that, you can run your computer and check if everything works properly.
Part 2. You're Replacing the Motherboard and Hard Drive
If you are going to change your motherboard as well as local hard drive, you could rely on the specialized software - AOMEI Backupper.
Moving Windows 10 to new motherboard can be a piece of case using this software, which is designed for system/disk/file/partition backups & restore for data migrations. With a clear interface and user-friendly design, this utility makes it easy to upgrade hard drive with a new SSD or HDD for a larger capacity, and provides you with versatile advantages:

-
System backup - Create system image to USB drive, external hard drive, network drive, NAS, cloud storage, and various storage devices.
-
Disk backup - Copy an entire disk, including system-related partitions and non-system data partitions within several clicks.
-
Partition backup - Only back up a specific partition containing important data or specific application data you need.
-
File/folder backup - Backup your personal files and folders to an image file per your need.
-
Universal restore - Restore Windows OS or your system drive to different hardware without reinstallation.
To transfer Windows 11/10 to new motherboard seamlessly with reinstallation, you can download AOMEI Backupper on your computer and follow the step-by-step guide below:
Step 1. Backup Important Files
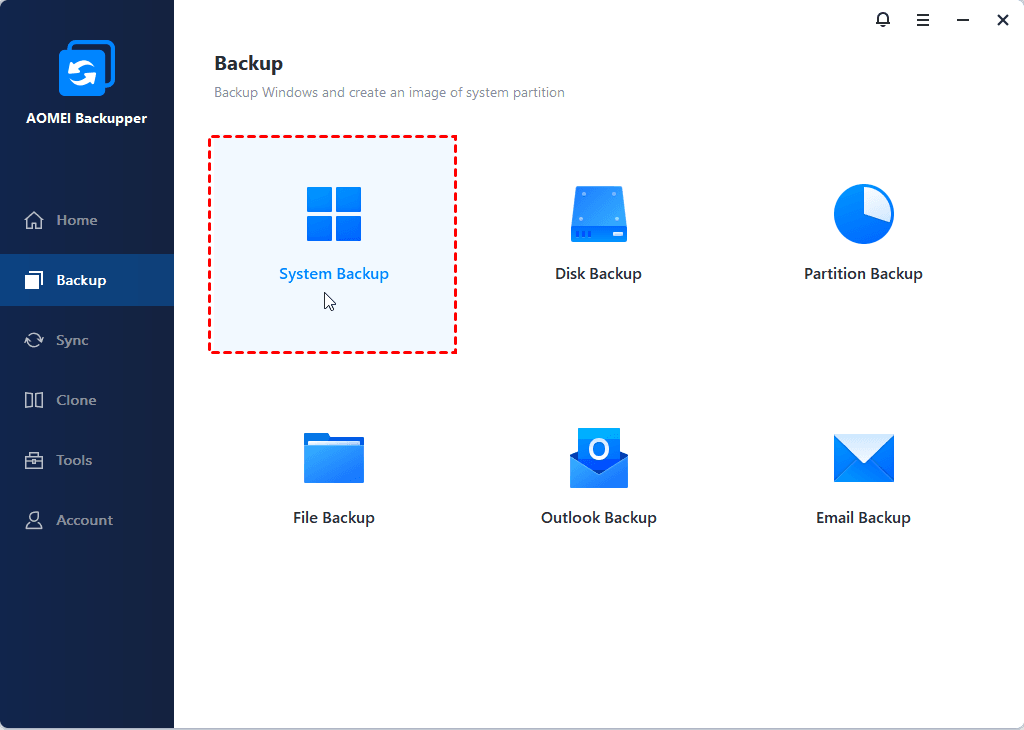
1. Launch AOMEI Backupper in the computer with old motherboard and hard drive, click Backup, and then choose System Backup. If you want to keep all files on your hard drive, choose the Disk Backup option instead.
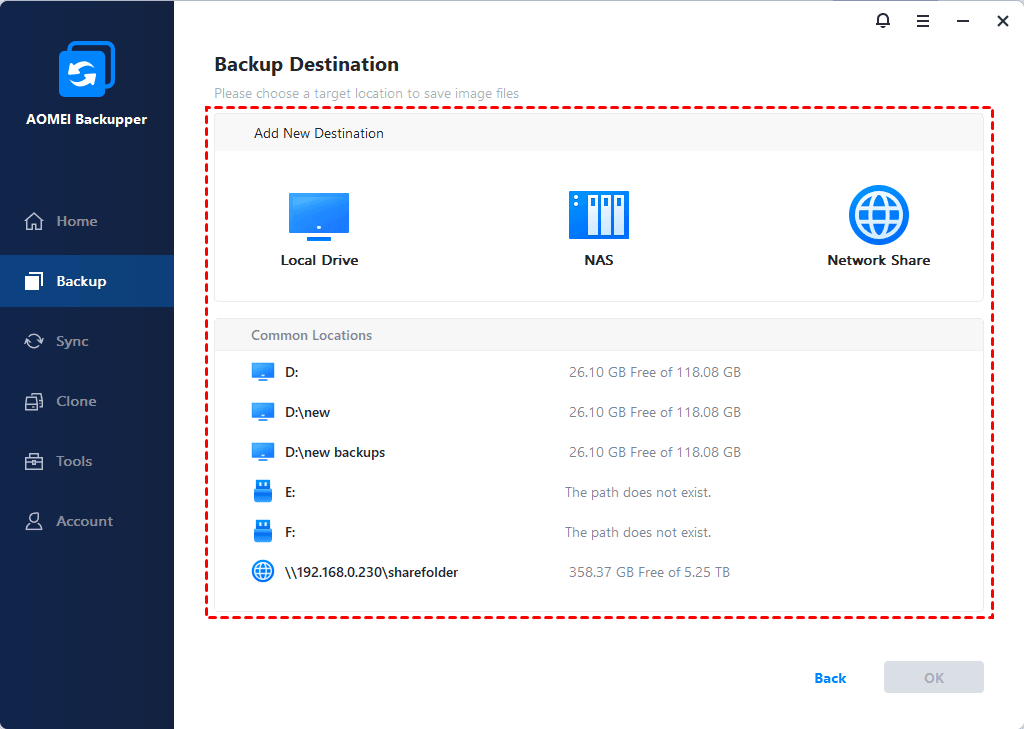
2. Choose a destination path, here it needs to be an external storage location, like a USB drive, a network location, etc. Then, click on Start Backup.
Step 2. Create Bootable Media
After replacing the motherboard and hard drive, your Windows may fail to boot, so please make a bootable disc in advance.
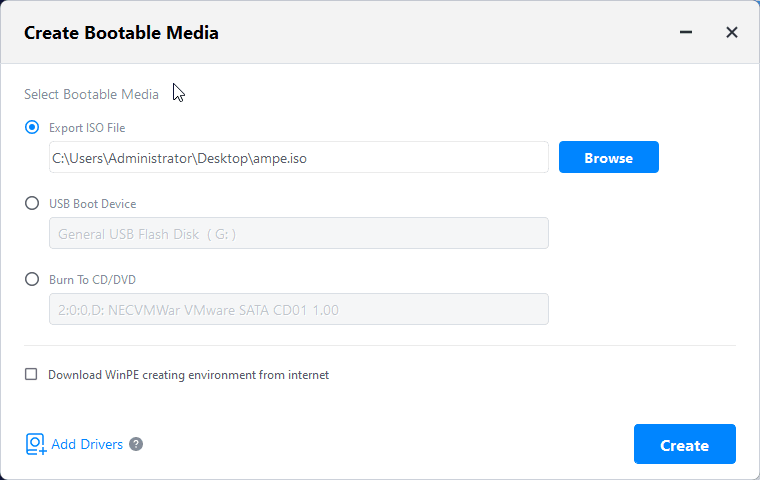
1. Head to Tools and select Create Bootable Media.

2. In the pop-up window, choose Windows PE - Create bootable disc based on Windows PE, and then choose to create a bootable USB drive to CD/DVD according to your needs.
Step 3. Swap Your Motherboard & Hard Drive and Reboot computer
1. Replace the motherboard and hard drive.
2. Boot your computer up from the bootable disk you created to load into AOMEI Backupper.
Step 4. Perform a Universal Restore
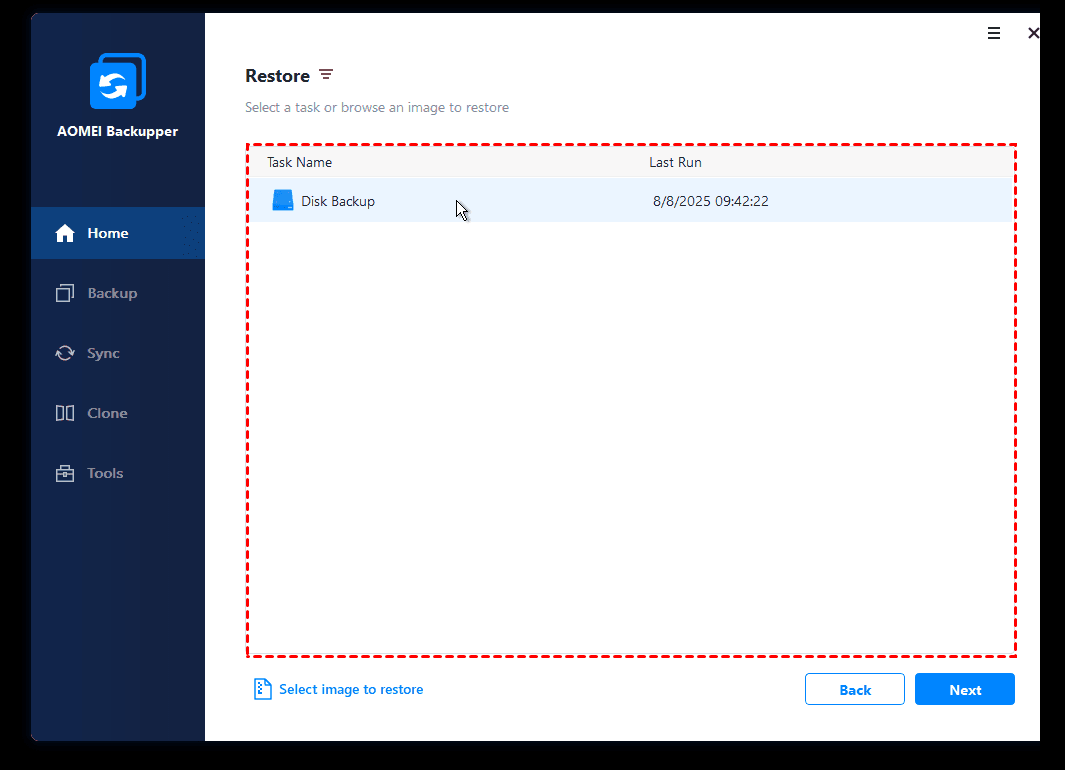
1. Select Restore > Select Task to locate the created system image file for restoration and click Next.
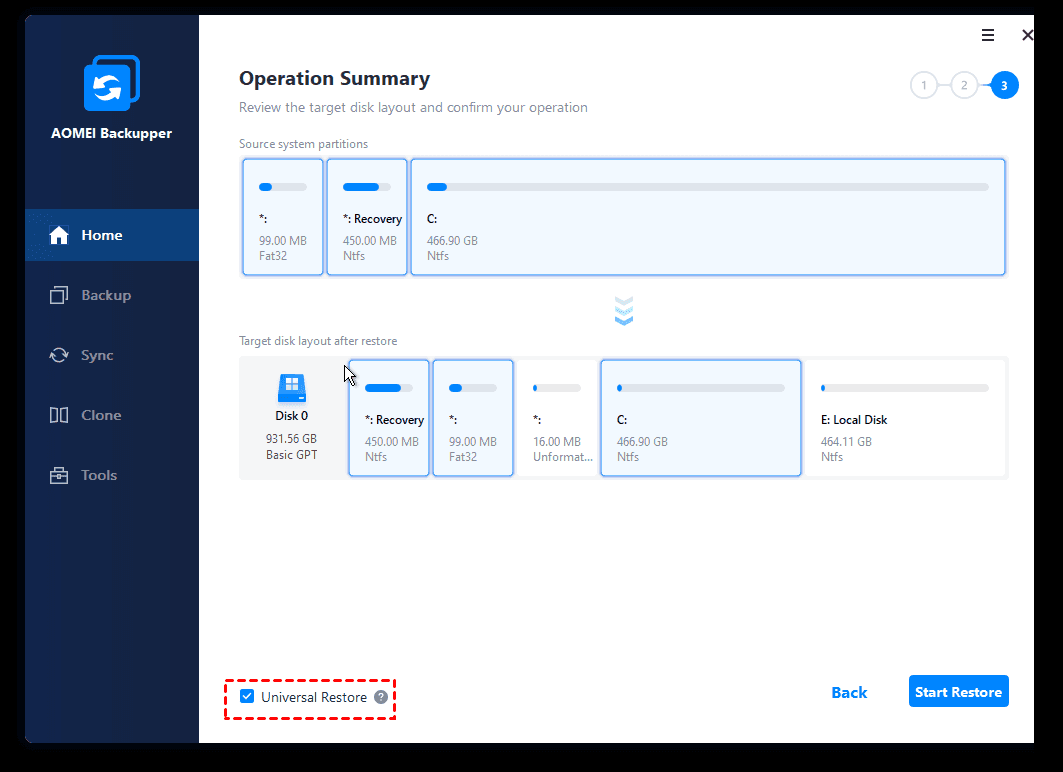
2. Choose Restore this system backup, and select a destination location to store the backup image. Tick the Universal Restore option in the lower left corner, and click on Start Restore.
Step 5. Reactivate Windows 10 and Reinstall Necessary Drivers
When the universal restore on AOMEI Backupper is completed, you can reactivate your Windows 10 system referring to the guidelines in Part 1, and reinstall the need drives to boot your Windows smoothly. That's all about how to transfer Windows to new motherboard.
FAQs about Migrating to New Motherboard on Windows
#1. Can you just swap out a motherboard?
#2. Will I lose everything if I change my motherboard?
No, as long as you back up your system and restore it properly using AOMEI Backupper, which ensures you keep your files, settings, and apps.
#3. Will windows boot with new motherboard?
#4. Can I put any motherboard in my computer?
It depends on your case size, CPU socket, and power supply compatibility. Always check if the new motherboard supports your CPU, RAM, and case form factor.
#5. Can I transfer Windows 10 from one computer to another?
Yes, if you have a retail license, you can transfer Windows 10 to another computer. OEM licenses are typically non-transferable.
Conclusion
Transferring Windows 10 to new motherboard is simple with the right tool, while keeping your files, apps, and settings intact. AOMEI Backupper provides a comprehensive solution to facilitate this transition, which allows you to do universal restore with a system backup as well as disk backup image. Besides, it also provides you with cloning features that can help you clone Windows 10 to another drive, either SSD or HDD, effortlessly.