How to Transfer Windows 10 Profile to Windows 11 | 3 Ways
If you want to transfer your user profile after you upgrade your Windows 10 to Windows 11, then you have come to the right place!
By Lily Updated on January 15, 2025
User Case: How to Migrate Windows 10 User Profile to Windows 11
“I've got an old Windows 10 Pro PC. Most of my data is stored on an external hard drive that's formatted NTFS. I'm building a new Windows 11 PC and going to install Windows 11 Pro. Is there a way to migrate my local profile/account to the new PC without losing 'security privileges', AKA access to 'owned' files on the external drive? Sorry, been a LONG time since I needed and used the correct nomenclature for userID and file permissions, etc.”
– Microsoft Community
Best free file sync software to transfer user folders from Windows 10 to Windows 11.
How to Transfer Windows 10 Profile to Windows 11
By successfully transferring your Windows 10 profile to Windows 11, you can seamlessly transition to the new operating system while retaining all your familiar settings and customizations. Then how?
Method 1. Use Microsoft accounts
Switching to a Microsoft account is indeed one of the easiest methods to transfer a Windows 10 profile to a new user or PC. By using a Microsoft account that is signed in on your current PC, you can effortlessly sync your profile to another PC by simply signing in with the same account.
It's important to understand that a Microsoft account allows you to replicate your Windows 10 user profile settings, but it doesn't transfer your files and programs. To transfer your files and programs, you will need to explore additional solutions.
Here's a breakdown of the process:
Step 1. Register for a free Microsoft account if you don't already have one.
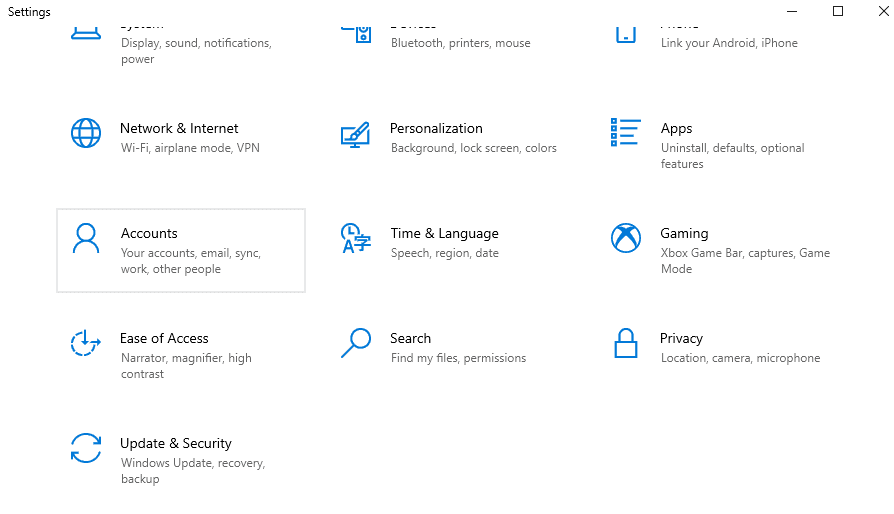
Step 2. On your current Windows 10 PC, ensure that you are signed in with your Microsoft account. You can check this by going to Settings, selecting Accounts, and verifying your account information.
Step 3. Sign in to the new PC with the same Microsoft account credentials.
Step 4. As you sign in, your Windows 10 profile settings will be synced to the new PC.
Method 2. Copy and paste via an external hard drive or USB drive
Using OneDrive for data transfer requires internet and if you don’t have internet but have an external hard drive or a big USB flash drive, you can still perform Windows profile transfer. And the way is to use the copy & paste feature.
Step 1. Right-click on This PC. And then select Properties.
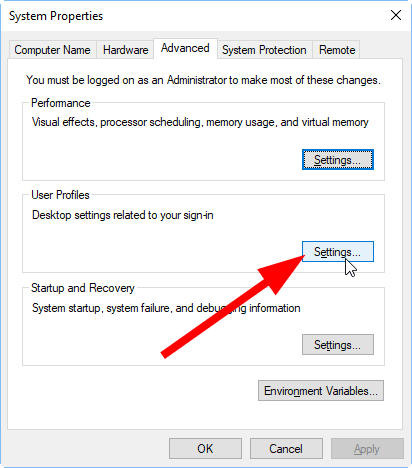
Step 2. Click on Advanced system settings.
Step 3. Click on Settings under User Profiles.
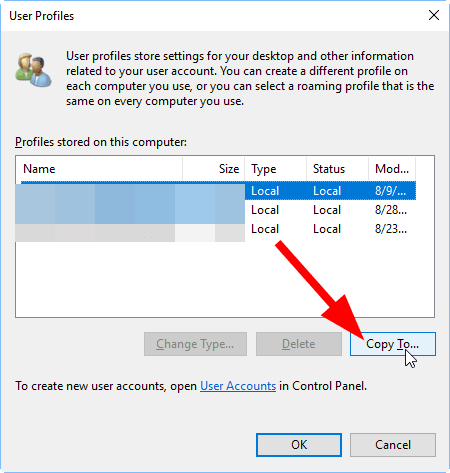
Step 4. Select your user profile from the list that appears.
Step 5. Click Copy To, then copy to your external hard drive.
Step 6. Safely eject your external hard drive and insert it into your Windows 11 PC, clicking Paste by right-clicking.
Method 3. Transfer via the best migration tool (for user folders)
Whether your computer is online or offline, you can easily transfer your Windows 10 user profile to another device using free sync software compatible with Windows 11, 10, 8.1, 8, 7, XP, and Vista. This can be done through various storage options such as OneDrive, NAS, network drives, external hard drives, USB flash drives, and more.

-
Automatic Sync Scheduling: You can set up automatic sync with the Schedule Sync feature, ensuring your data is regularly updated without human intervention.
-
Multiple Sync Modes: The software offers four different sync modes, including Basic Sync, Real-Time Sync, Mirror Sync, and Two-Way Sync. The last three sync options are available in premium versions.
-
Sync Multiple Folders: The software supports syncing multiple folders at once, saving you from having to sync each folder individually.
Download the free version of AOMEI Backupper Standard to transfer your user profiles easily. If you're using a server, consider upgrading to AOMEI Backupper Server for even more features!
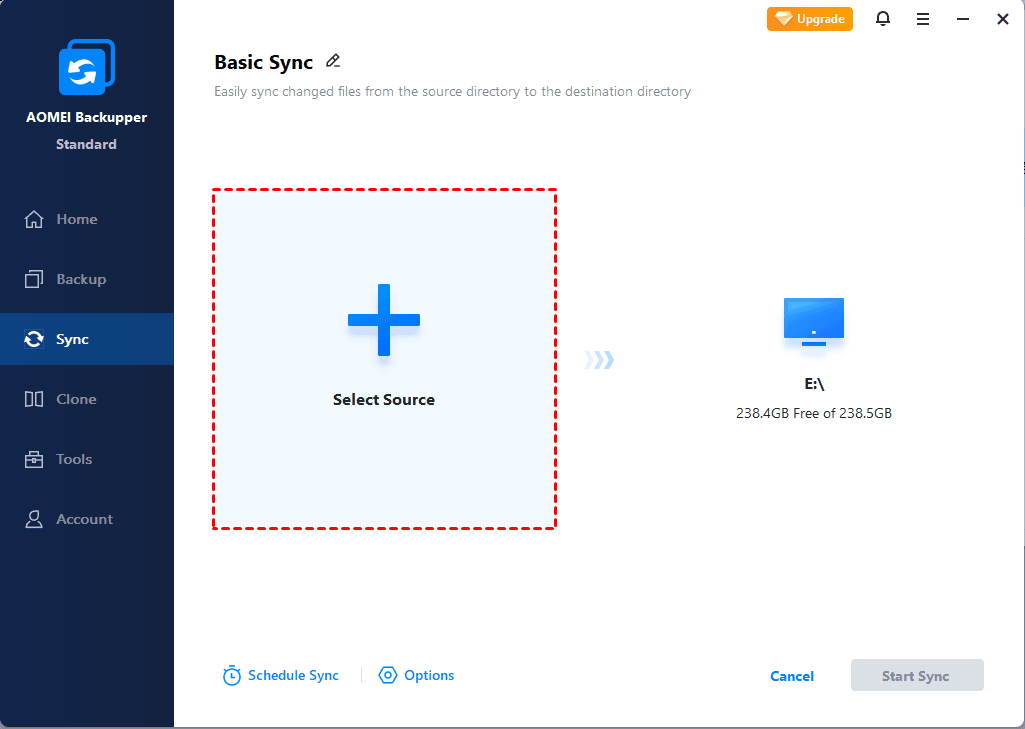
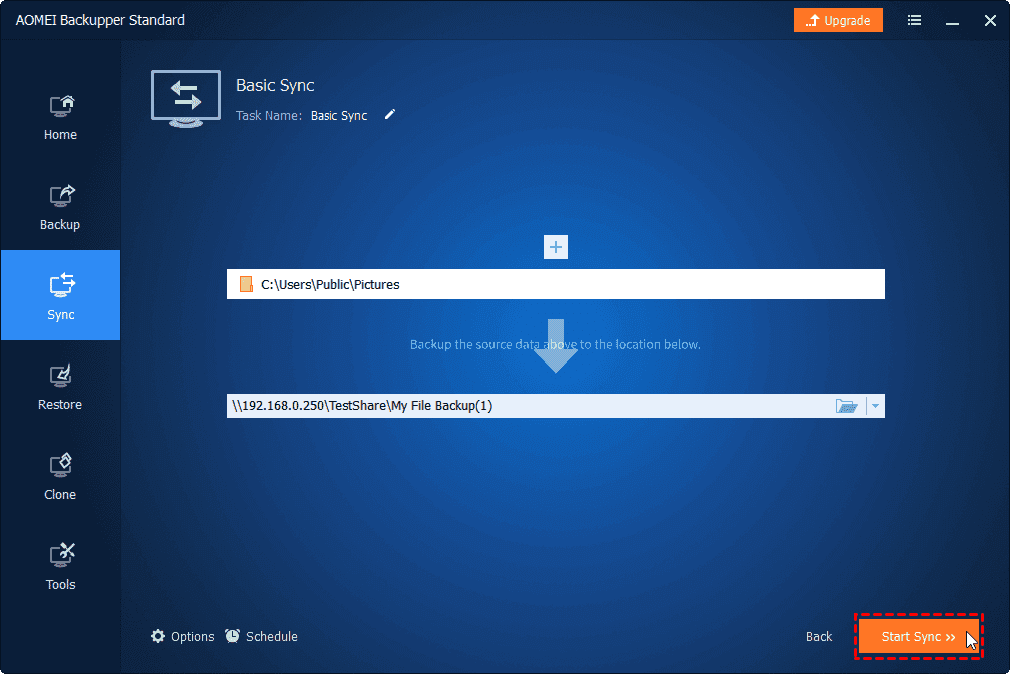
Step 1. Open free sync software - AOMEI Backupper Standard. Then, navigate to Sync and Basic Sync.

Step 2. In the Basic Sync window, click Add Folder and select User Folder to transfer from Windows 10 to Windows 11.
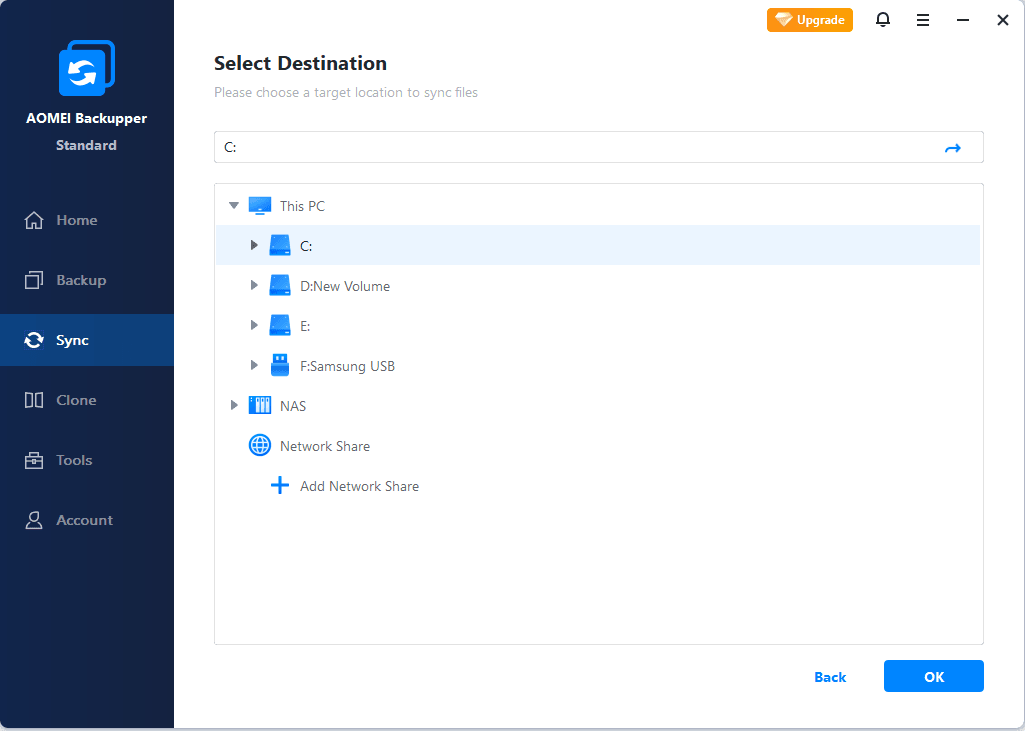
Step 3. After selecting files, you need to select a location to store the files that need to be transferred. Here you should choose Add Share or NAS Devices to select a shared folder on the old PC.
Step 4. Confirm the sync task and set schedule settings if you want to get changes. Select Daily, Weekly, or Monthly in the Schedule Sync feature and click Start Sync to transfer your Windows 10 profile to Windows 11.
Step 5. After the sync process is finished, access the shared folder(s) on the new PC, then you have migrate user profile to new computer Windows 11 successfully.
What is Windows Profile and Why Transfer Windows 10 Profile to Windows 11?
Transferring a Windows profile means moving all of a user’s personalized settings and preferences from one operating system to another. This includes desktop layouts, background settings, application configurations, browser bookmarks, email accounts, and other personalization options.
By transferring your Windows profile, you can seamlessly continue using your new operating system without having to reconfigure everything from scratch. This process saves time, maintains your familiar setup, and ensures a smooth, consistent experience during the upgrade.
When upgrading from Windows 10 to Windows 11, transferring your user profile comes with several key benefits:
Preserve System Settings: By transferring your profile, all your customized system settings, such as desktop layout, preferences, and configurations, will stay the same on the new OS.
Keep Installed Applications: Transferring your profile ensures that the applications you’ve installed on Windows 10 will still be available on Windows 11.
Secure Your Personal Data: All your important files, including documents, photos, and other user data, will be safely transferred to Windows 11, so you won’t lose any personal information during the upgrade process.
Save Time and Effort: Instead of setting up your new system from the ground up, migrating your profile streamlines the process, allowing you to continue working without the hassle.
FAQs about Windows Profile Transfer
Q 1: What permissions are needed for profile transfer?
Q 2: Can I use a USB drive to transfer my profile to Windows 11?
Q 3: Is it possible to transfer my Windows 10 user settings to Windows 11?
Q 4: What are common issues with profile transfer?
A 4: Here are some of the most common issues users encounter when transferring Windows profiles and how to troubleshoot them:
✅Permission Errors
- Problem: The source or target user profile does not have the correct file or folder permissions, causing access issues.
- Solution: Use an administrator account to ensure you can access all files. You may need to manually change folder permissions using the "Security" tab in file properties.
✅File Path Differences
- Problem: If the destination profile or computer has a different directory structure, some files may not transfer correctly, or programs may fail to locate necessary data.
- Solution: Adjust file paths during transfer or reconfigure affected applications manually on the target system.
✅Corrupted User Profile
- Problem: If the source profile is already corrupted, errors may carry over to the new system. Symptoms include missing files, broken shortcuts, or failure to log in.
- Solution: Repair the corrupted profile before transfer using built-in Windows tools like sfc /scannow or recreate the profile manually.
Conclusion
Transferring a Windows 10 profile to Windows 11 has an obvious difference from transferring files. Please always be cautious and back up your profile in advance in case of any loss. AOMEI Backupper is not only an excellent sync software for Windows, but also powerful in backup C drive Windows 11 in a good manner.