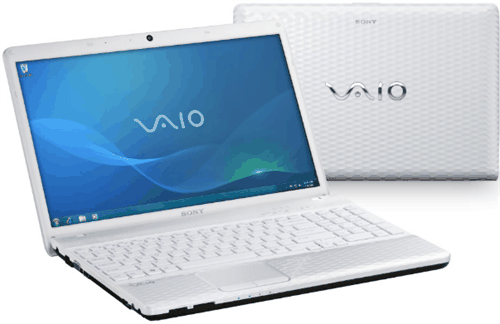
How to Replace or Upgrade Sony VAIO Hard Drive with SSD
Learn how to replace or upgrade Sony VAIO hard drive with SSD. This article will show you the easiest way to upgrade hard drive with SSD via AOMEI Backupper.
When you are working with Sony VAIO, you may find that your computer running slower and slower. To solve the problem, it is good to upgrade Sony VIAO hard drive with SSD, so that your computer can perform better.
Best hard drive transfer software you need
Replacing Sony VAIO hard drive with SSD does help you to improve the performance of your PC. However, many users do not want to abandon the old data on the HDD. Is there any way that can replace Sony VAIO hard drive with SSD while keeping the old data? Fortunately, AOMEI Backupper Professional allows you to upgrade Sony VAIO hard drive to SSD without losing data.
- It offers Disk Clone, System Clone and Partition Clone to help you transfer all kinds of data.
- There are two cloning methods available: Intelligent Clone and Sector By Sector Clone. The first method is selected by default to save disk space and cloning time.
- It runs well on all Windows PC systems, including Windows 11/10/8/7/Vista/XP.
Download AOMEI Backupper now and the next contents will show you the detailed steps of how to replace Sony VAIO HDD with SSD.
How to replace Sony VAIO hard drive with SSD
Firstly, you need to prepare an SSD which is large enough to store all data on the hard drive. Then, you can start to use AOMEI Backupper to change HDD to SSD without losing data.
Step 1. Connect your new SSD to your Sony VAIO, and make sure it can be detected by your PC. Install and launch AOMEI Backupper. To upgrade Sony VAIO hard drive with SSD, here you can click Clone, and select Disk Clone.
Step 2. Then, select the original Sony VAIO hard drive as the source disk. Click Next.
Step 3. Then, select the new SSD as the destination disk. Click Next.
Step 4. Here you can preview the whole operation, and click Start Clone to launch the progress.
Notes: Before clicking Start Clone, you can set up more for your hard drive.
- Edit partitions: you can edit the partitions on your destination hard drive so that your destination disk can keep in a very best status after cloning.
- Sector by sector clone: this option will clone every byte on your source disk no matter it used or not. It requires the destination disk must larger that the source disk.
- SSD Alignment: this option will improve the performance of destinations disk if it is SSD. So if you are cloning to SSD, you’d better check the box here.
After cloning, you can boot your computer from the new SSD directly. AOMEI Backupper is such a great software that can help you replace Sony VAIO hard drive with SSD while keeping the old data. Actually, AOMEI Backupper has many other features. You can use AOMEI Backupper to create a bootable media to help you boot your computer successfully. You can create a system image backup so that once you need, you can restore computer to earlier date, etc.
It is worth using. If you are Windows Server user, you can use AOMEI Backupper Server to do it.
Bonus tip: HDD vs. SSD
You may want to know the differences between HDD and SSD:
HDD, short for hard disk drive, is a data storage device that uses magnetic storage to store and retrieve digital information using one or more rigid rapidly rotating platters coated with magnetic material. The platters are paired with magnetic heads, usually arranged on a moving actuator arm, which read and write data to the platter surfaces. Just because of this, HDD works with a loud voice.
SSD, the abbreviation of solid-state drive, is a solid storage device that uses integrated circuit assemblies as memory to store data persistently. SSDs have no moving mechanical components. Compared with traditional HDDs, SSDs are typically more resistant to physical shock, run silently, and have a faster read and write speed.


