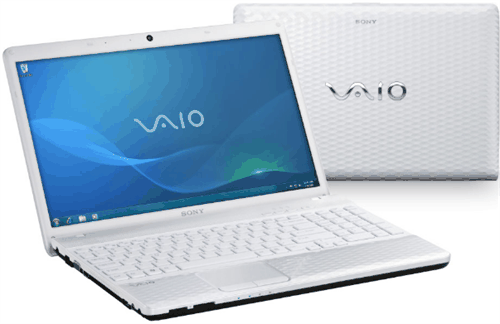
Upgrade Sony VAIO Laptop Hard Drive to SSD Step by Step
You can learn reasons to perform Sony laptop hard drive upgrade and how to upgrade/replace Sony VAIO laptop hard drive with SSD or new large HDD to gain peak performance. Please read on.
Reasons to perform Sony laptop hard drive upgrade
Upgrading or replacing hard drive with SSD or new HDD is the most common way to improve system performance on PCs, so as to Sony laptops. Sony VAIO comes with HDDs in different storage capacities, 500GB, 750GB and 1TB. Whichever the capacity is, hard drive is doomed to fail after several years of use as well as ubiquitous and countless potential network threads. When the system crashes caused by virus, for instance, it is inevitable to replace Sony VAIO hard drive with new hard disk.
Also, you may want to do Sony VAIO hard drive upgrade because of its awful performance, for example, 15 minutes for system startup. There are many factors that will result in long-time boot, such as too many boot startups or hard drive failure. However, replace Sony VAIO hard drive with SSD definitely will make this condition better. What’s more, low disk space cause hard drive upgrading as well.
In general, new hard disk brings better performance in computer experience. Now learn how to replace Sony VAIO laptop hard drive in detail in following parts.
How to upgrade Sony laptop hard drive
In the first place, to upgrade Sony laptop hard drive you need to find:
-
The appropriate replacement (I mean the Sony VAIO compatible hard drives). It should be a 9.5mm thick 2.5” hard drive or SSD in order to fit in the HDD OEM caddy & drive bay. If you don't know how, you can find the model in its official site and get a Sony Vaio laptop hard disk with proper price.
-
One #0 Phillips screwdriver to uninstall Sony internal hard drive.
-
Sata to USB cable or adapter for connection.
-
A backup and restore tool to upgrade Sony laptop with only one hard drive bay. AOMEI Backupper Professional is a great option integrated with backup, restore, or other useful tools, such as, create bootbale USB.
Before upgrading, free download this software to have a try. Windows 10/8.1/8/7/XP/Vista supported. For server users, try AOMEI Backupper Server.
Step 1. Install and launch AOMEI Backupper on VAIO E or S series. Then, create a disk backup for Sony Vaio laptop.
- Click Backup and select Disk Backup.
- Select Sony internal hard drive as the source disk.
- Then, select a location to store the disk backup image. You may backup it to NAS, network shared folder, external hard drive or USB flash drive.
- Click Start Backup. Wait for the process to be completed.
Important: If you backup to USB drive, it should be large enough.
Step 2. Create a bootable media (USB or CD/DVD) to boot off VAIO later.
- Go to Tools and select Create Bootable Media.
- Select bootable disc type - Windows PE and click Next.
- Select boot device - USB, CD/DVD or ISO file. Then, click Next, it will create the creation of bootable media.
Step 3. Shut down Sony VAIO and remove the battery.
- Remove 2 screws on each side and slide-out HDD cover carefully.
- Then, remove 2 more screws of the HDD case and slide the case to the left.
- Finally, lift the HDD with its caddy out and free up the HDD.
Important: Do not touch any other cables or circuit on the laptop. Take a picture of the caddy before lifting it out will help you place the new disk in right location later.
Step 4. Install new disk or SSD and boot from the created bootable device.
- Install the new hard drive or SSD to Sony VAIO laptop with the contrary method of removing.
- Plug the battery and lid the cover back.
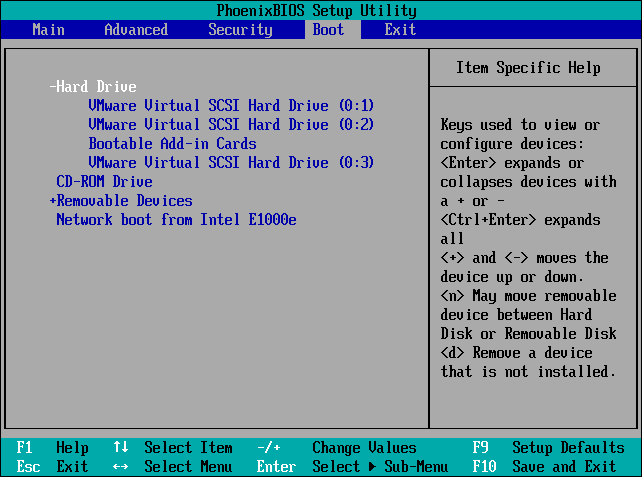
- Insert the bootable device and start the laptop. If it does not boot from it, change the boot priority first.
- Once boot up, you will see the same AOMEI Backupper Professional automatically running.
Step 5. Connect the device that contains disk backup image to Sony laptop. Then restore the backup image to new disk with AOMEI Backupper. One or two restarts are required.
- Switch to the Restore tab and choose Select Image File to manually find the disk backup.
- Tick Restore the entire disk and click Next.
- Select a restoration path to retrieve backup image. Then, click Next.
- Tick SSD Alignment to improve disk performance if the target disk is an SSD. Then, click Start Restore to perform Sony Vaio hard drive upgrade.
Notes:
- This software will check Universal Restore by default if the hardware of new computer is different.
- You need to adjust partition size manually or automatically with Edit Partitions if the new disk or SSD is larger. Otherwise, you cannot make full use of disk space on it.
Now you may replace Sony Vaio hard drive with SSD successfully and use your computer as normal. Since your computer may run into issues due to many reasons, to protect your system and disk on it, it's suggested to keep this software after upgrading.
You can choose to create a disk backup, system backup, partition backup or file backup based on your needs. And single backup only keep data currently on it, if you want to keep all the changes on it and prevent backup disk full issue from the beginning, try the following features during the backup process:
Options: It allows you to write comments, compress, split the backup and you can set email notifications.
Schedule Backup: You can set fixed intervals to backup your disk regularly, such as Daily, Weekly, Monthly, Event trigger and USB plug in.
Backup Scheme: You can choose different backup methods to perform the scheduled backup. Since incremental backups are more demanding to restore, it is recommended that you choose differential backup method. You can also enable automatic backup cleanup feature to save disk space.
In this case, you need to upgrade pro trial, since it has a 30-day usage limite. And this page provide 10% off for one computer.)
Sony Vaio hard disk not detected
Some users report Sony Vaio hard disk not detected sometimes, in this case, you need to determin why the BIOS can't find it. You can start from the following reasons:
- The cable or connector between the hard drive and computer is loosen. You need to tight it or replace it with a new one. cleaned or replaced.
- The hard disk is failing and needs to be replaced.
- The laptop motherboard is failing.
The above reasons are the most possible reasons. If you don't know how to determin, please ask a professional for help.
Summary
Sony laptop hard drive upgrade to new hard drive or SSD is not as difficult as you think. However, more attention and care will do great help because this is a sort of long-run operation and you cannot be more careful with your data and system. This method also applies to ASUS Q501LA SSD upgrade, HP, Lenovo laptops etc. You can keep AOMEI Backupper on the laptop as regular backup solution since it is the best alternative to File History as well as Windows 7 Backup and Restore utility.
If you want to protect unlimited computers within your company, you can pick AOMEI Backupper Technician. With the inbuilt AOMEI Image Deploy tool, you are also allowed to deploy/restore system image file on server-side computer to multiple client-side computers over network. You can download this software to discover more useful features.


